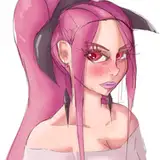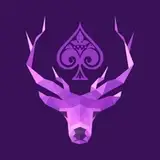
I wasn't sure what to do for the icon for my Patreon discord server. Luckily, while scrolling tumblr and sipping a mountain dew "livewire" flavor, I saw a captivating image of a little toy deer. I did a quick sketch study of it on impulse- then decided to turn it into a porcelain Wolfsbane.
Step One- The Sketch Study. As you can see, I had the original image on the canvas to use a reference while I worked. I learned quite a bit about perspective while drawing this toy's cute and unusual pose.
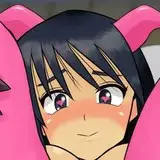
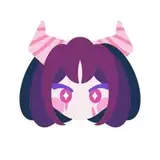
Step Two- It's Wolfsbane Now. I first added the eyebrows. They were a bit difficult to place, as were the eyes. This was because the facial features on the vintage deer toy were charmingly hand-painted- which I adore, but resulted in Wolfsbane's face looking quite lopsided.
I thought about adding his bandana, but then remembered that vintage toy deer often have a ribbon around their necks. So, I went with that instead!
I also added his wings, folded up on his back. I don't think the other wing is actually supposed to be visible at that angle, but that didn't look right.
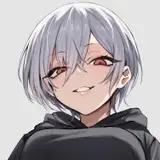
Step Three- The "Big Lines". I forgot when I started doing this, but I do remember why. Contrast ! Drawing the outline thicker makes the drawing stand out more. It's probably sort of unnecessary.
Step Four- The "Small Lines". This toy has a simple shape, so the lineart didn't take very long. I don't have much to say about it.
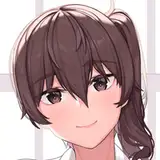
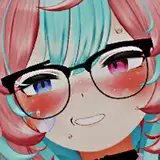
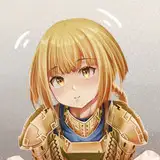
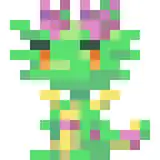
Step Five- Base Colors. I went with a soft brush to give it that lovingly hand-painted look. Coloring Wolfsbane without his hair made me realize that I should have given his main coat more than one shade of brown. I drew his eyes too close together on his most recent ref anyway, so perhaps a design update is in order.
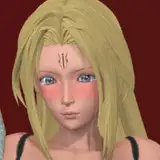
Step Six- Shading. I didn't have a light source in mind, or base it off the photo. Instead, I focused on defining the shape of the toy so that it's visually clearer. Whether or not this worked well is up to you.
I used the same soft brush I'd painted the base colors with. I set the layer to "multiply" with an opacity of 50%.
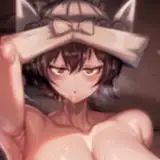
Step Seven- More Rendering. Here I added some subtle highlights to further define the shape and edges of the toy. I set the layer to "Add/Glow" with an opacity of 45%. I usually have that layer at a lower opacity, but having it higher helped convey how shiny the porcelain is.
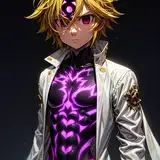
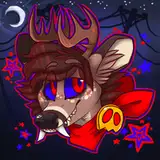
Step Eight: Highlights. I decided to base the white highlights off the photo, since they really seemed to show off the texture. This ended up working just fine for the piece !
I just used a texture brush, a few layers of texture and the shape and text tools for the background. I have a transparent version of the Wolfsbane toy set aside too, and might use it for other things !
Um, if you read all this, please let me know if you like it, or if it was helpful in any way. I plan to do process explanations in Video form in the future, which should be a much better experience for everyone.
Fulwa
2023-01-10 06:44:32 +0000 UTC