Video 79 (Master) Practice Session: Complete your Character Portrait's Hair
Added 2025-07-08 07:52:21 +0000 UTC✍️ (Master) Practice Session: Complete Your Character Portrait’s Hair
By Pogzart
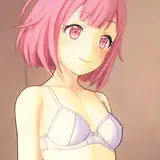
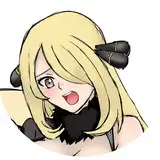
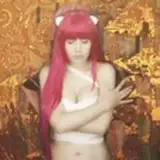
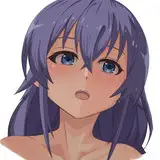
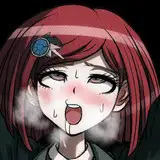
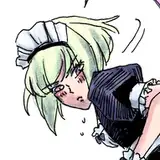
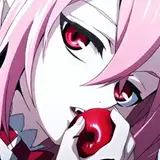
At this stage, it’s time to bring it all together — structure, flow, texture, light, and personality. Hair isn’t just decoration; it supports the head’s form, enhances the face, and adds energy or mood. In this master-level session, you’ll focus on finishing your character portrait with fully realized hair — no shortcuts, no guesswork.
🎯 Objective
Refine and complete a full head of hair for your character, integrating all learned principles into one cohesive, expressive design.
Reinforce mastery of:
Hair shape and volume based on head form
Flow direction and curl/wave/straight logic
Light source and highlight control
Controlled hatching for texture and depth
Stylization that supports anatomy and design
🧱 Step-by-Step Workflow
Step 1: Start with a Solid Foundation
Use a clean portrait sketch — full head and face with clear structure.
Lightly block out the hairline, crown, and general mass of the hair.
Ask yourself: Is the hairstyle part of the character’s identity? Calm? Wild? Noble? Unkempt?
Step 2: Plan and Build the Flow
Break the hairstyle into major clumps that follow the scalp and gravity.
Use flow lines to define root-to-tip direction.
S, C, or spiral curves should dominate depending on hair type (straight, wavy, curly).
Step 3: Define the Silhouette and Volume
Create an engaging outer shape — not too uniform or too chaotic.
Layer inner clumps to add thickness and believable form.
Let some clumps fall forward, tuck behind the ear, or curl naturally for movement.
Step 4: Add Detail with Hatching and Line Variation
Use contour-following hatching to build depth and light.
Darken roots and under-clumps to create form shadows.
Place highlights where curves catch the light — often across the crown, bangs, or upper waves.
Refine stray hairs, flyaways, and soft edge strokes to break mechanical shapes.
💡 Final Rendering Tips
For shiny hair, use bold highlight bands and tight contrast.
For matte hair, use softer transitions and diffuse values.
Always hatch with the flow — never against it.
Let the character’s personality shape the final touches.
✔️ Final Pass Checks:
Does the hair feel naturally attached to the head?
Is the volume balanced (not too flat, not too puffed)?
Are highlights and shadows consistent with your light source?
Are the lines clean, expressive, and controlled — not overworked?
🧠 Optional Master Challenges
Redraw the same character with 2 completely different hairstyles.
Light the hair from a dramatic angle (underlight, rim light, backlight).
Merge multiple hair types (e.g., curly top, straight sides) with flow logic.
Add accessories like clips, bands, or hoods — then work hair around them.
🔁 Practice
Complete a full hair pass on at least 3 character portraits this week.
Zoom in on problem areas (e.g., crown, temples, behind ears) and do focused studies.
Time yourself: 10 mins for silhouette, 15 mins for clumps, 20–30 mins for full rendering.
Use reference, then push it into your own stylized form.
Your hair drawing is no longer just practice — it’s performance.
Design, anatomy, flow, and expression must now move as one.
Finish strong. Let every line serve the character.
– Pogzart