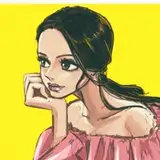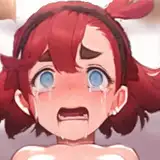
Hair tutorial - step by step + free hair brushes
Added 2021-03-08 11:01:01 +0000 UTCHey guys! I hope you had an awesome weekend, and I'm here to hopefully help with the monday blues 🤭
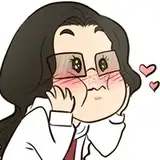
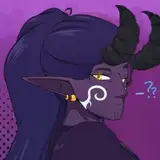
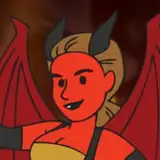
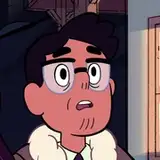
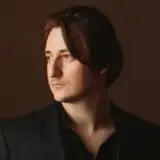
Today I want to share with you how I make hair, but take this with a tiny grain of salt, cause I love to experiment, so the way I do hair in this tutorial might not match up with the ways I do it next time, but the techniques are pretty much the same, I just love to vary what kind of brushes I use. And as always, my way is not the right way, or the wrong way! You do you, I'm just here to help if you struggle!
Without further ado, let's dig into the tutorial!
----------------------------------------------------
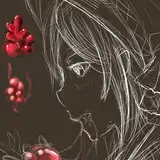
Step one: Create a base. Do not stress about the details, you will fix it up later. Here I have used the hair base brush I have provided you with, with a 80% opacity. Don't forget to be light on the hand!

Step two: Draw strands, with the mix of 80% and 100% opacity, and vary the brush size for a realistic variation on the strands. I have provided you with the strands brushes I have used in this particular tutorial.

Step three: Create shades with a slightly darker color than your base color. Here I continue with the base brush I started off with, with a 50% opacity and a pretty big brush size. And always remember, even the flattest hair have some waves in it. This is because hair never runs just straight down because of movements! And try to remember to create a new layer for each step, simply because it'll be easier to fix mistakes later if you find out you don't like the result, instead of starting all over again

Step four: Now we go in with a slightly lighter color than the base, and with a more defined brush. In this step I have used the brush named "hair details". Use this brush with a 50% opacity and with a variation of sizes. Repeat this step until you're satisfied.

Step five: Now, let's get some details in. Here I have used "finishing touches1". Still 50% opacity, and a quite small brush, but with an even lighter color. Don't give too much thought into where the strands should be, just smash them on there and if it fits it fits, if it doesn't just redo the stroke and try again. Remember again, hair moves, so it doesn't have to be perfect!

Step six: Pretty much the same technique as step five, but this time with the brush called "finishing touches2". here you vary the size a lot, but still on 50% opacity and a slightly lighter color!

Step seven: Some might call the way of doing this step a "shortcut", but this works for me and I like the result of it. The last thing I always to is to darken around the edges with the burning tool, and lighten with the dodge tool. This way you'll create a nice and realistic depth to the hair. And that's it, that was the last step!

I hope you found this quick little tutorial helpful! If there's any questions, feel free to contact me, I'm happy to explain more if there's something that's not explained well enough!
Hugs from Cath ❤️