Tutorial - rim light effect
Added 2021-06-11 11:00:58 +0000 UTCHey guys! Here comes an easy tutorial on how I do the rim light effect in my edits.
Some might say that rim lights is my trademark, cause I always add it in my edits and drawings, simply because I loooove how it looks 🤩
You might be surprised how easily this is done:
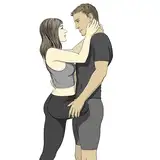
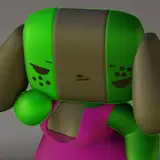
Step one: select the layer you want to create the rim light effect on (ignore that the hay is selected too, I had merged the layers)

Step two: create a new layer in overlay mode. Some times (rarely) the overlay mode doesn't quite work the way I want to, but then I usually select the soft light mode. Here you need to figure out what layer mode works best in your program

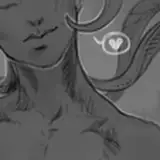
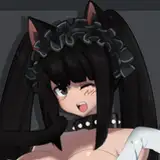
Step three: find the color you want to use for the rim lights based on the lighting in your edit/drawing. In my case I choose a very bright yellow/orange from the stable light, and a white on top of Cath's head from the window. I always use a soft round brush on 50% opacity for this. Now go around the edges of your selected area, and in general where the light should hit

Step four: duplicate the layer until you're satisfied. In this case I was satisfied with the light intensity after just one duplication

Step four: To make it more realistic, create extra lighting here and there in the background, same procedure as mentioned above: overlay layer, soft round brush with 50% opacity

And that's it! Quite simple right? 🤩 let me know if you have any questions!
I hope you'll have a great weekend!
Hugs from Cath ❤