I tried to make a nice looking bubble based on this tweet, but it doesn't really fit with the existing setup, so I'm thinking of using it for a cum use.
I was not happy with the bubbles being sucked into Iori's forehead, so I set a soft body on the particle + collision on Iori's Face mesh, aiming for the bubbles to climb up while sliding to some extent.
I tried to make the foam from Masae's mouth rise from both sides of his face.
On the fourth day, I tried to make a cum object, but the threads didn't join both of the spheres.
My intention was to adjust the thickness of the joining threads and the size of the spheres so that they could be used to represent cum released into the water, but I think I'd better think of another way.
とりあえずまた後にしようということで5日目は口から吐いた泡のパーティクルの改善。結果はこんな感じ
I'll do it again later for now, so Day 5 is about improving the particles of foam vomited from the mouth. The result looks like this.
Particles started to work well, so I tried having bubbles spit from the later two and the camera turntable. This is a common expression in erotic animation.
Well, after spending three consecutive holidays playing around with blender, I managed to get an underwater look with the $33 paid assets, and with colour grading and particles, I was able to create an animation like this.
Blender work completed. From here, importing into unity → adding the missing bone movements by hand → shooting and adding effects using AnimeToolBox.
However, it's getting harder and harder to lose the things that were in blender and make the movements strange when taking the animation to unity, so I'm planning to explore a workflow that can be done only in blender after this work is finished.
I'm sure the update interval will drop again, but I'd be grateful if you could keep up with me!
Thanks to all of you who always follow and support me and keep me motivated. Thank you.
I have progressed to this point while struggling with misalignment when transferring motion from blender to unity. I have a feeling that it will take more time after this because the ratio on the blender side will increase.
I would appreciate it if you would wait a little longer.
I'd like to wait for the bubbles and juices after all the movements are done.
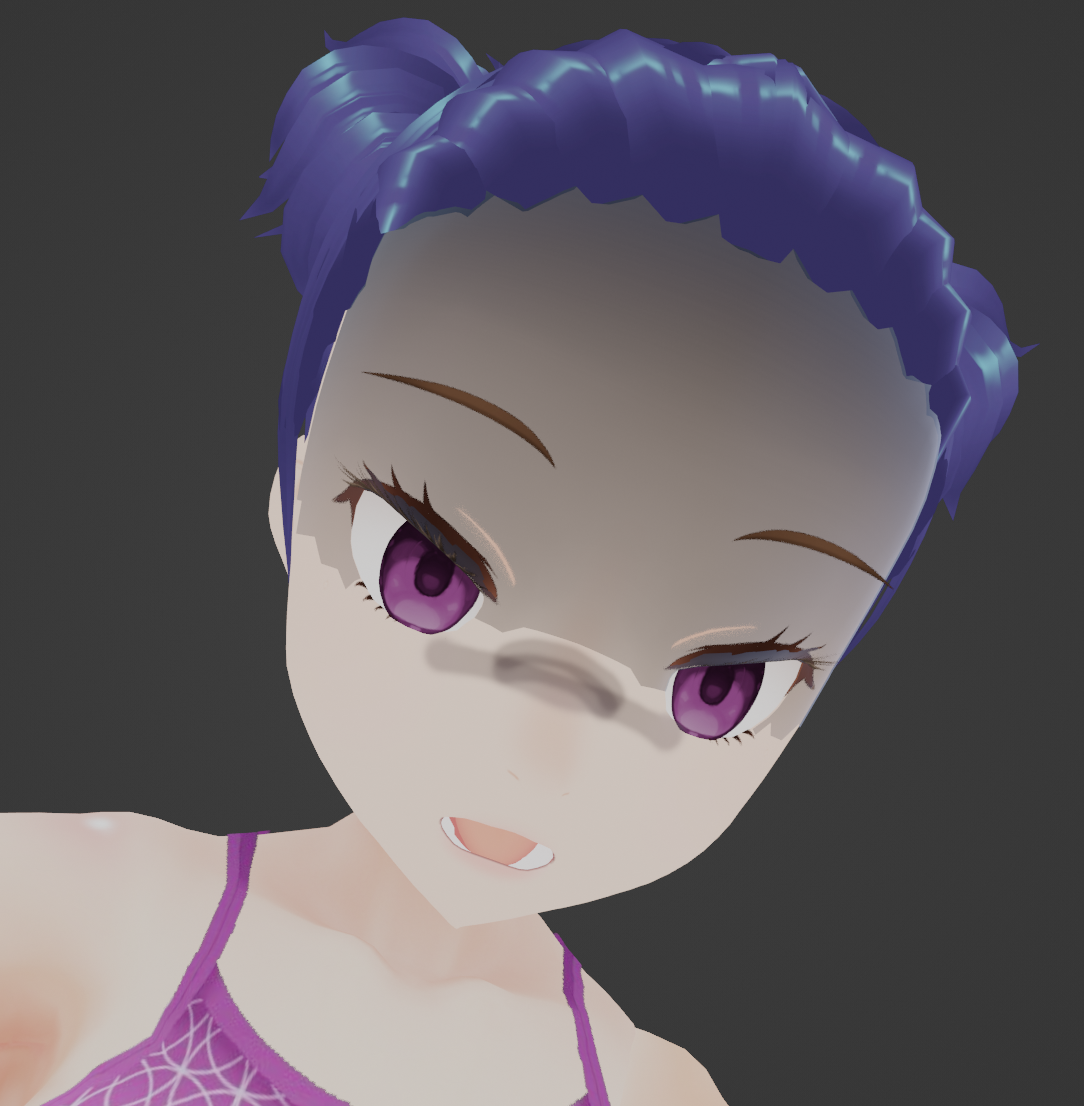
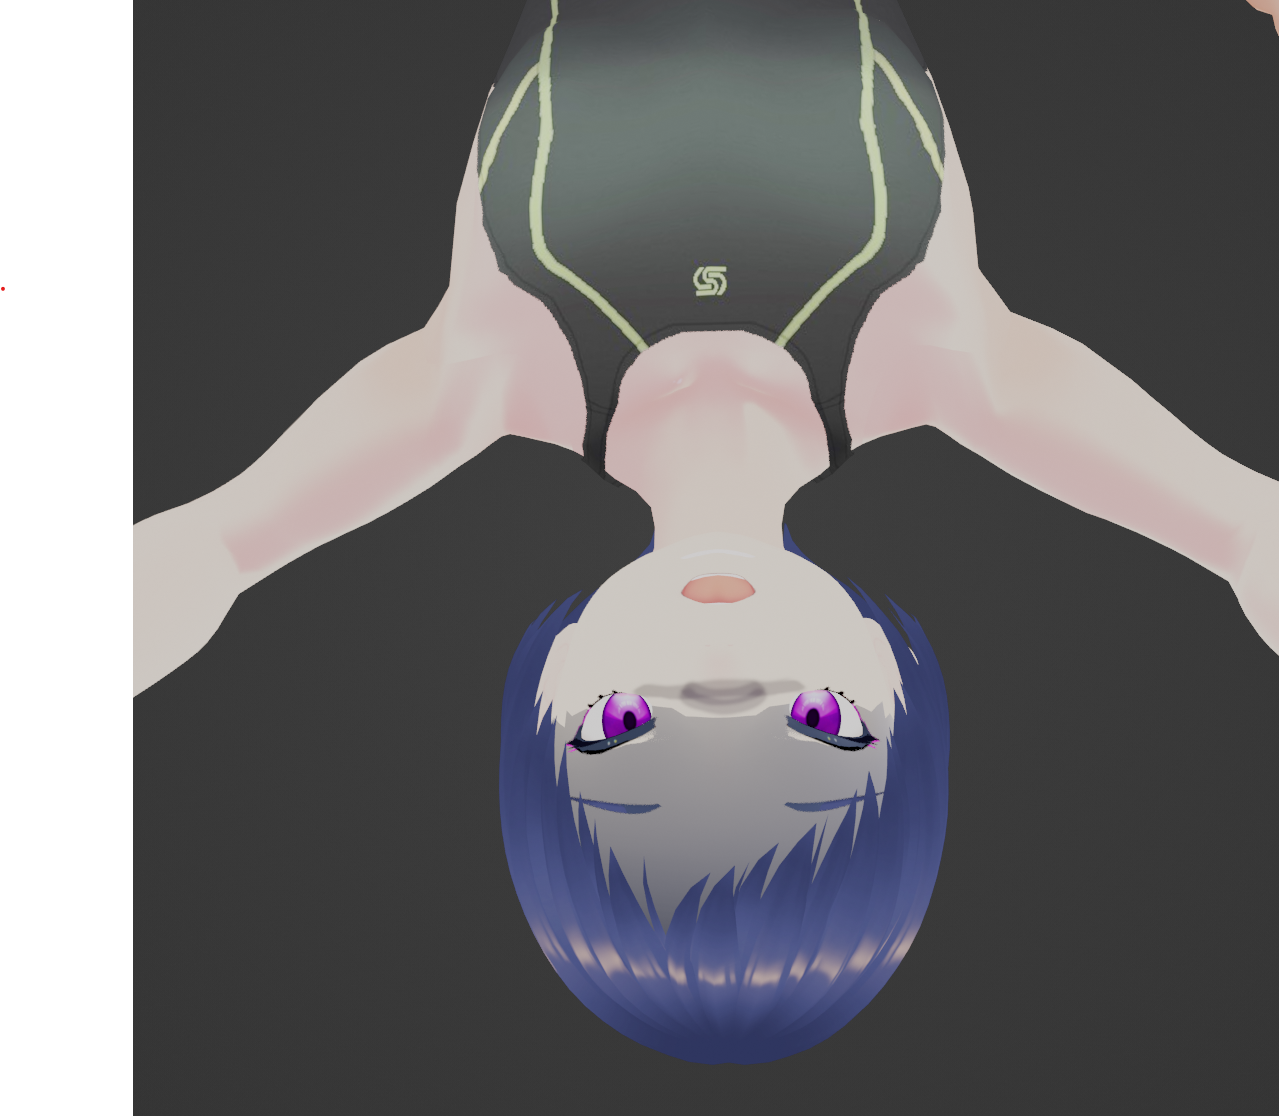
Today I was working on these two frames, and as I haven't mastered blender yet, I'm doing it in an inefficient way by expanding each bone one by one to copy and paste the keyframes and then working on the contents.
Sometimes blender crashes and I feel like I'm losing heart, but I'm enjoying the process of becoming more erotic frame by frame.
Please wait patiently for the completion of the next work.
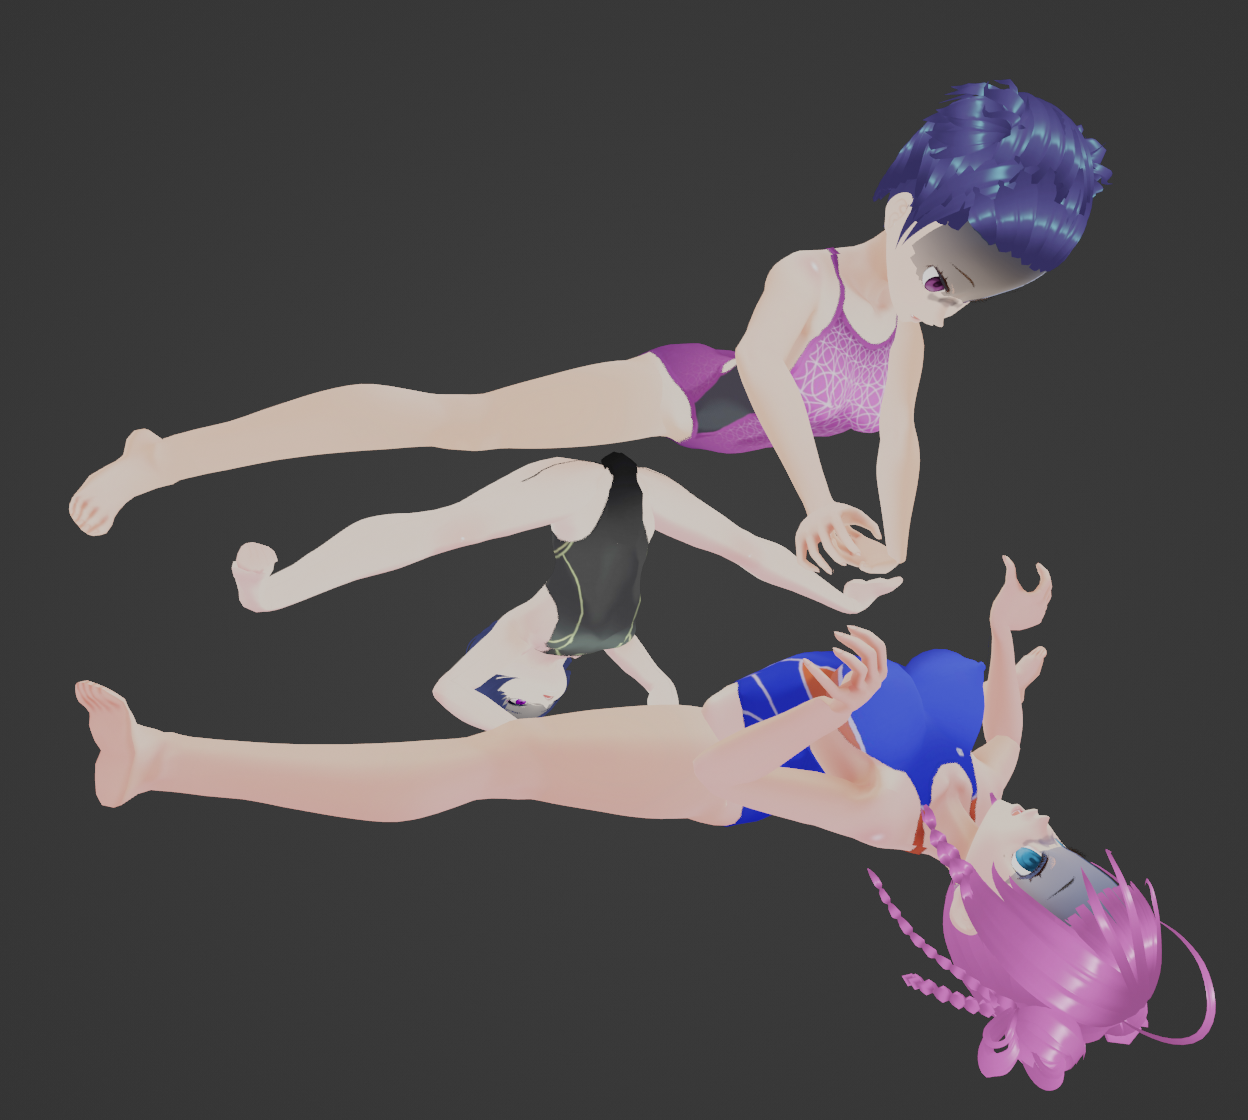
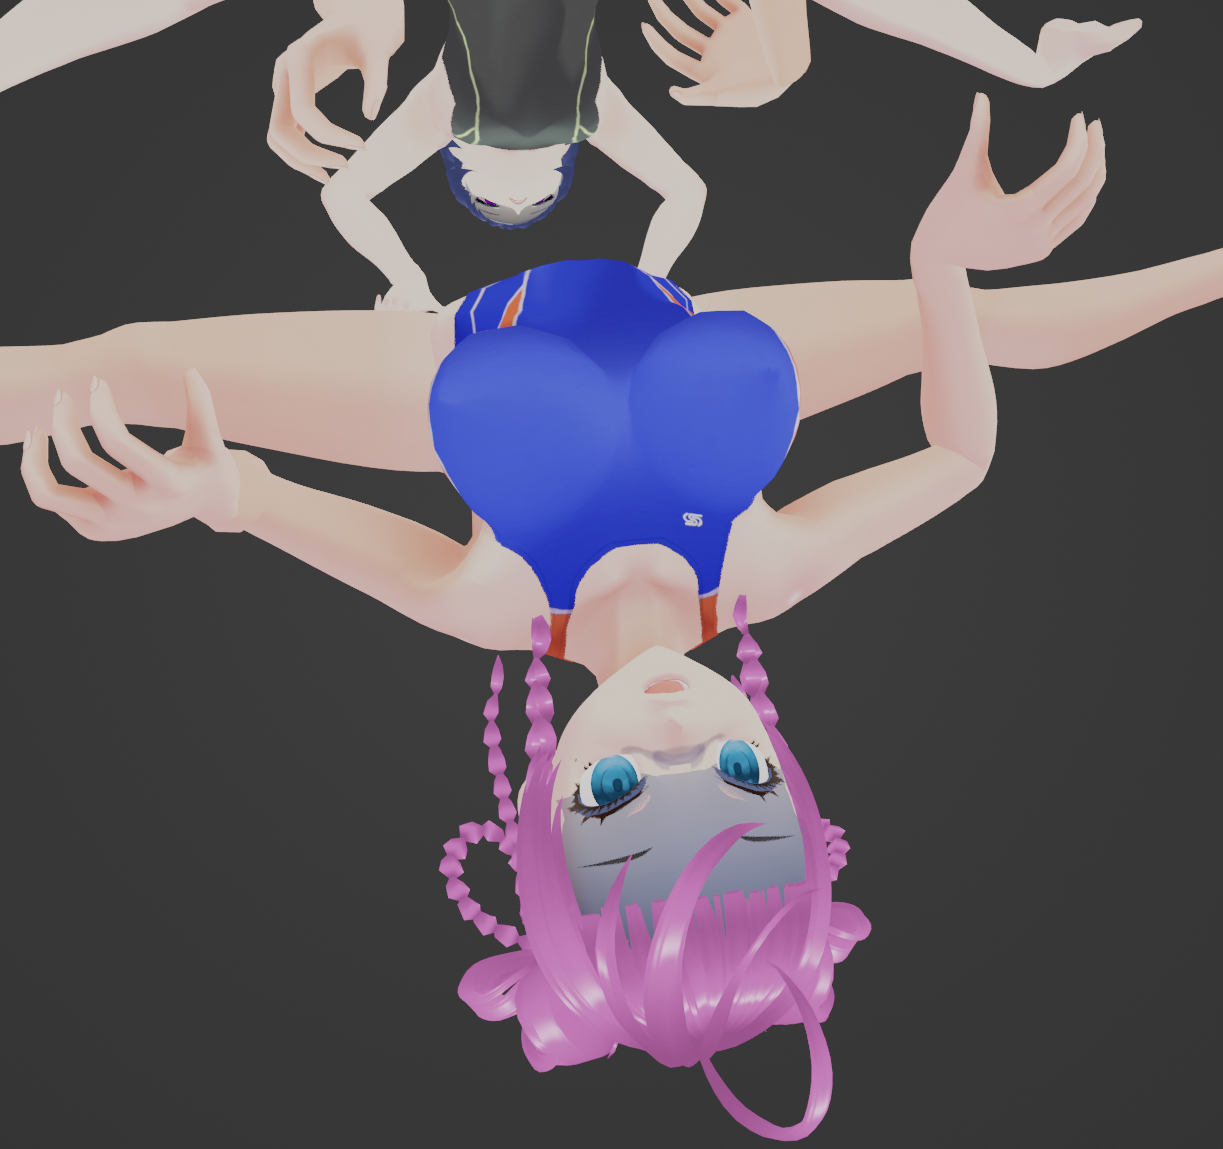
This week, after finishing the video up to this point, I was making the middle section of the next basic pose->transition part in the gaps between various errands.
blender & unity Today, a note of caution when exporting from blender to AutoRig and importing into unity, where motion involving multiple characters is being created.
When exporting with AutoRig, it is important to select the objects and actions to be exported.
If the exported file size is on the order of several MB, suspect a selection error.
When importing animation fbx into unity, do not forget to set the Rig setting to Humanoid (this is where I got stuck for about an hour).
Make sure the shape key motion and bone motion are included in the imported animation.
Sorry, no pictures lol.
Well, here I am today and I received this kind of modification story, so I'm wondering if I should go back and tackle the process so far.
It's definitely more fun to prepare a shape key that makes the belly tingle, so the process needs to be repeated again for a week or so, but it's worth doing...
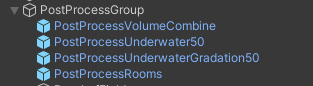
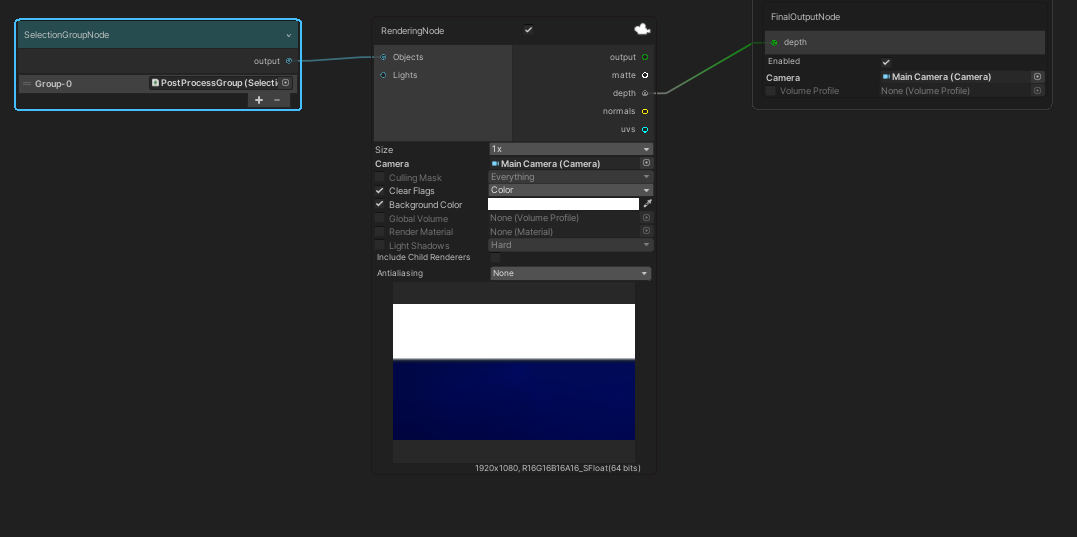
Issue: PostProcessVolume allows the expression to become darker as the water depth increases in Scene, but this is not reproduced in GameView through VisualCompositior.
Referring to this page, I reproduced the expression that the deeper the water gets, the darker it gets in PostProcessVolume and got the given effect on the SceneView!
The only other issue is to fill in the PostProcessVolume settings on the surface of the water so that the walls don't look so blue.
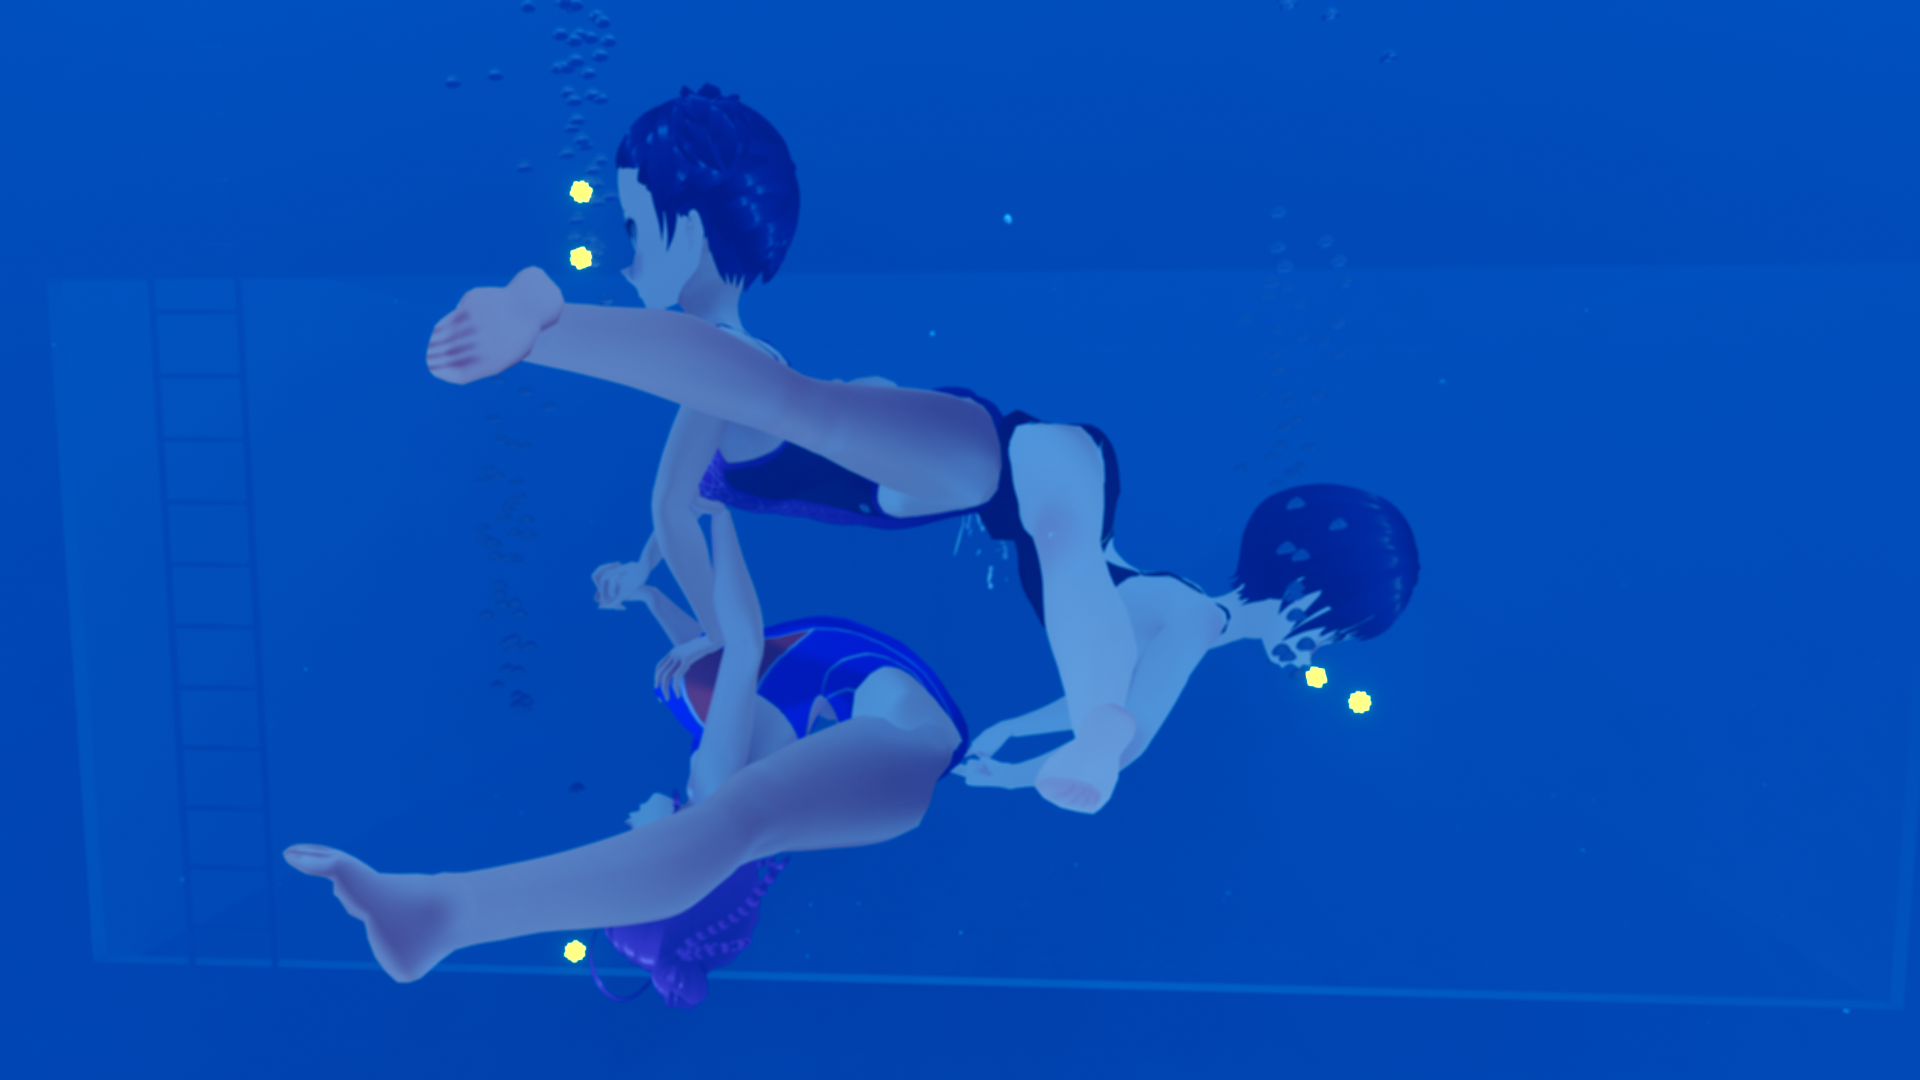
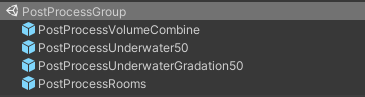
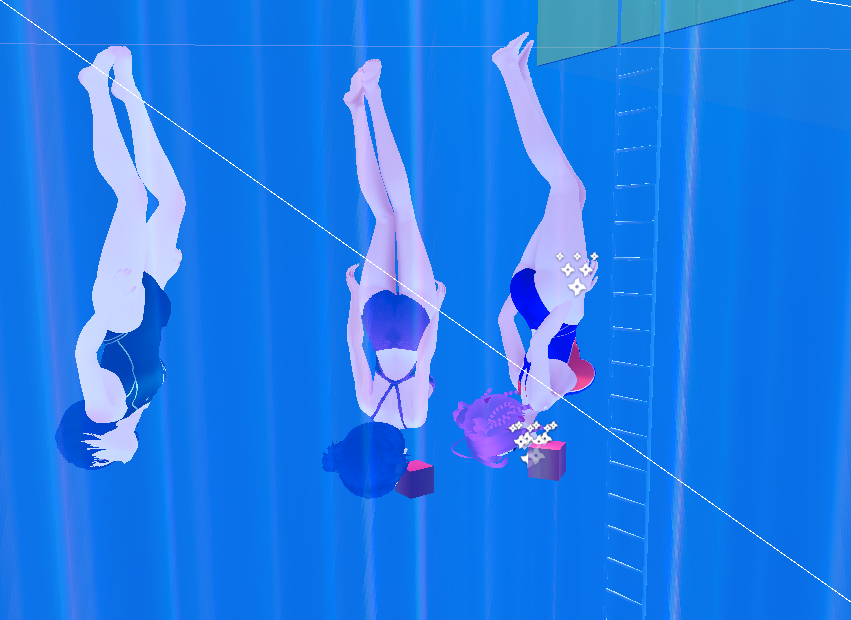
After that, I will create motion in Blender and next month I hope to have the three of them tangled up at the bottom of 50 metres of water.
This is the last sentence, but thank you very much for your support this month.
Next month, I will continue to learn as I go along like this, so I would be very grateful if you could throw in a few pennies every now and then to have a look around.
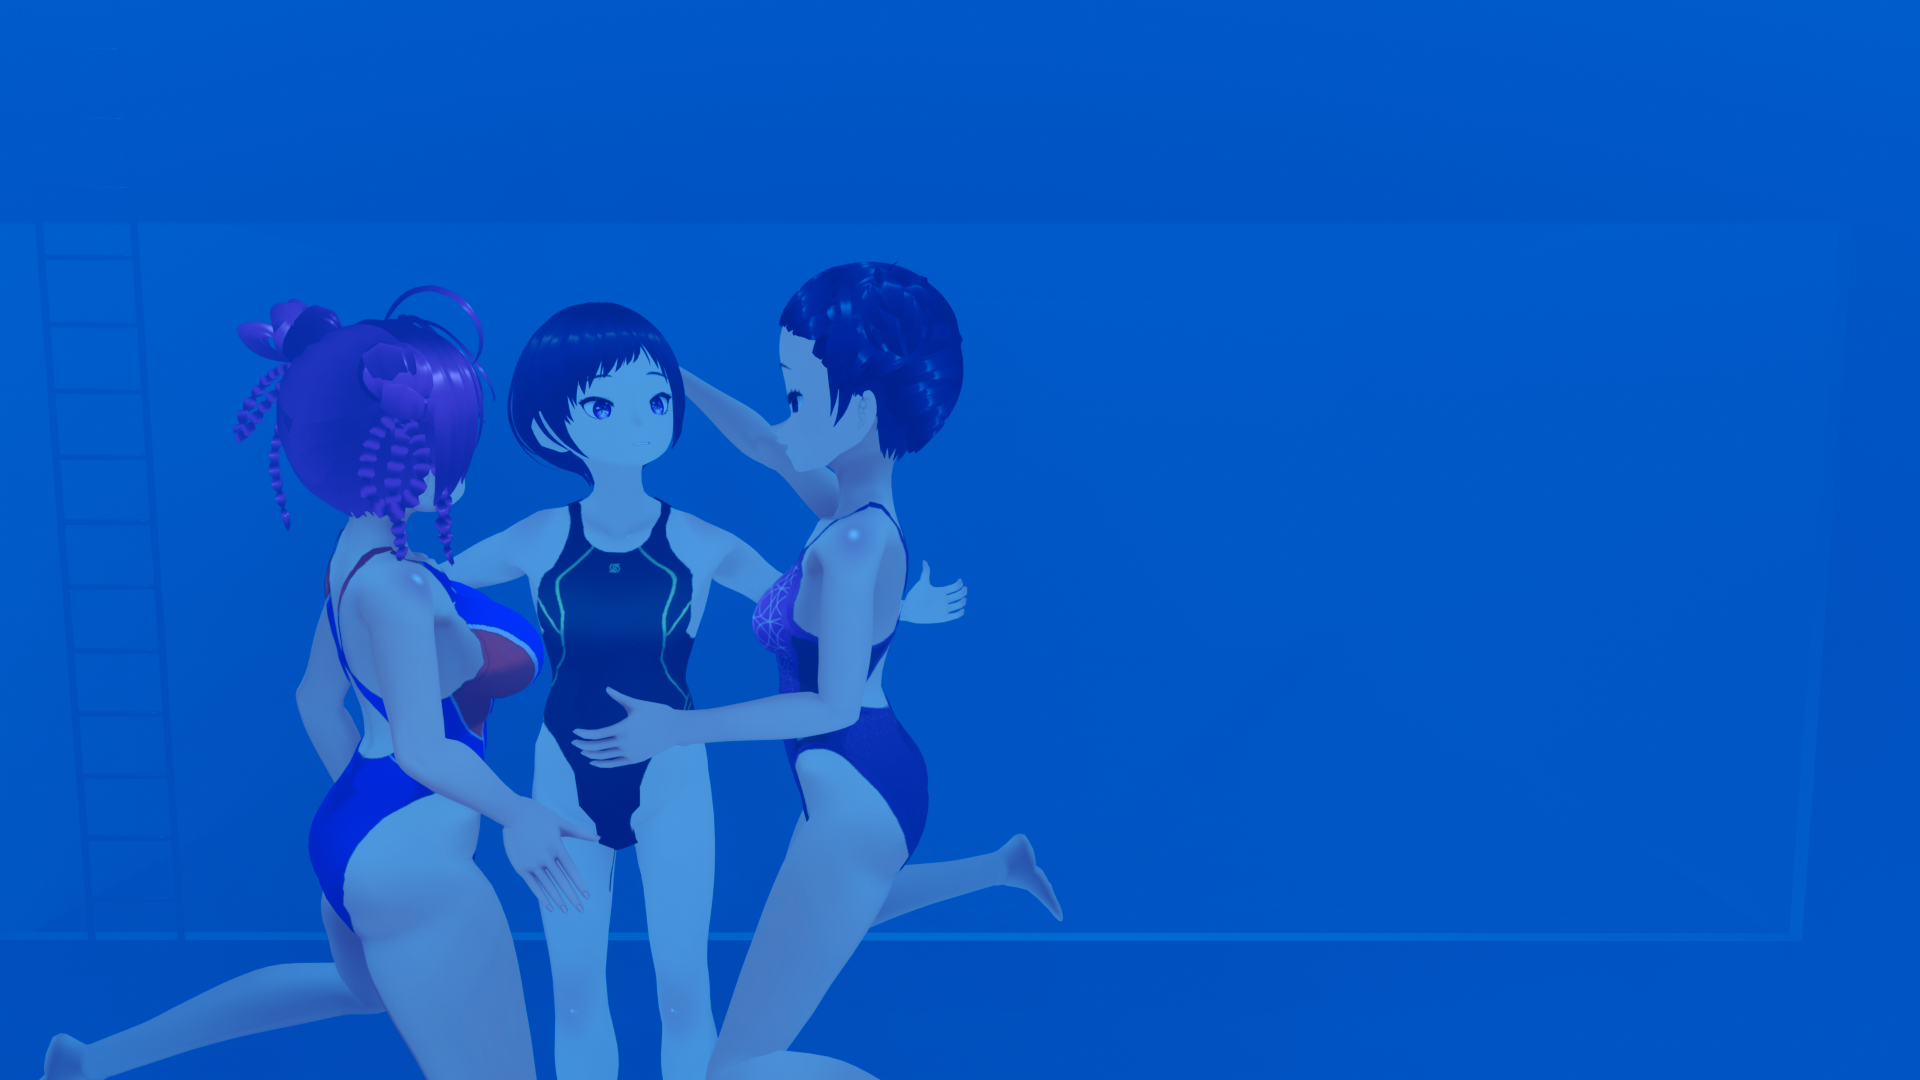
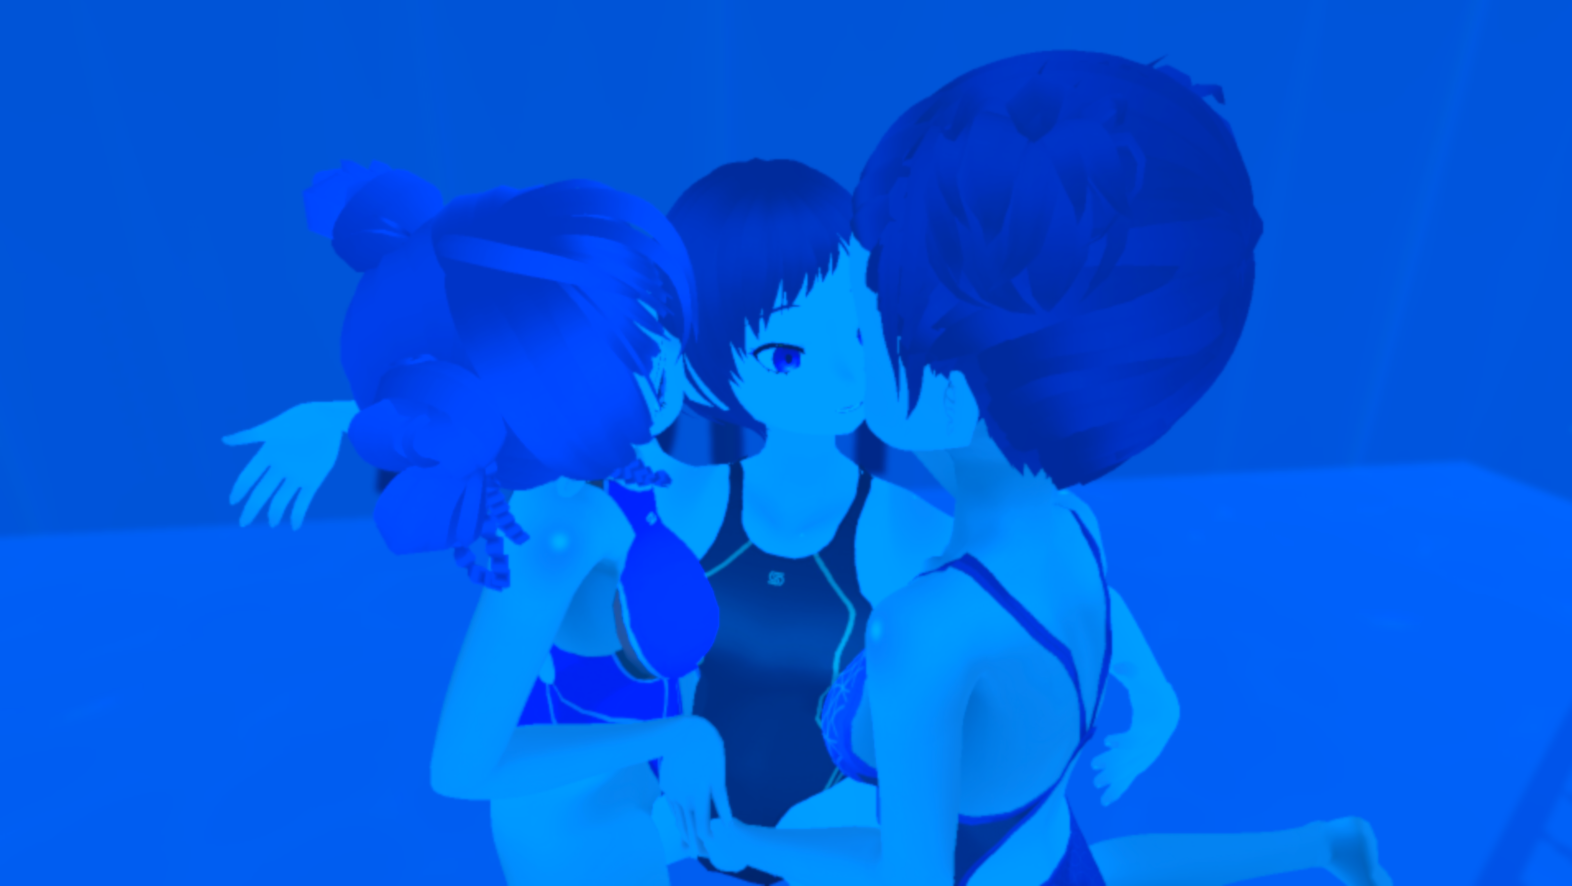
習作として制作していた「3人で水中オナニー」がようやく完成しました。
いろいろと反省点なども見えてきたので次回作で反映したいと思います。
The 'Underwater masturbation with threesome', which I had been working on as a study piece, is finally completed.
I have found many things to be regretted and I would like to reflect on them in my next work.
連休最終週末2日を使って、これまでの復習を兼ねてもう一度、1からAnimeToolboxプロジェクト再構築してみました。その過程で壊れまくる原因は某有料水中表現アセットであることが判明。別の有料水中表現アセットに差し替えたことで安定性が増しました。
水面表現もキレイになったことにより、水面から潜るシナリオにすることができたので、シナリオの内容的にもまだまだこの娘たちに余裕があることがわかったので、次につなげられると思います。今後にご期待ください。
Over the last two days of the holiday weekend, I rebuilt the AnimeToolbox project from scratch again to review what I had done so far. In the process, it turned out that a certain paid underwater expression asset was the cause of all the breakdowns. Replacing it with another paid underwater expression asset increased stability.
The water surface expression was also cleaned up, and I was able to make a scenario in which the boy and girl dive from the surface. I found out that there is still capacity in the lungs of this boy and girl in terms of scenario content, so I think I can connect this to the next project. Please look forward to the future.
なお、有料水中表現アセットを差し替えたことでキャラクターにコースティクスが掛からなかった問題が解決しました。開発された方には御礼申し上げます。
Replacing the paid underwater representation asset solved the problem of no coastics being applied to the characters. I would like to thank the developers for their work.
幾度かのunityプロジェクトクラッシュを経て、雅泳と伊織が二人でオナニーする作品ができあがりました。
どうぞご覧下さい。
ここまで支援していただいた皆様、ありがとうございます。引き続き三人でオナニー作品に着手できればと思っています。
After several unity project crashes, Masae and Iori masturbate together in this film.
Please have a watch.
Thank you to everyone who has followed and supported us so far. I hope to continue working on a masturbation piece with the three of them.
くちゅ音は
オレンジラヴァーズ(CV:橙島よしの)
様の作品を利用させていただきました。
http://orelove.yu-nagi.com/
1.I was informed that blender files could be imported directly into unity, so I threw them into the AnimeToolbox project as they were, duplicated the motion, and edited the motion in unity as it was.
2. I thought it would be better to observe Iori's facial expression after she came, so I extended the duration to more than the original number of animation frames in timeline as it was.
So, the points to be improved are
1.Create a separate project for editing motion by throwing in the blender file as it is, adjust the motion there, and then bring the motion into the AnimeToolbox project.
2. Increase the number of frames a little more on the blender side, and create the facial expressions and motion after cumming.
So from tomorrow, the work will be blender work, then unity project work.
To my supporters and followers who are waiting for my new work, I would appreciate it if you could keep a warm eye on me for a while longer.
The bust bone was not reflected in the animation imported into unity, so I decided to fix the bust bone animation on unity. It didn't take as long as I thought it would, so I adjusted the camera angles and today's video is the result.


