I have been selling my video work on Gumroad for those who do not wish to pay monthly, but Gumroad is banning NSFW from tomorrow. Please consider buying on Gumroad today or paying monthly on FANBOX!
2024-03-16 04:59:33 +0000 UTC
View Post
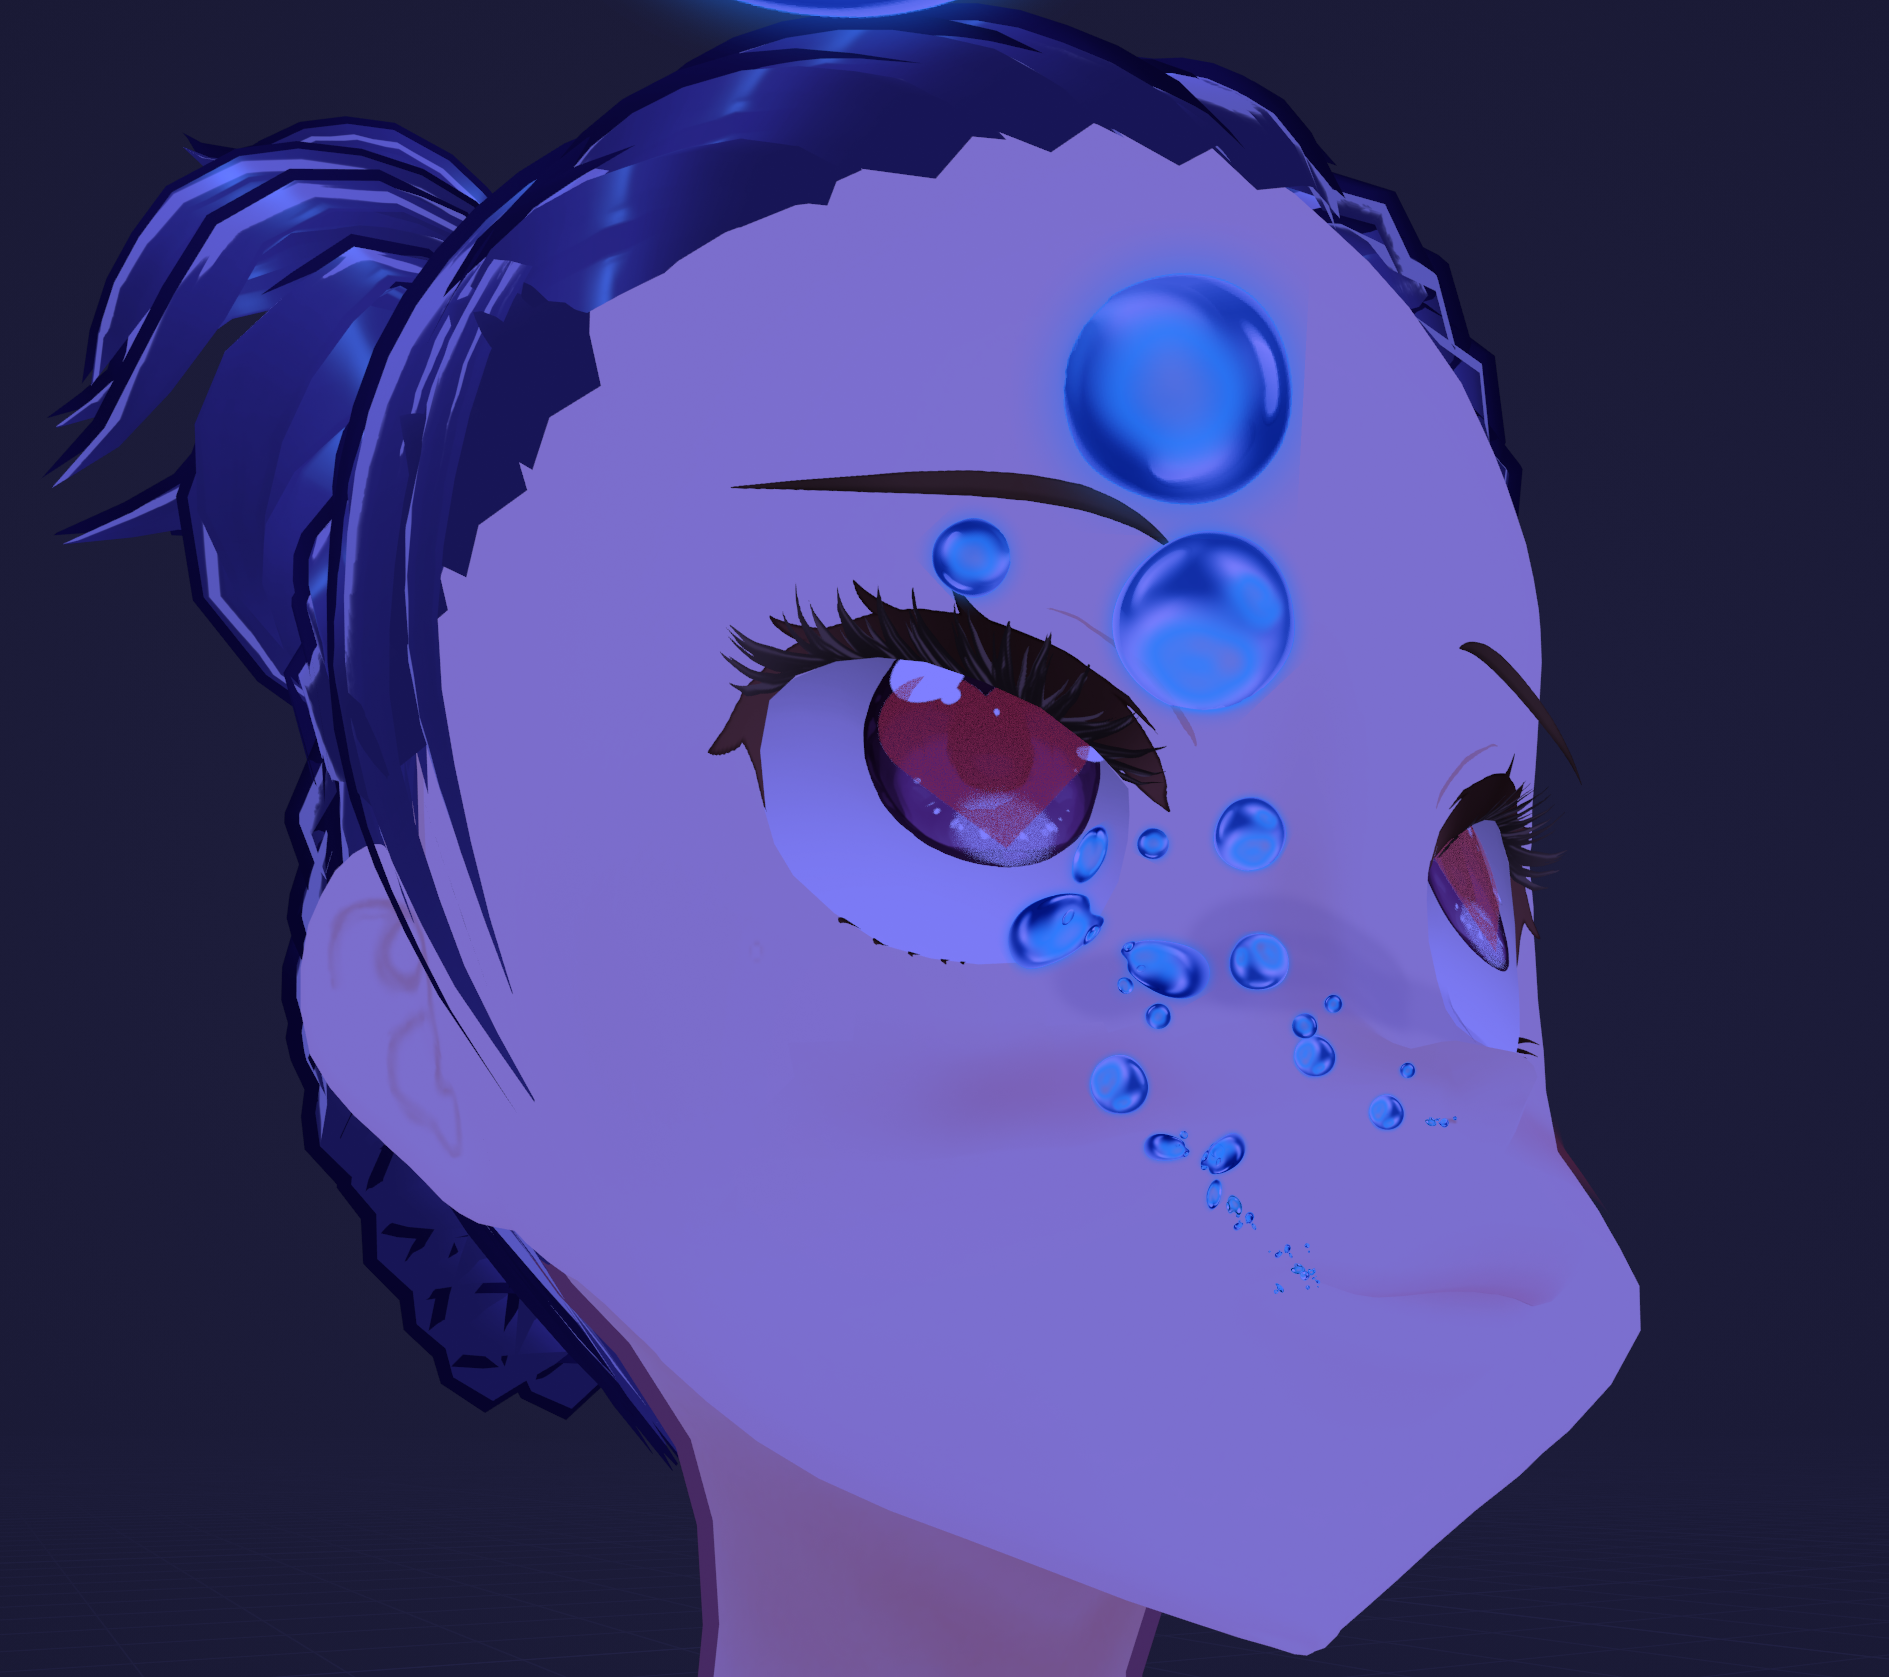
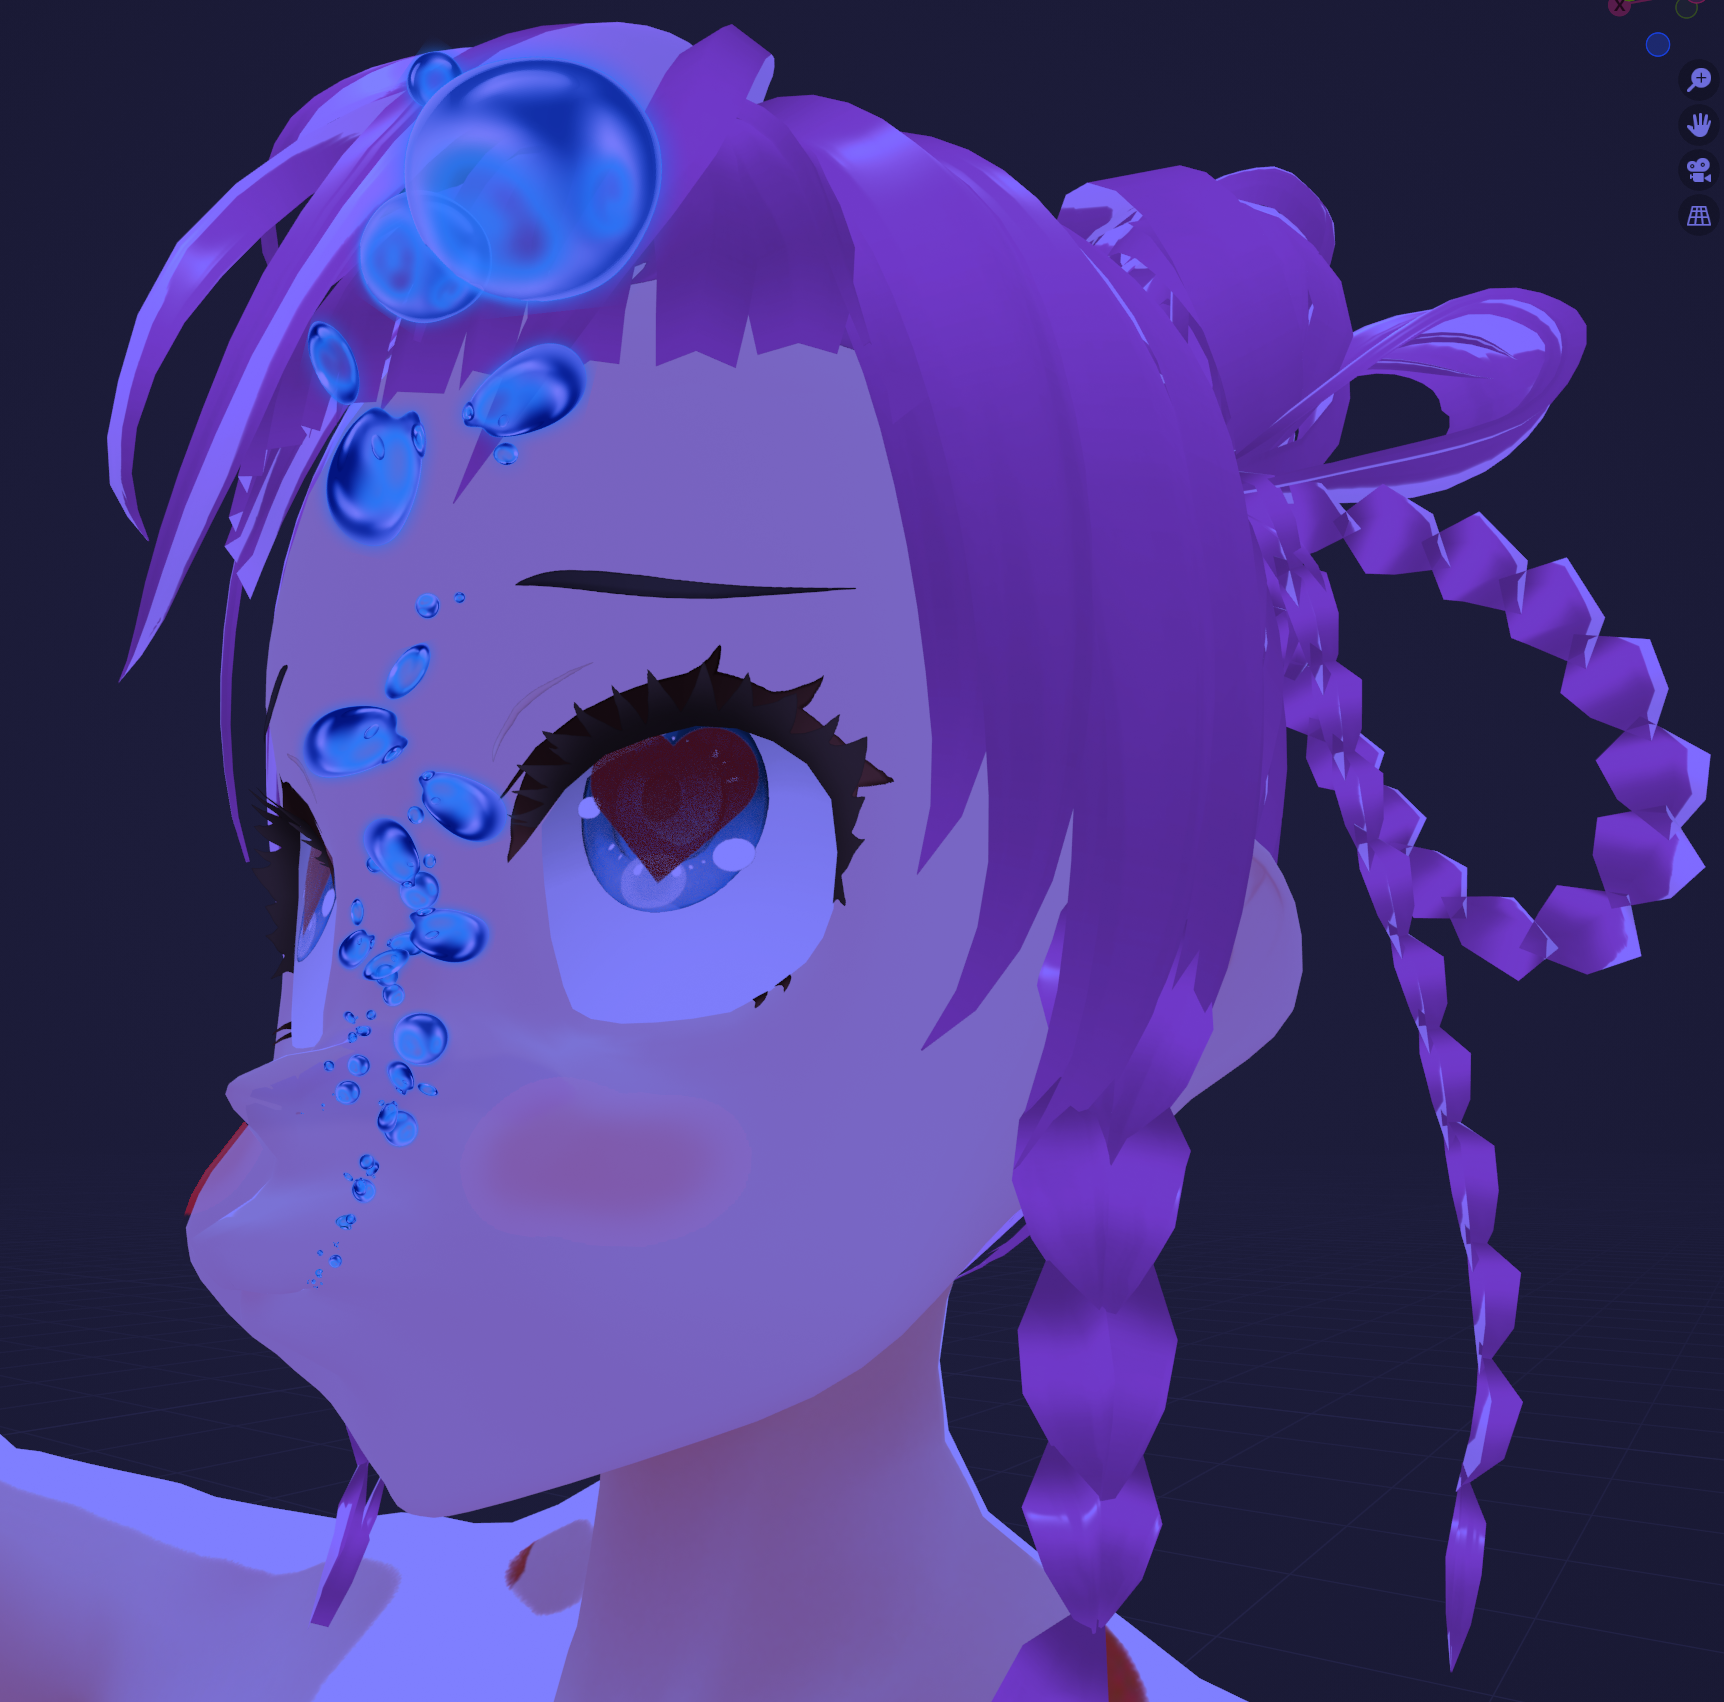
いよいよunityで腰ヘコモーション作るぞーってなったものの、UMotionProもVeryAnimationも使いこなせず、VRMポージングデスクトップから1フレームずつ書き出せばいいよと言われたものの、それにはストップモーションを1ミリのズレもなくカッチリ作り込む能力が必要と判明し、そんなものはないワイがモーション作成に関してはblenderが一番成功体験があったので、blenderでレンダリングしても焼けないやり方を模索してみようという方向になり、とりあえずクッソ重いパーティクルからなんとかしてみようと、みすきーで教えていただいたこれをやってみた
I was finally ready to create a motion for her to swing her hips in unity, but I had a past where I couldn't master either UMotionPro or VeryAnimation.
My mentor told me that I could just export one frame at a time from the VRM posing desktop, but it turned out that this would require the ability to create a stop motion without a single millimetre of deviation.
I didn't have that ability, but I had the most successful experience with blender when it came to motion creation, so I decided to try to find a way to render with blender without burning up my computer.
At first, I tried this, which I learned from misskey, to try to get rid of the heavy particles.
結果がこちら。
Results.
ジオメトリシミュレート泡テスト
いやー、これはエロいわー。
Wow, these are some lewd bubbles.
2024-03-14 15:06:30 +0000 UTC
View Post
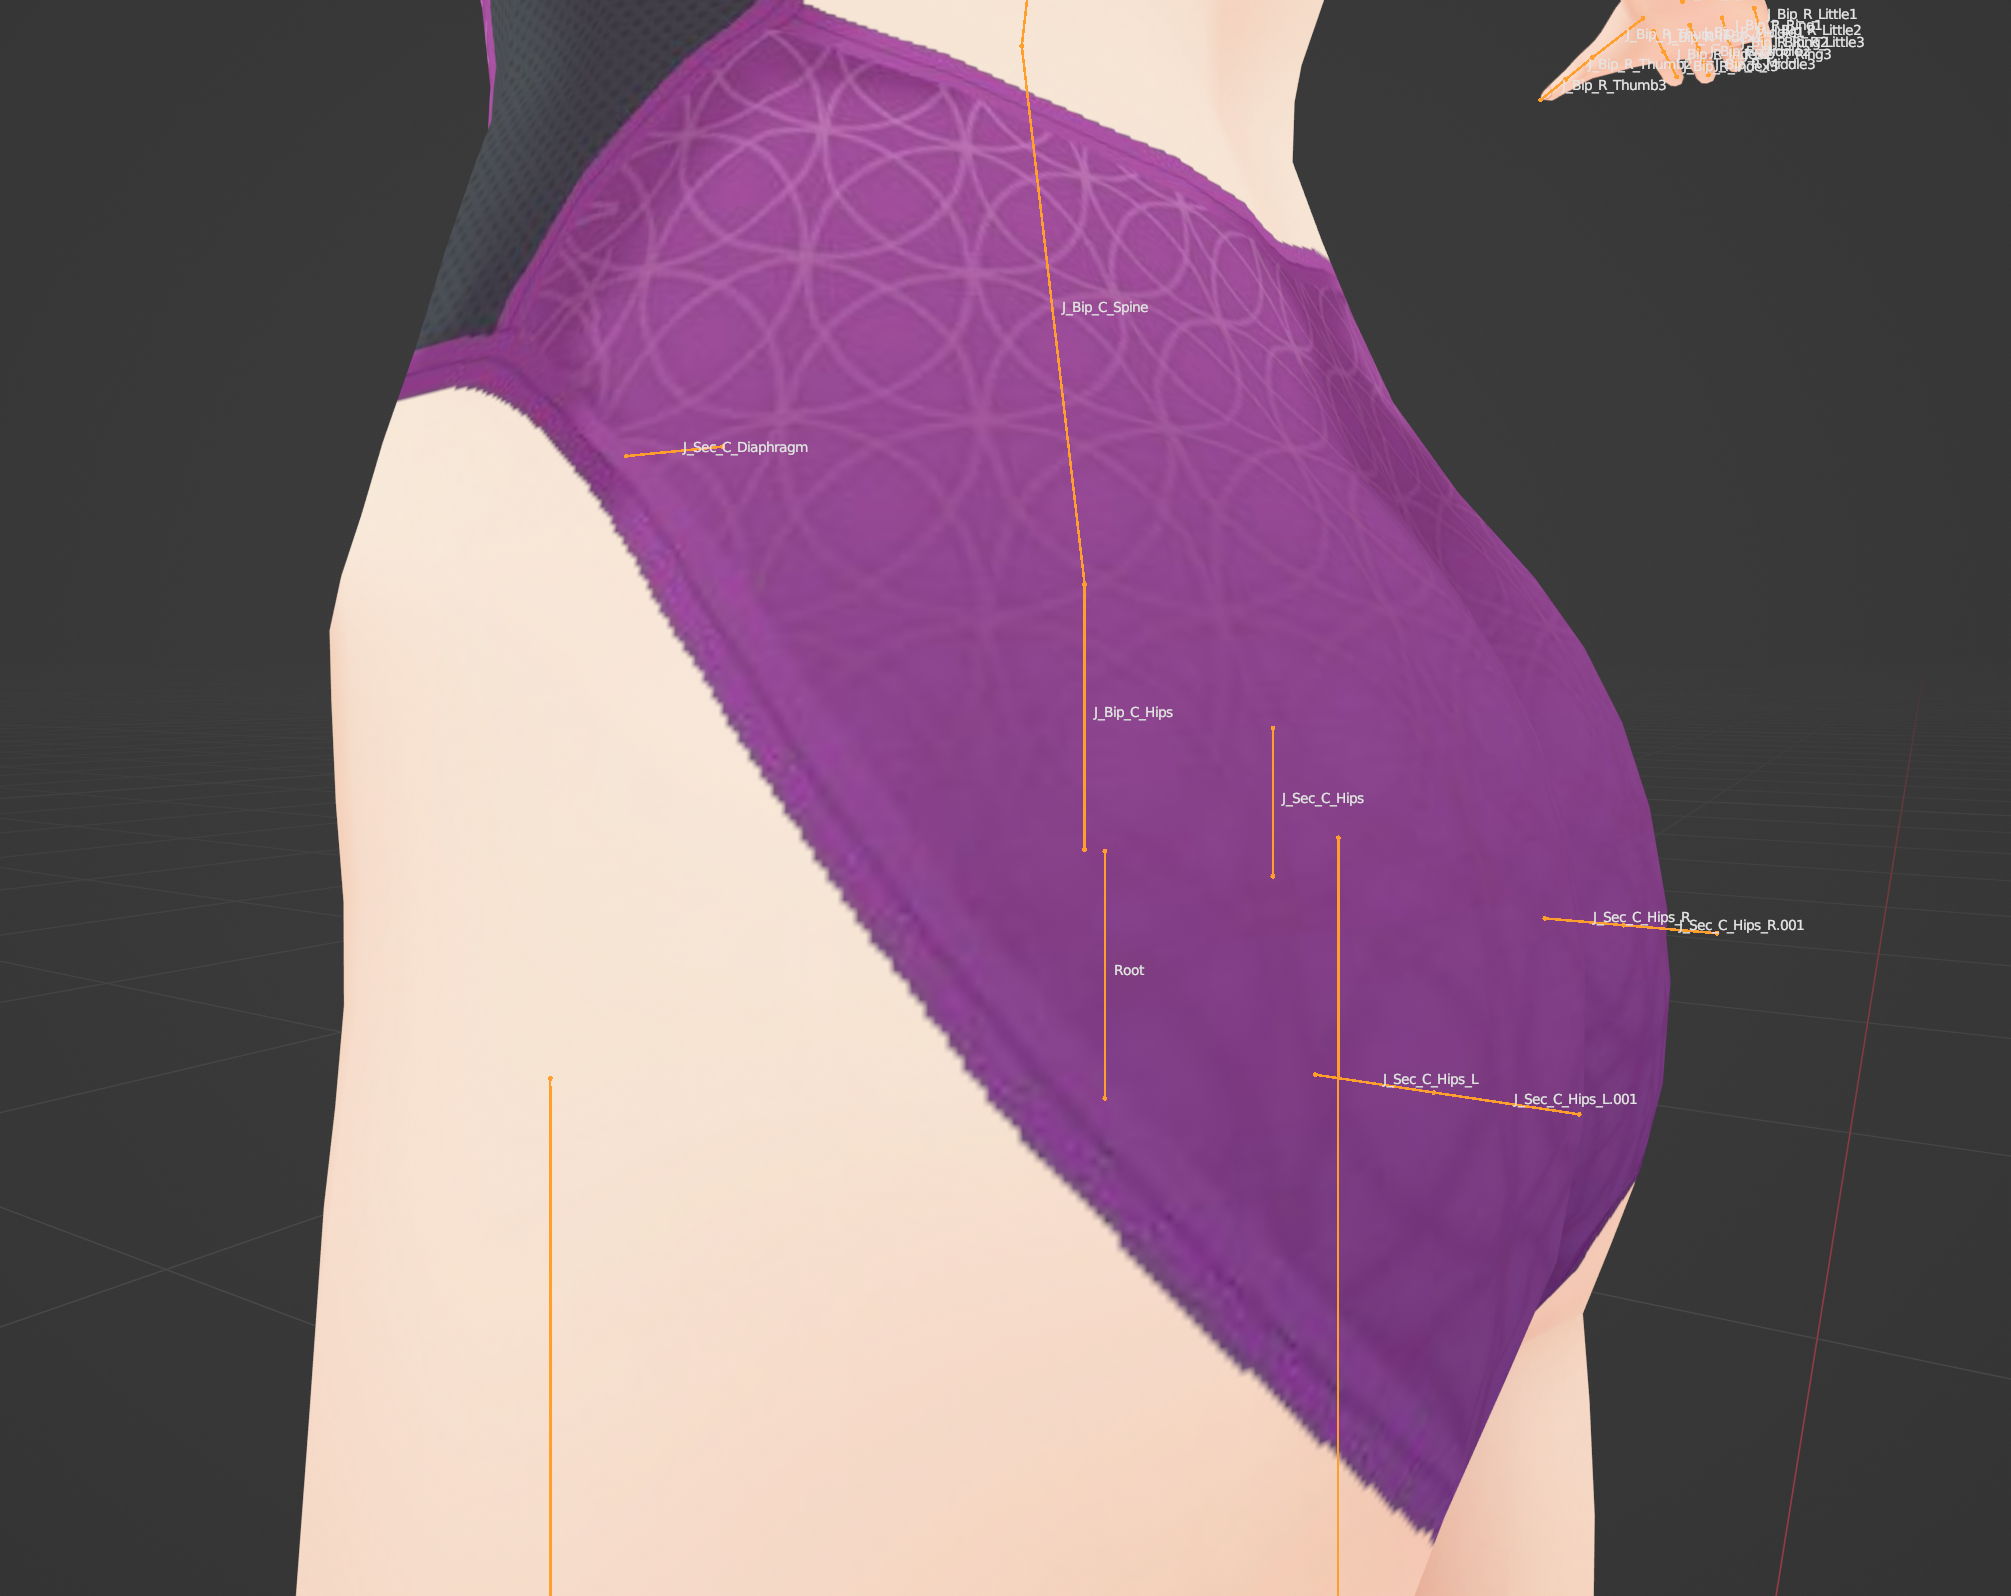
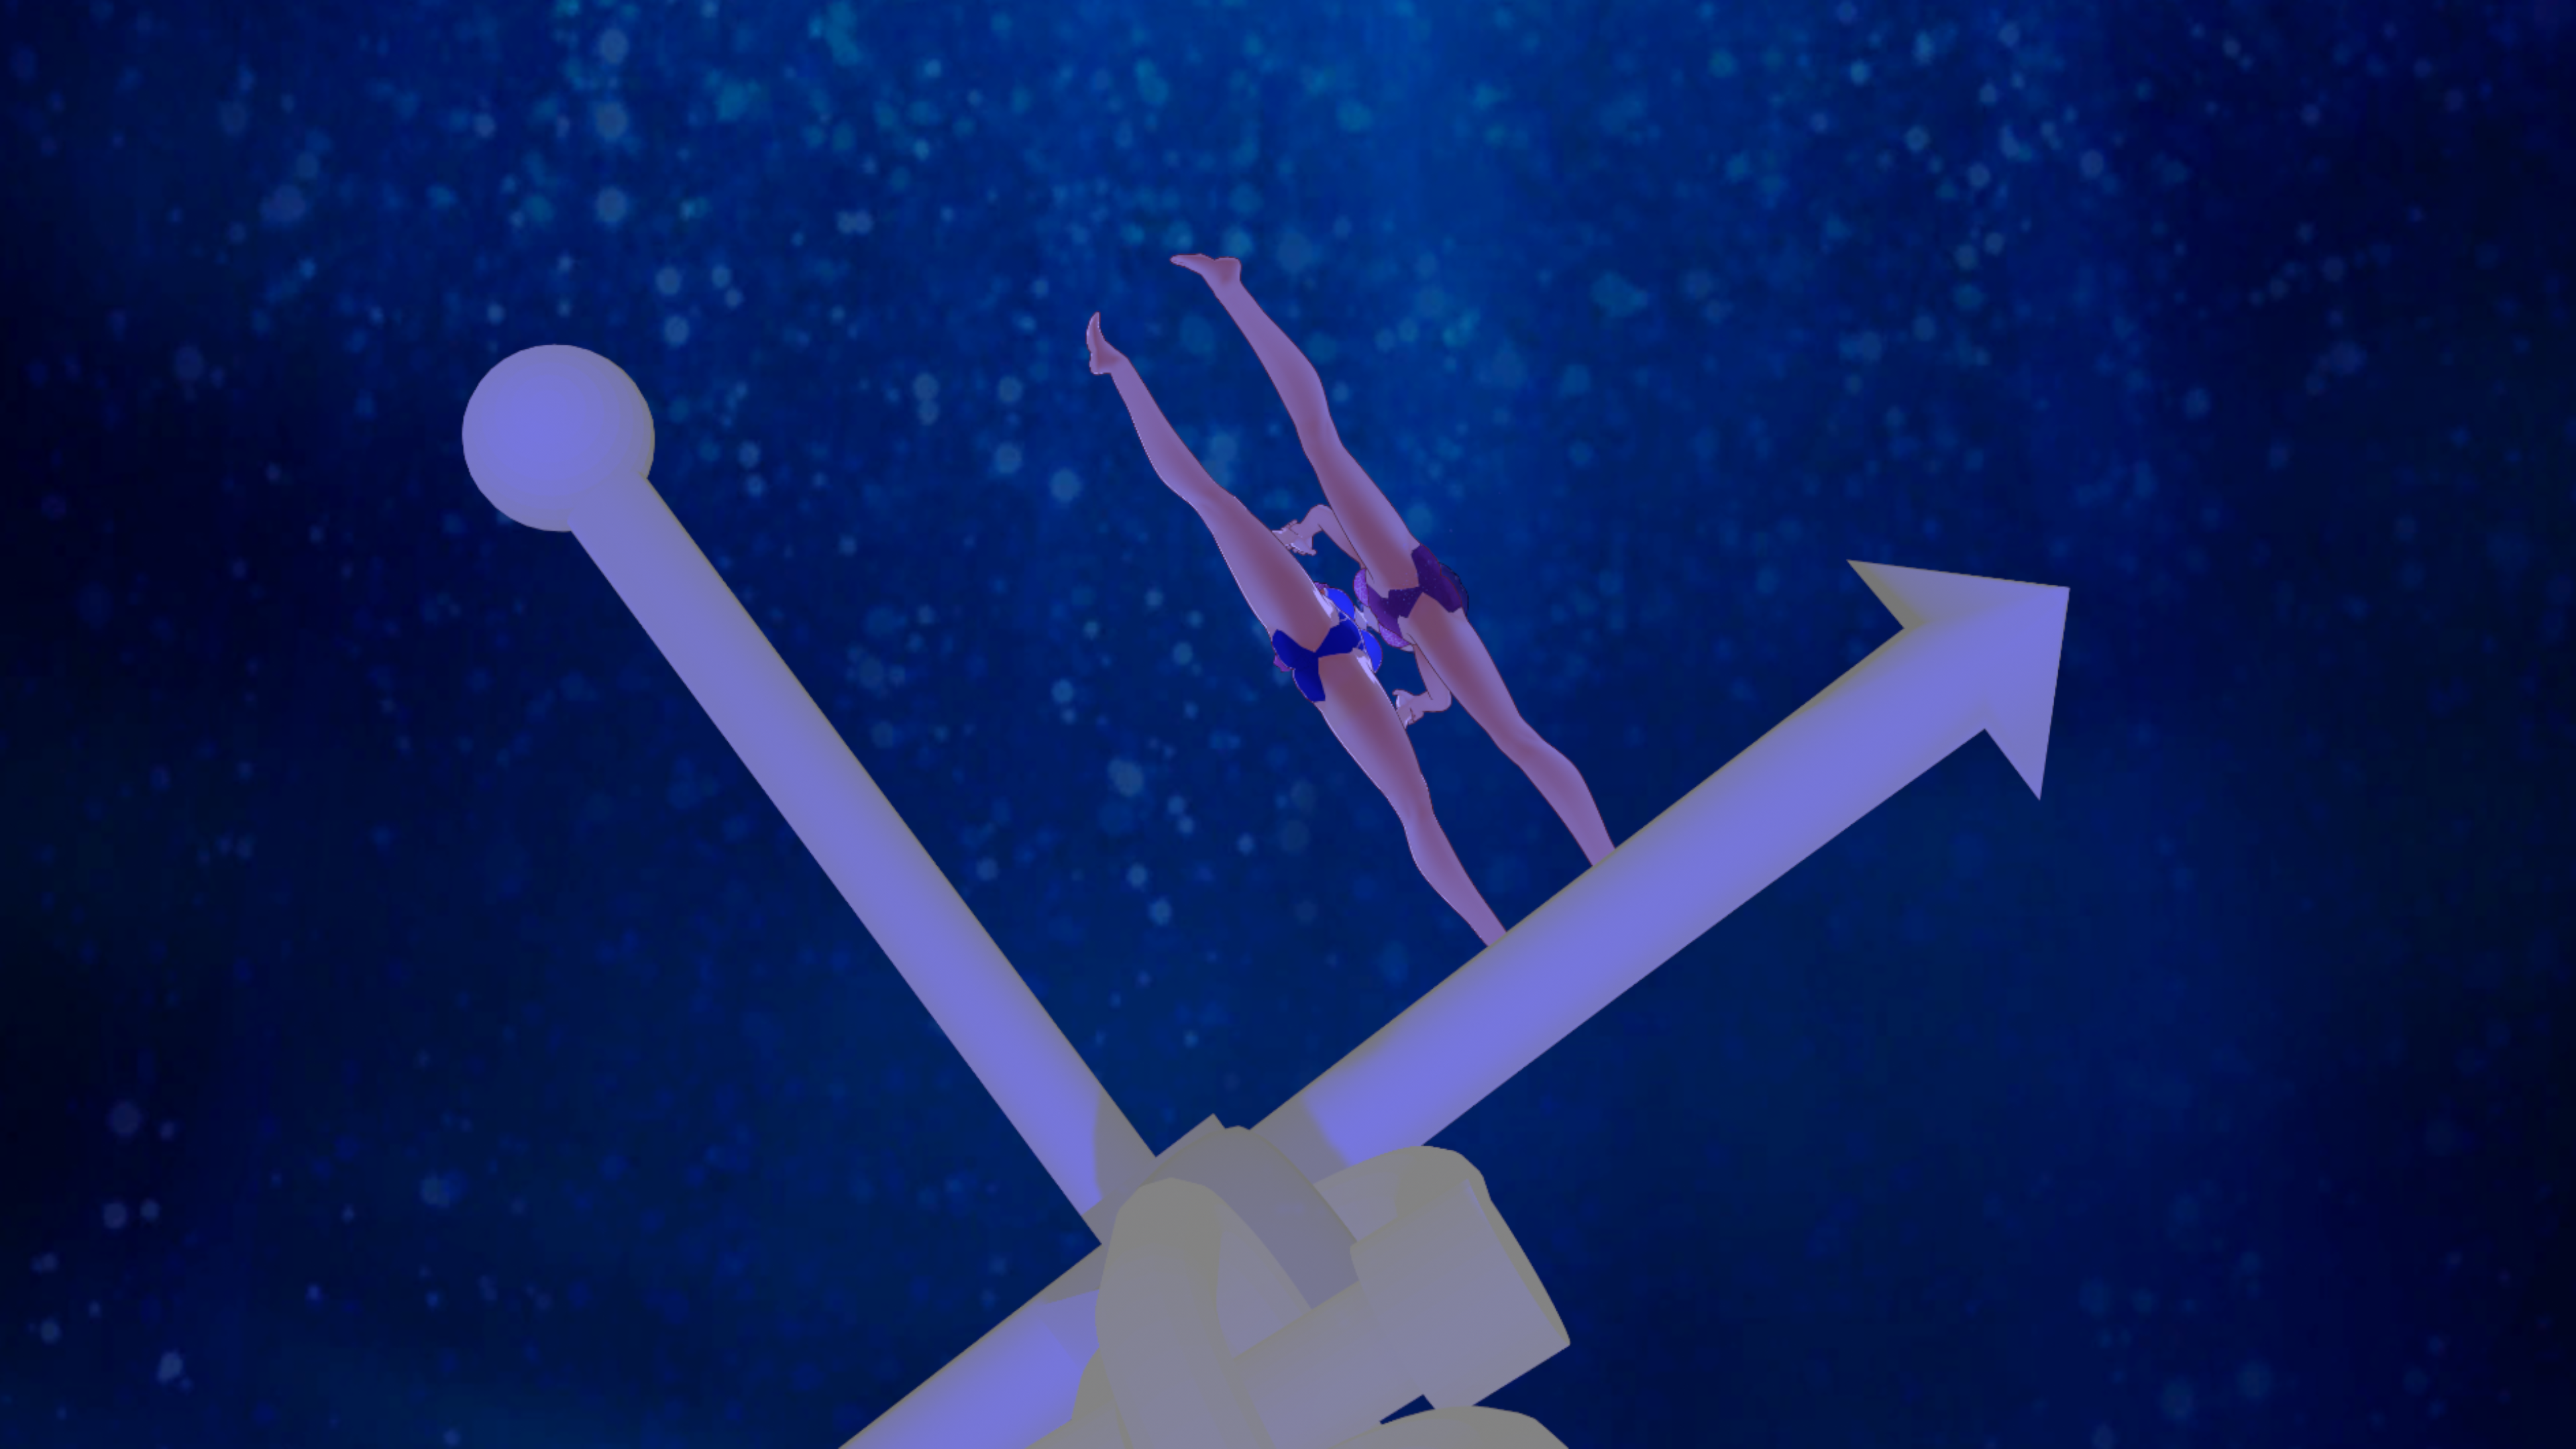
錨にまたがって腰をへこへこさせるアニメーションを作ろうとして師匠と試行錯誤してて、先達として師匠がやっていたことで気づいた話ですが、一般的なダンスモーションの範疇を超えるアニメーションをする場合、VRMにコンバートする場合には邪魔になるRootボーンが実は必要なものだったことが判明しました。
今後の作業としては
・BlenderでRootボーンの追加
・FBXで書き出し後、テクスチャの再割り当て。Humanoidリグを設定する際に、RootボーンがHipsに割当たる場合があるのでHipsボーンに変更する必要あり
・揺れ物は、コピーコンポーネントツールで持ってきたあと、Rootボーンおよび揺れ物ボーンとVRM Spring Boneの関係性がすべて外れているところを手動で紐付けしなおす
・その後アニメーション開発する(Unity内アニメーションタブで手動でやる)
という流れになることが判明しました。
作業量は多く、細かい作業ではあるが、方向性が見えたのでちょっとすっきりしました。
I was trying to make an animation of a man straddling an anchor and heaving her hips, and I realised that, as a mentor, the Root bone was actually necessary for animations beyond the scope of general dance motion, and that it would get in the way when converting to VRM. It turned out to be something that was necessary.
As for future work.
Adding the Root Bone in Blender.
After exporting in FBX, reassign textures in unity.When setting up a Humanoid rig, the Root bone may be allocated to Hips, so it needs to be changed to a Hips bone.
After bringing in the shaking object with the Copy Component tool, manually reattach the Root Bone, the shaking object bone and the VRM Spring Bone where they are all disconnected.
Then develop the animation (manually in the Animation tab in Unity).
This turned out to be a process.
It's a lot of work and a lot of detail, but it's a bit clearer now that we have a direction.
2024-03-09 13:16:56 +0000 UTC
View Post
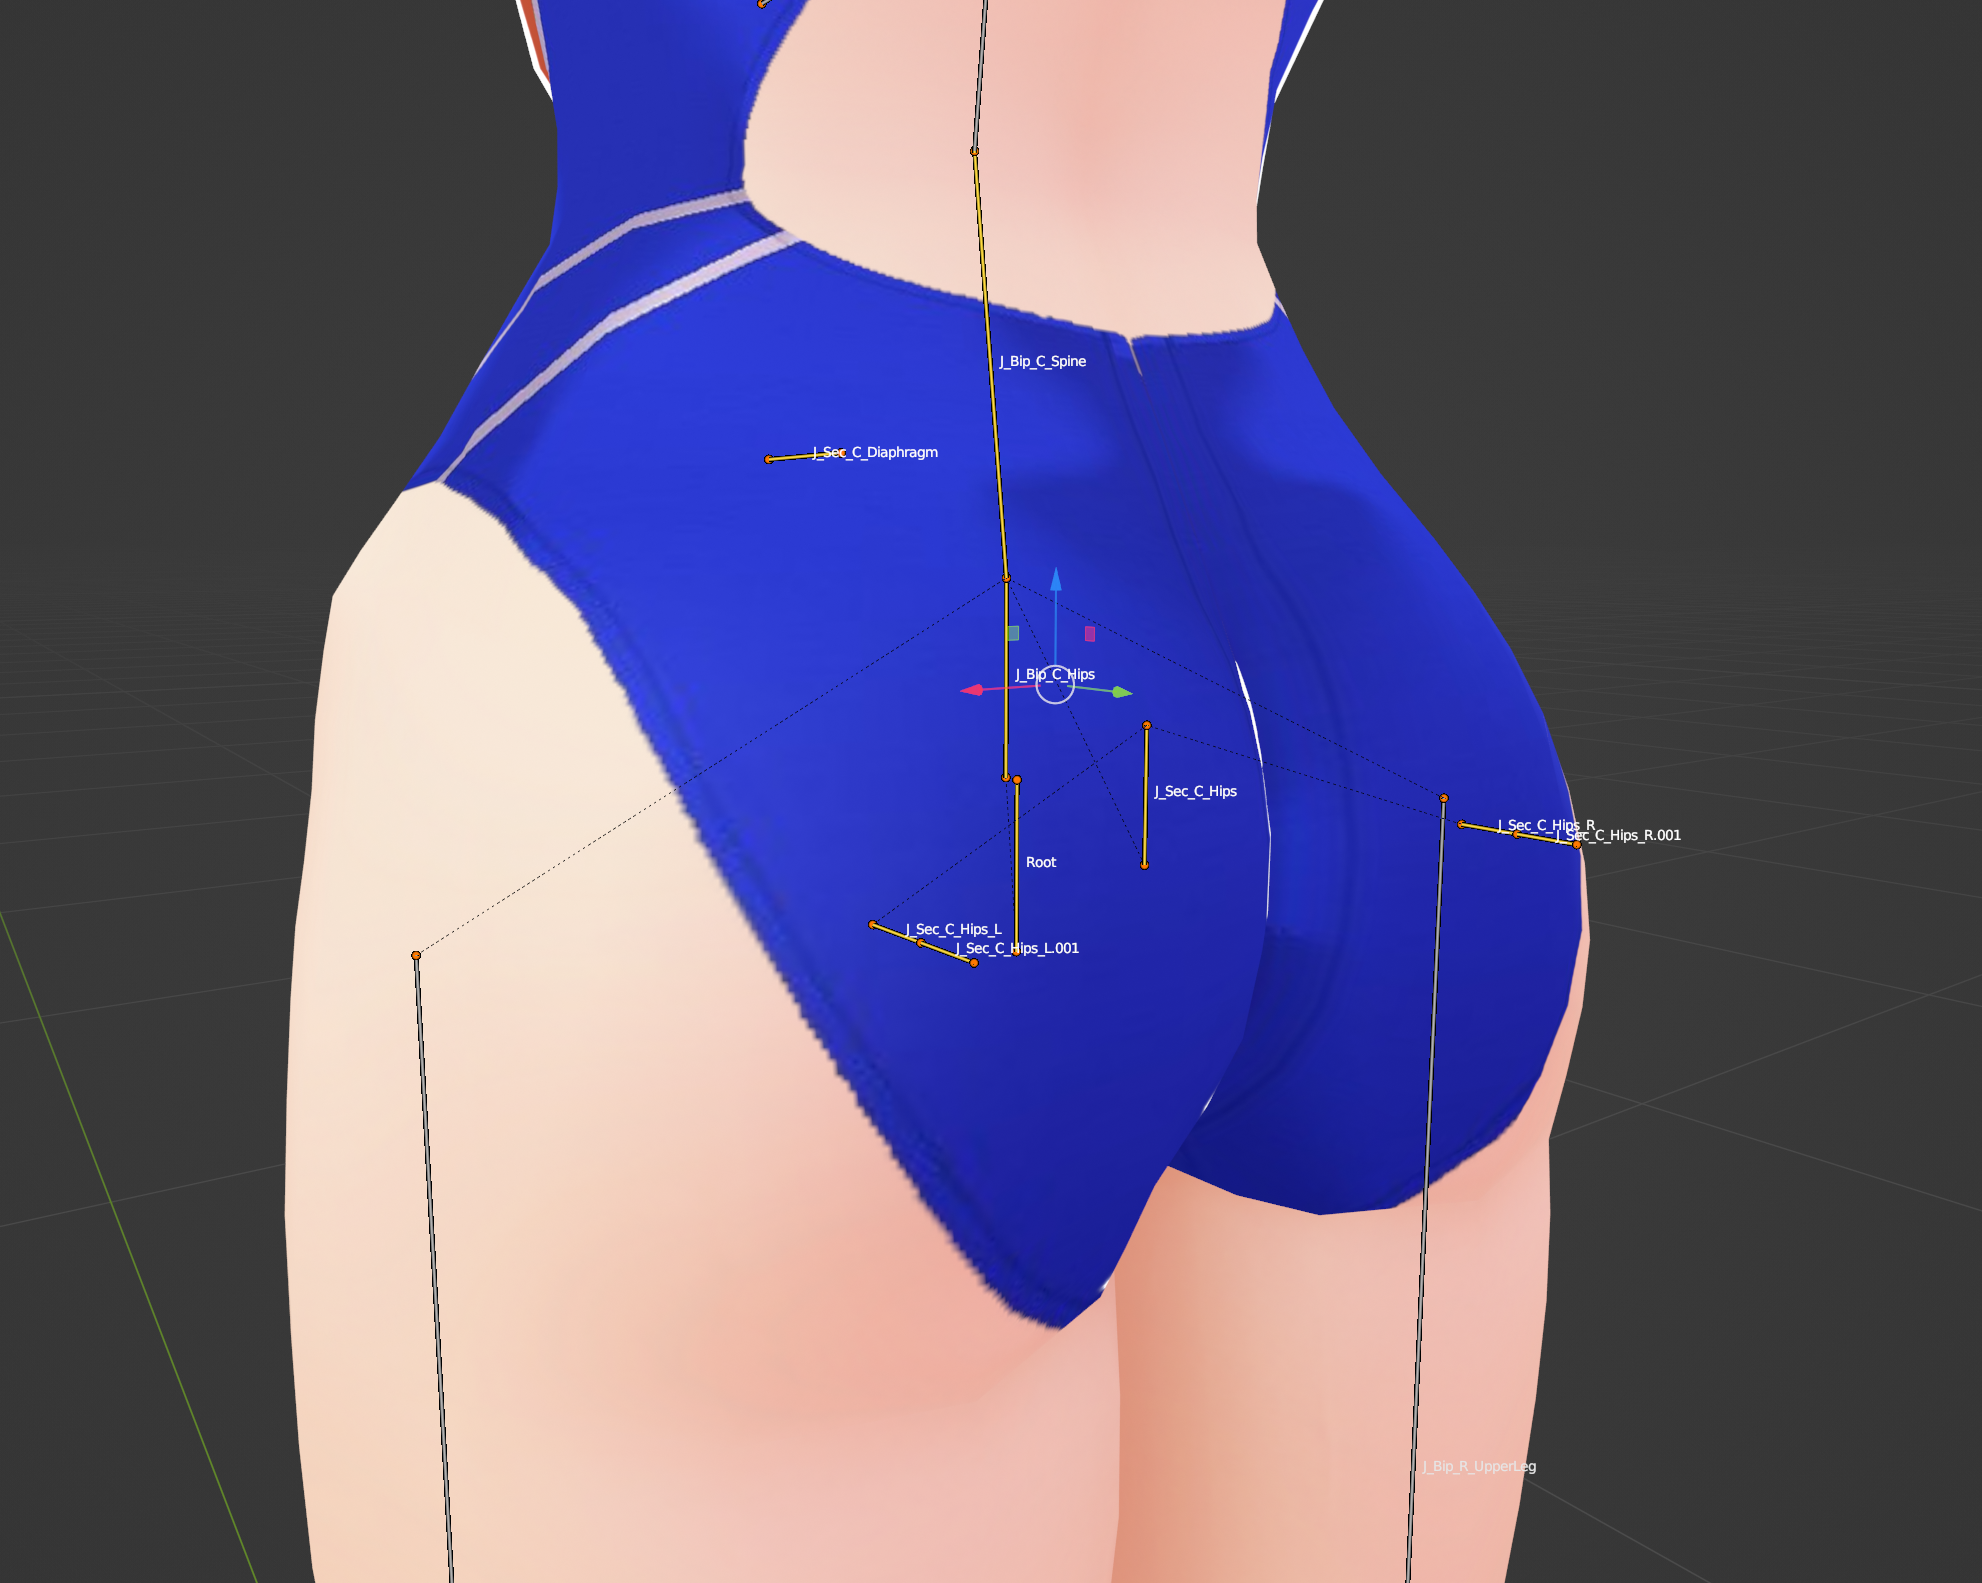
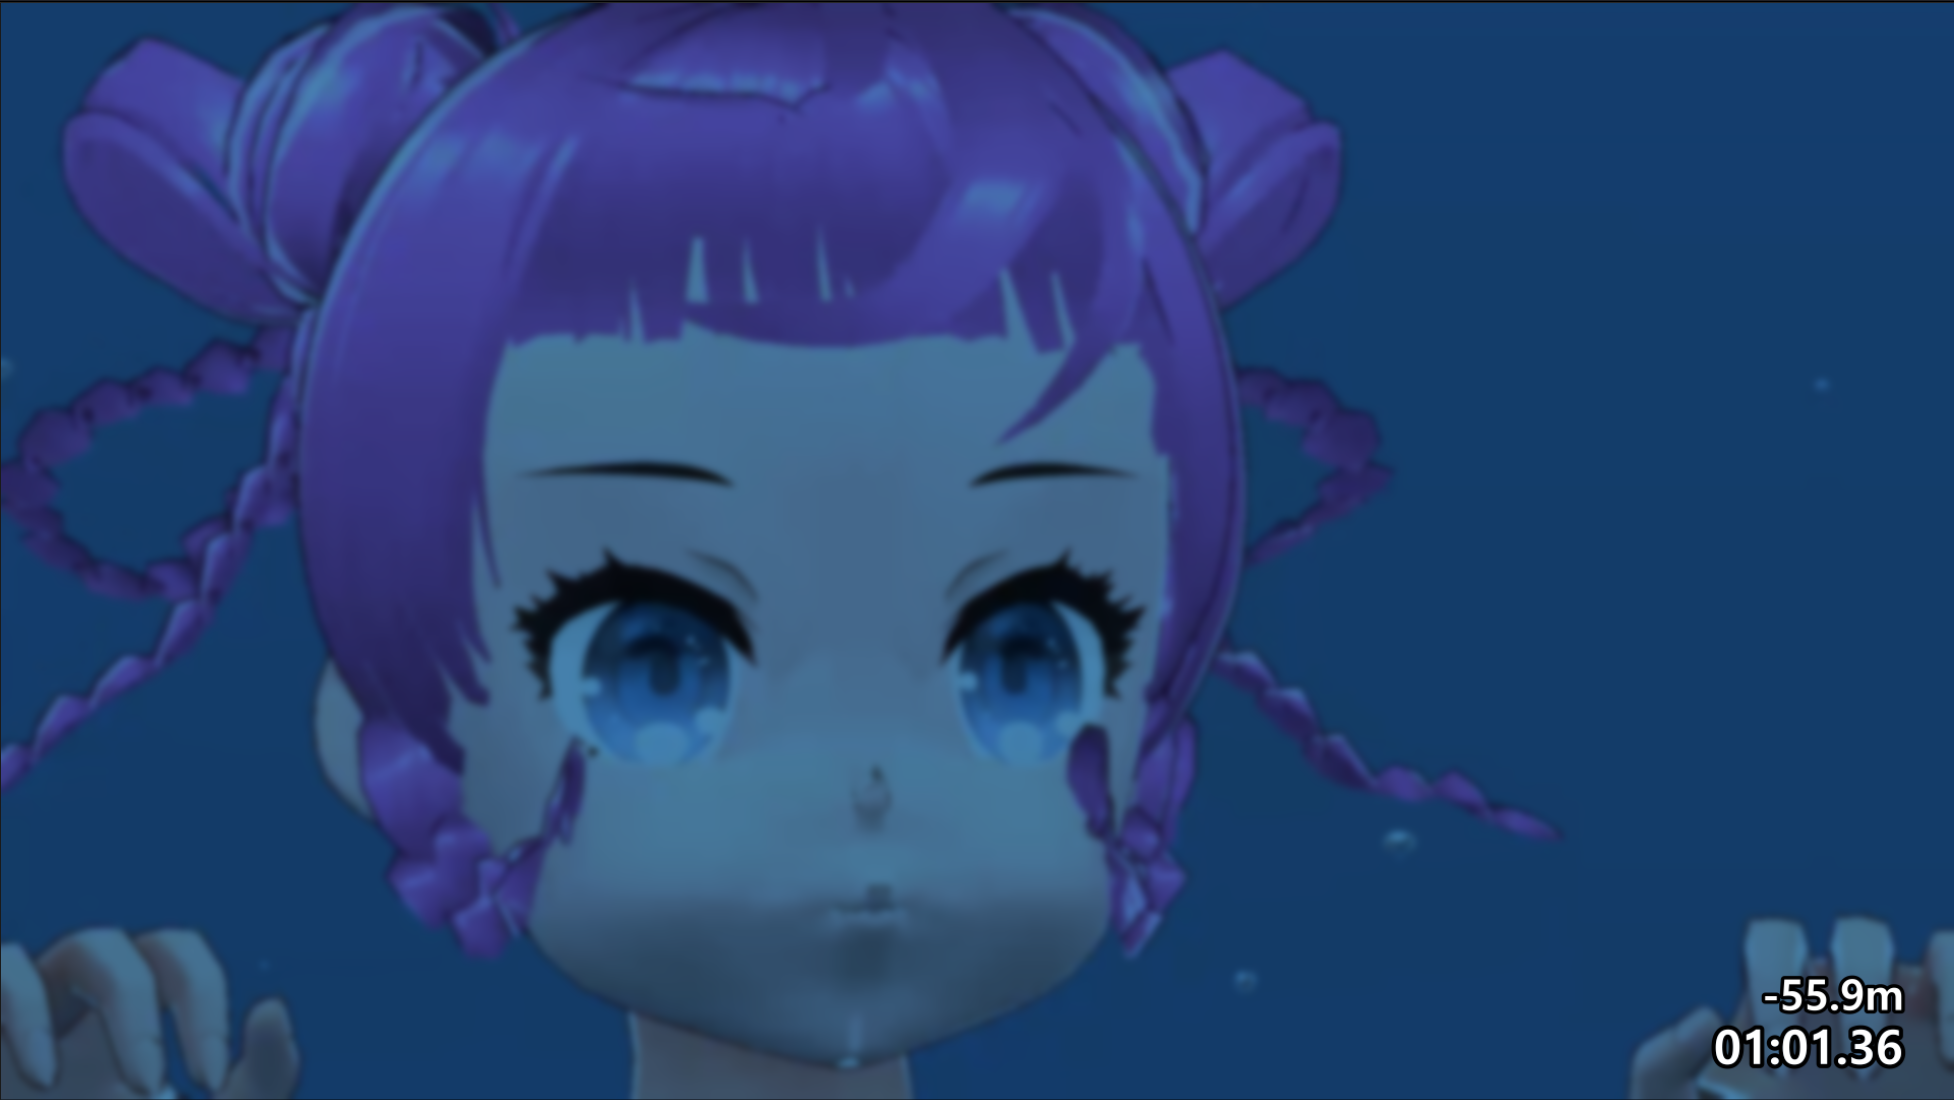
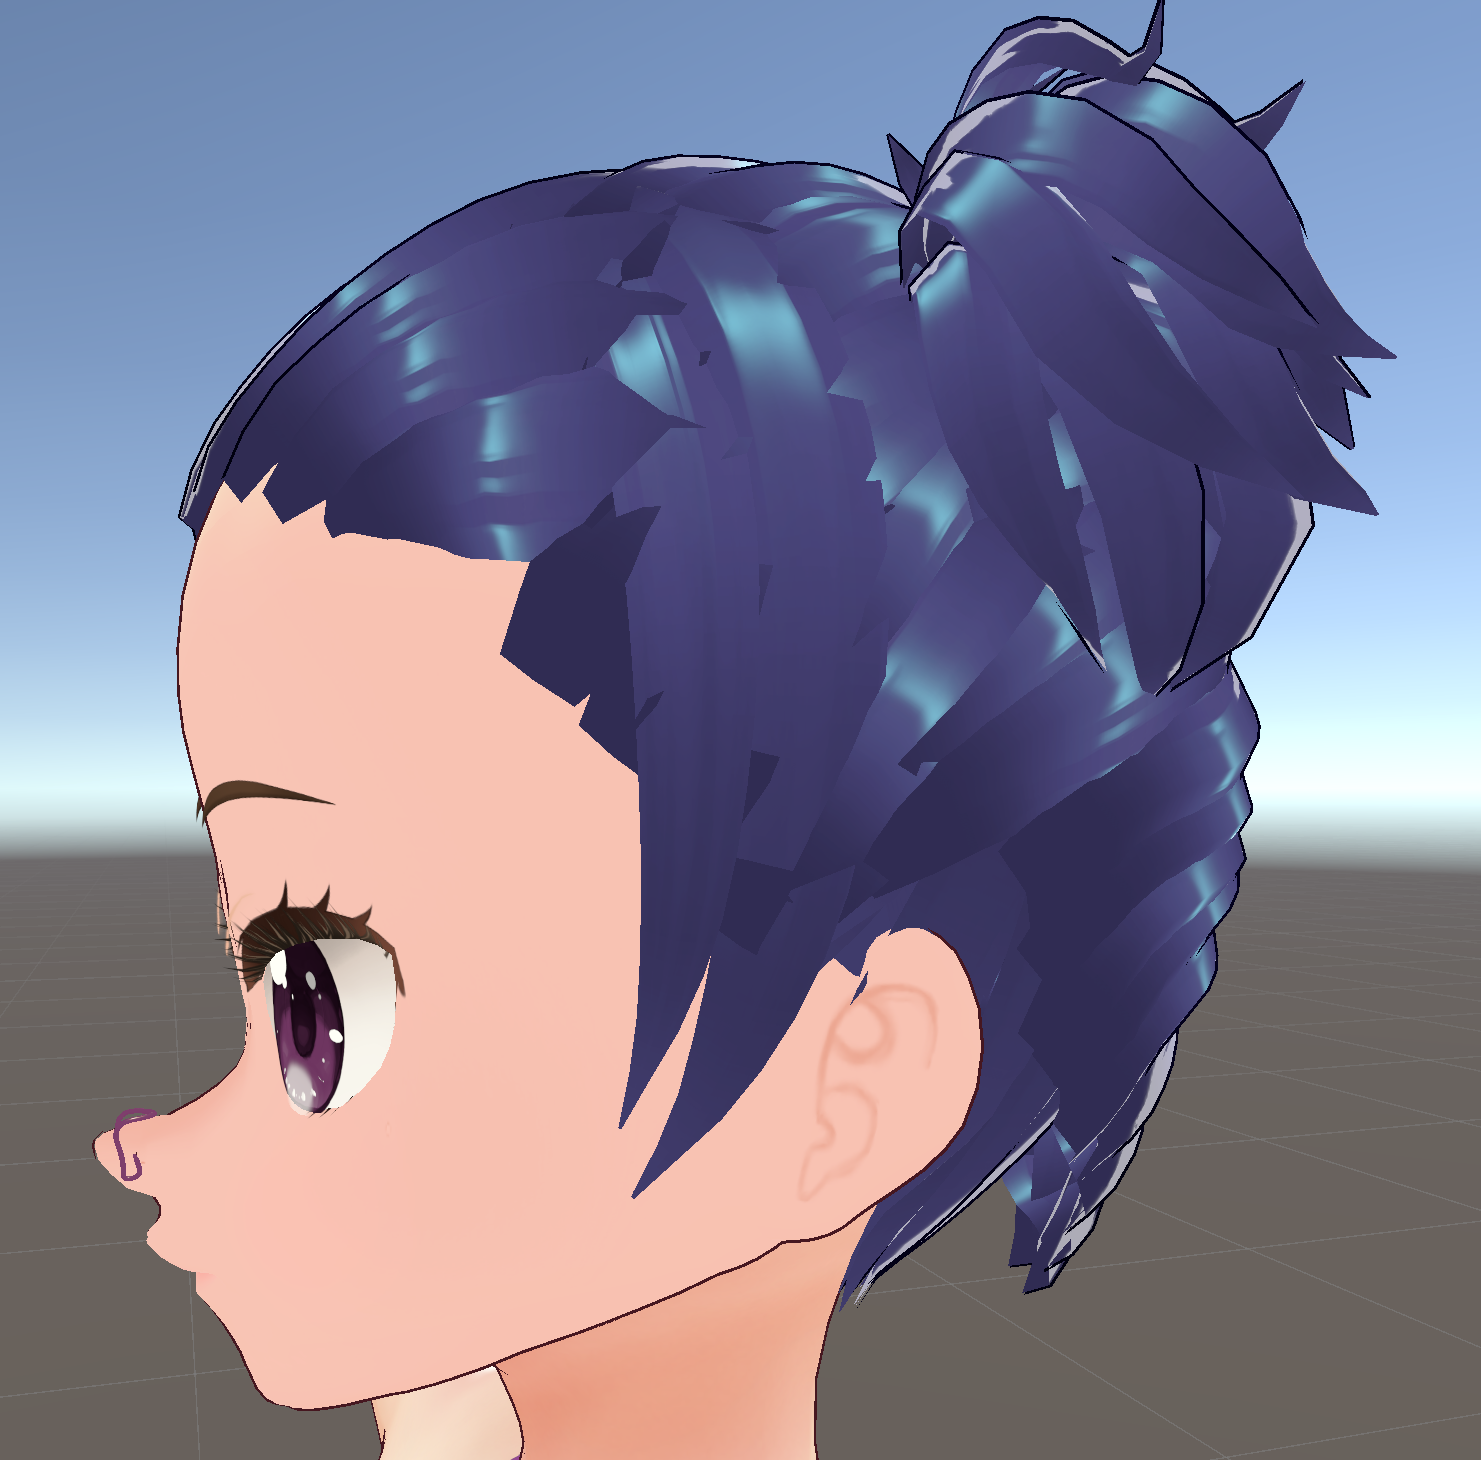
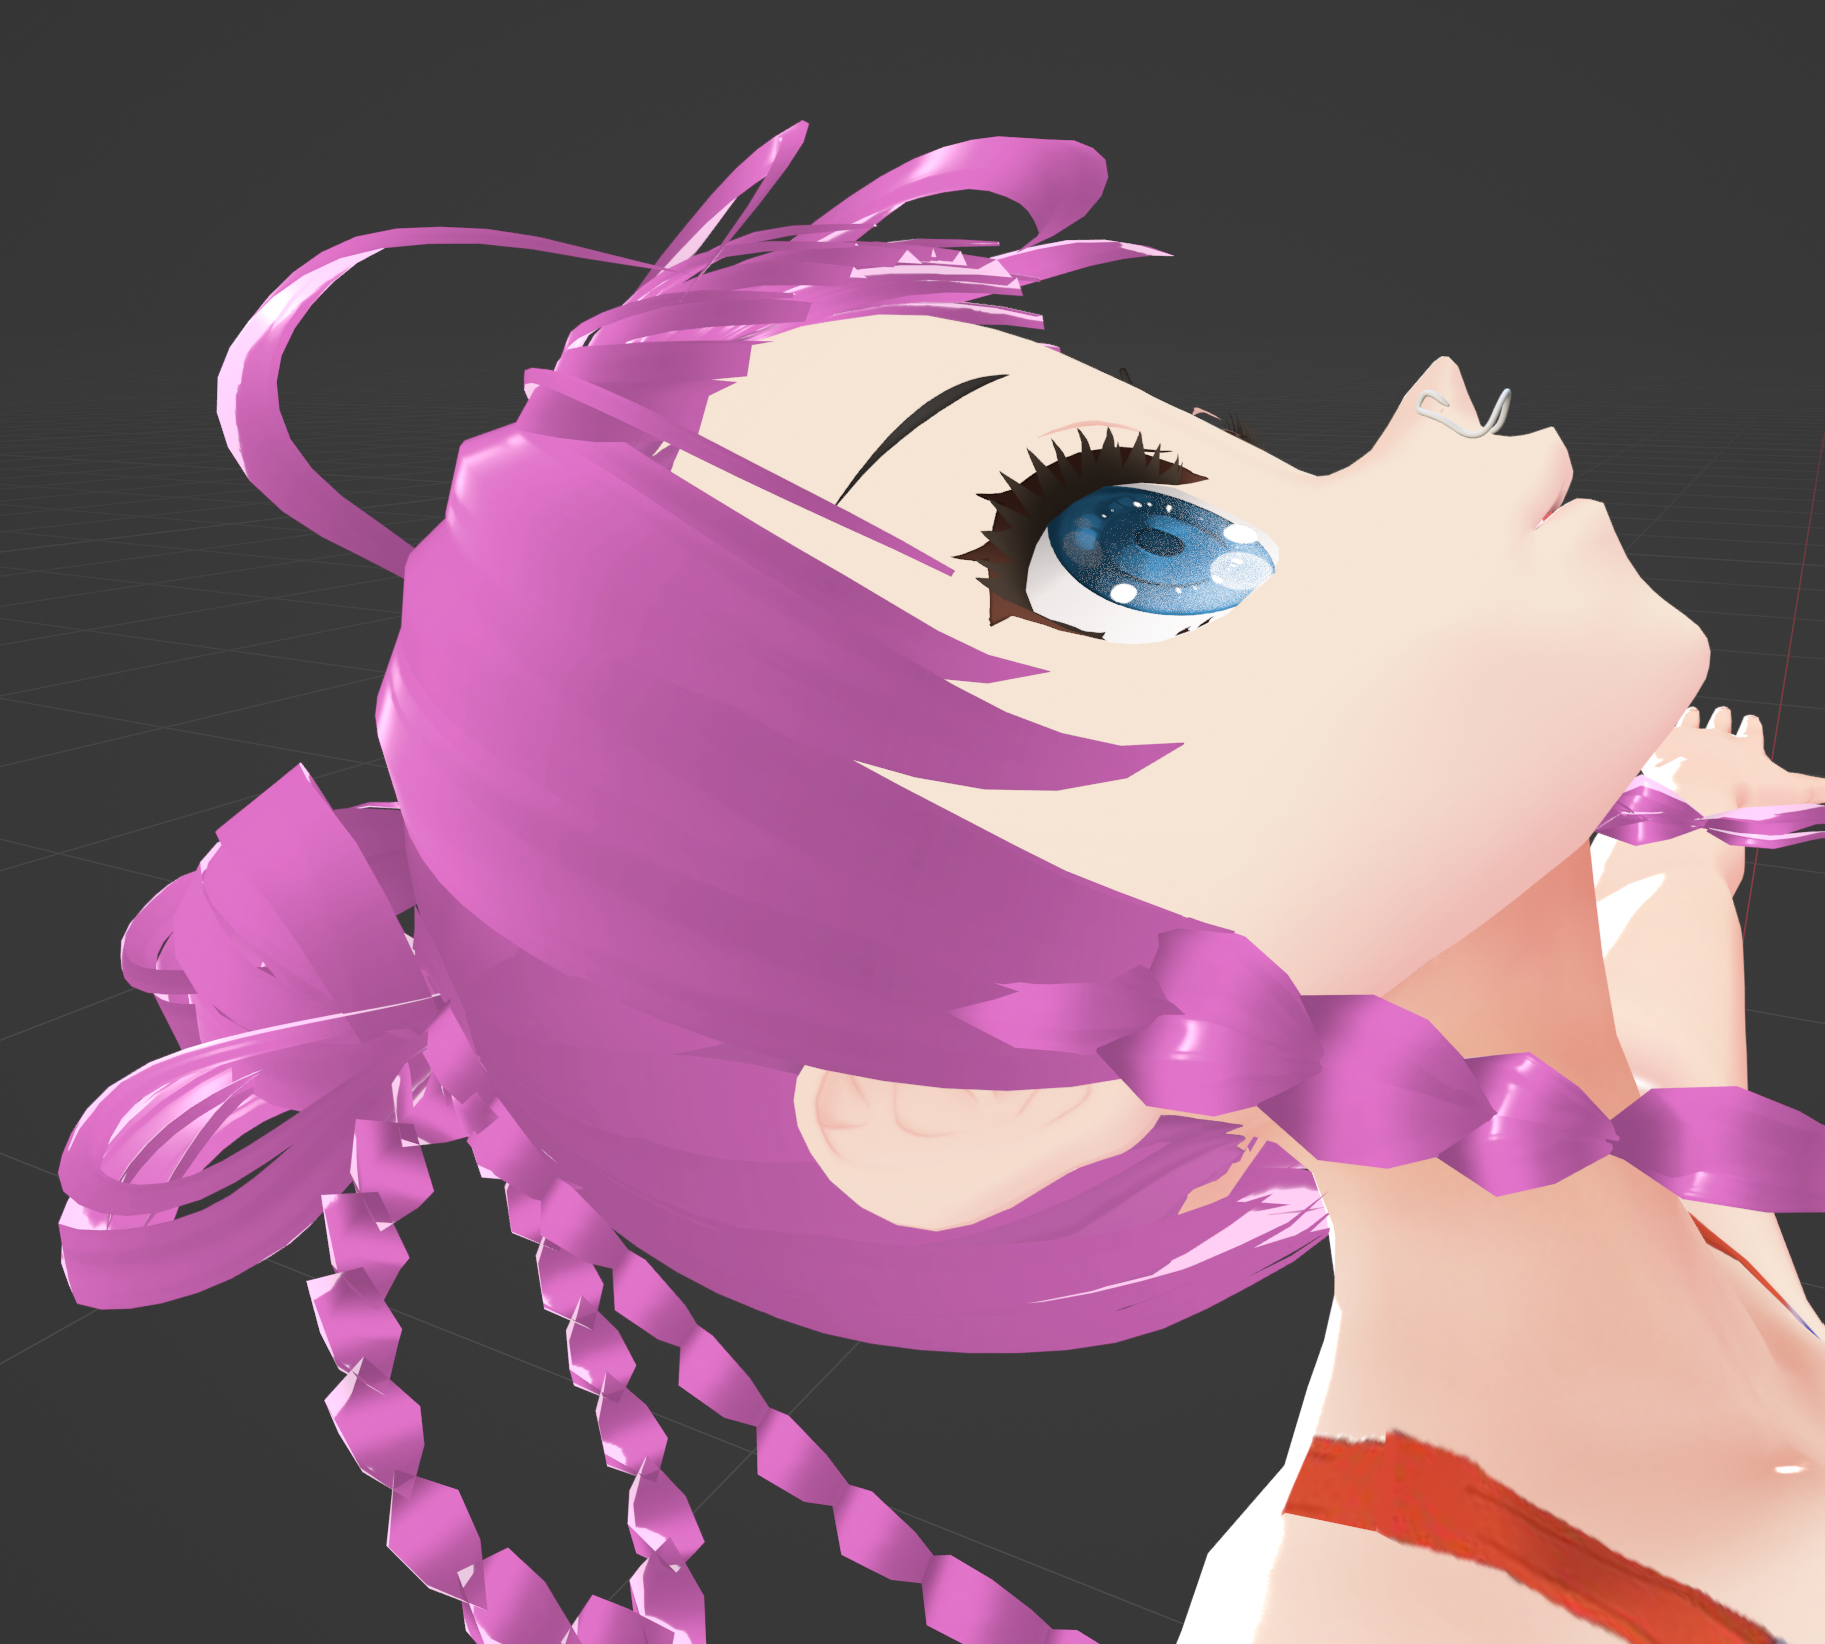
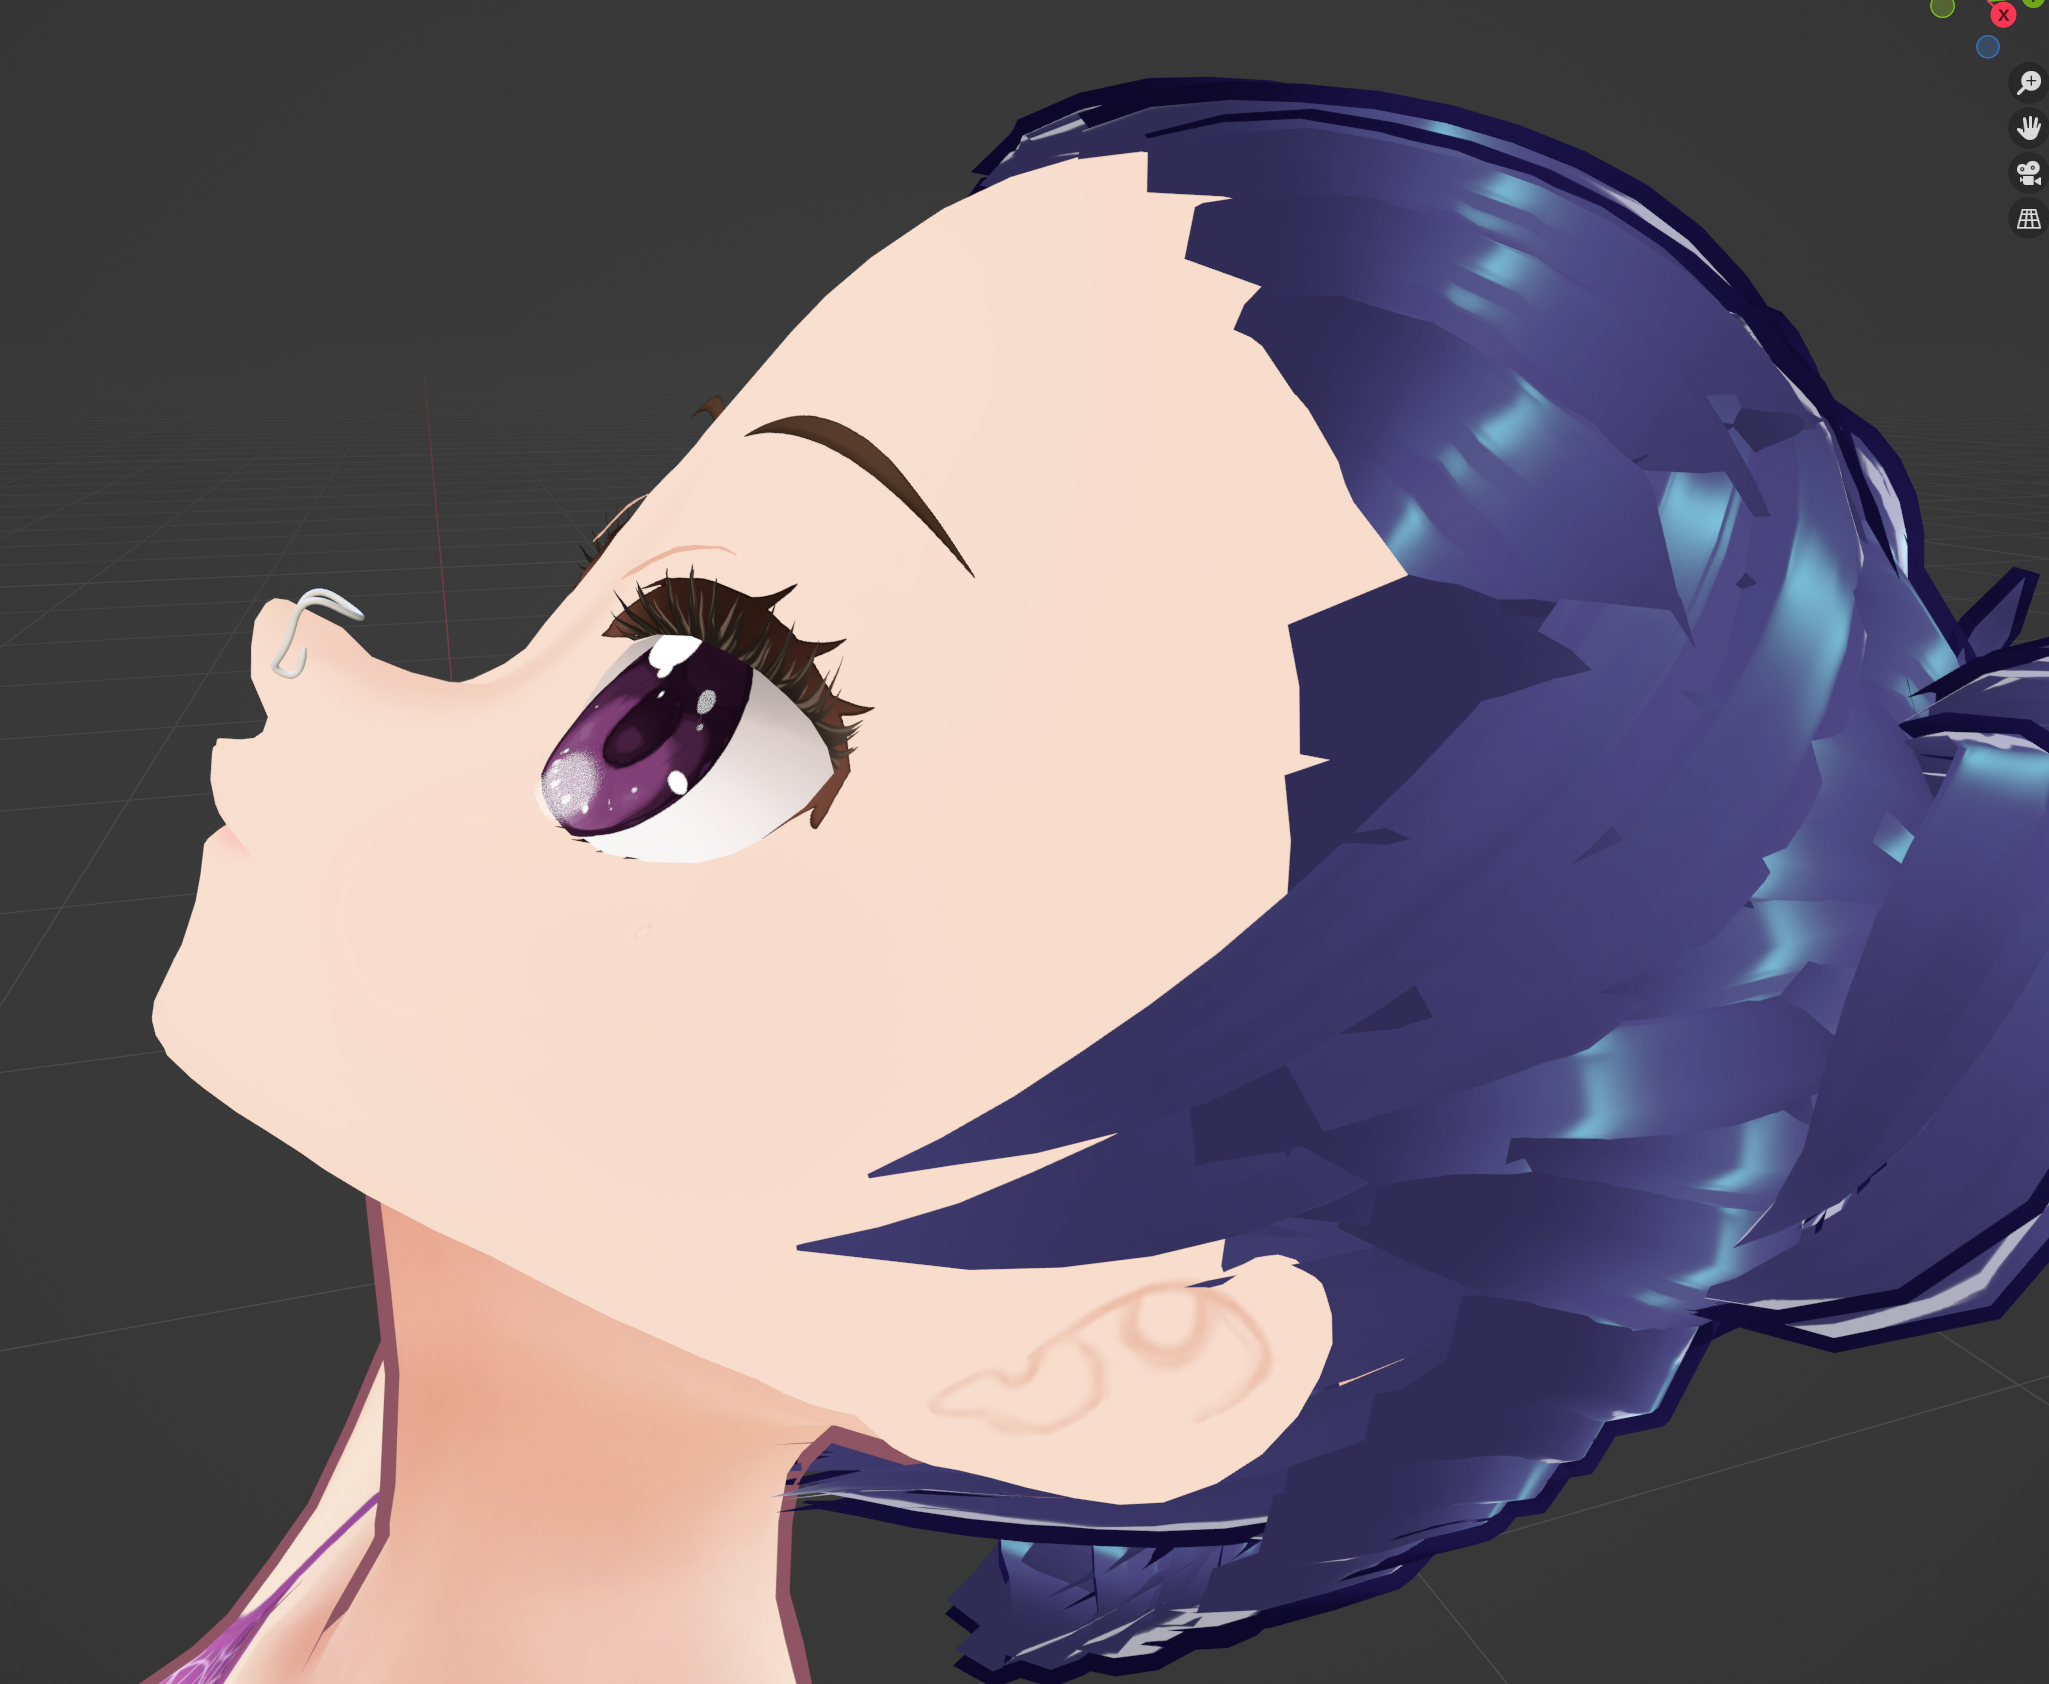
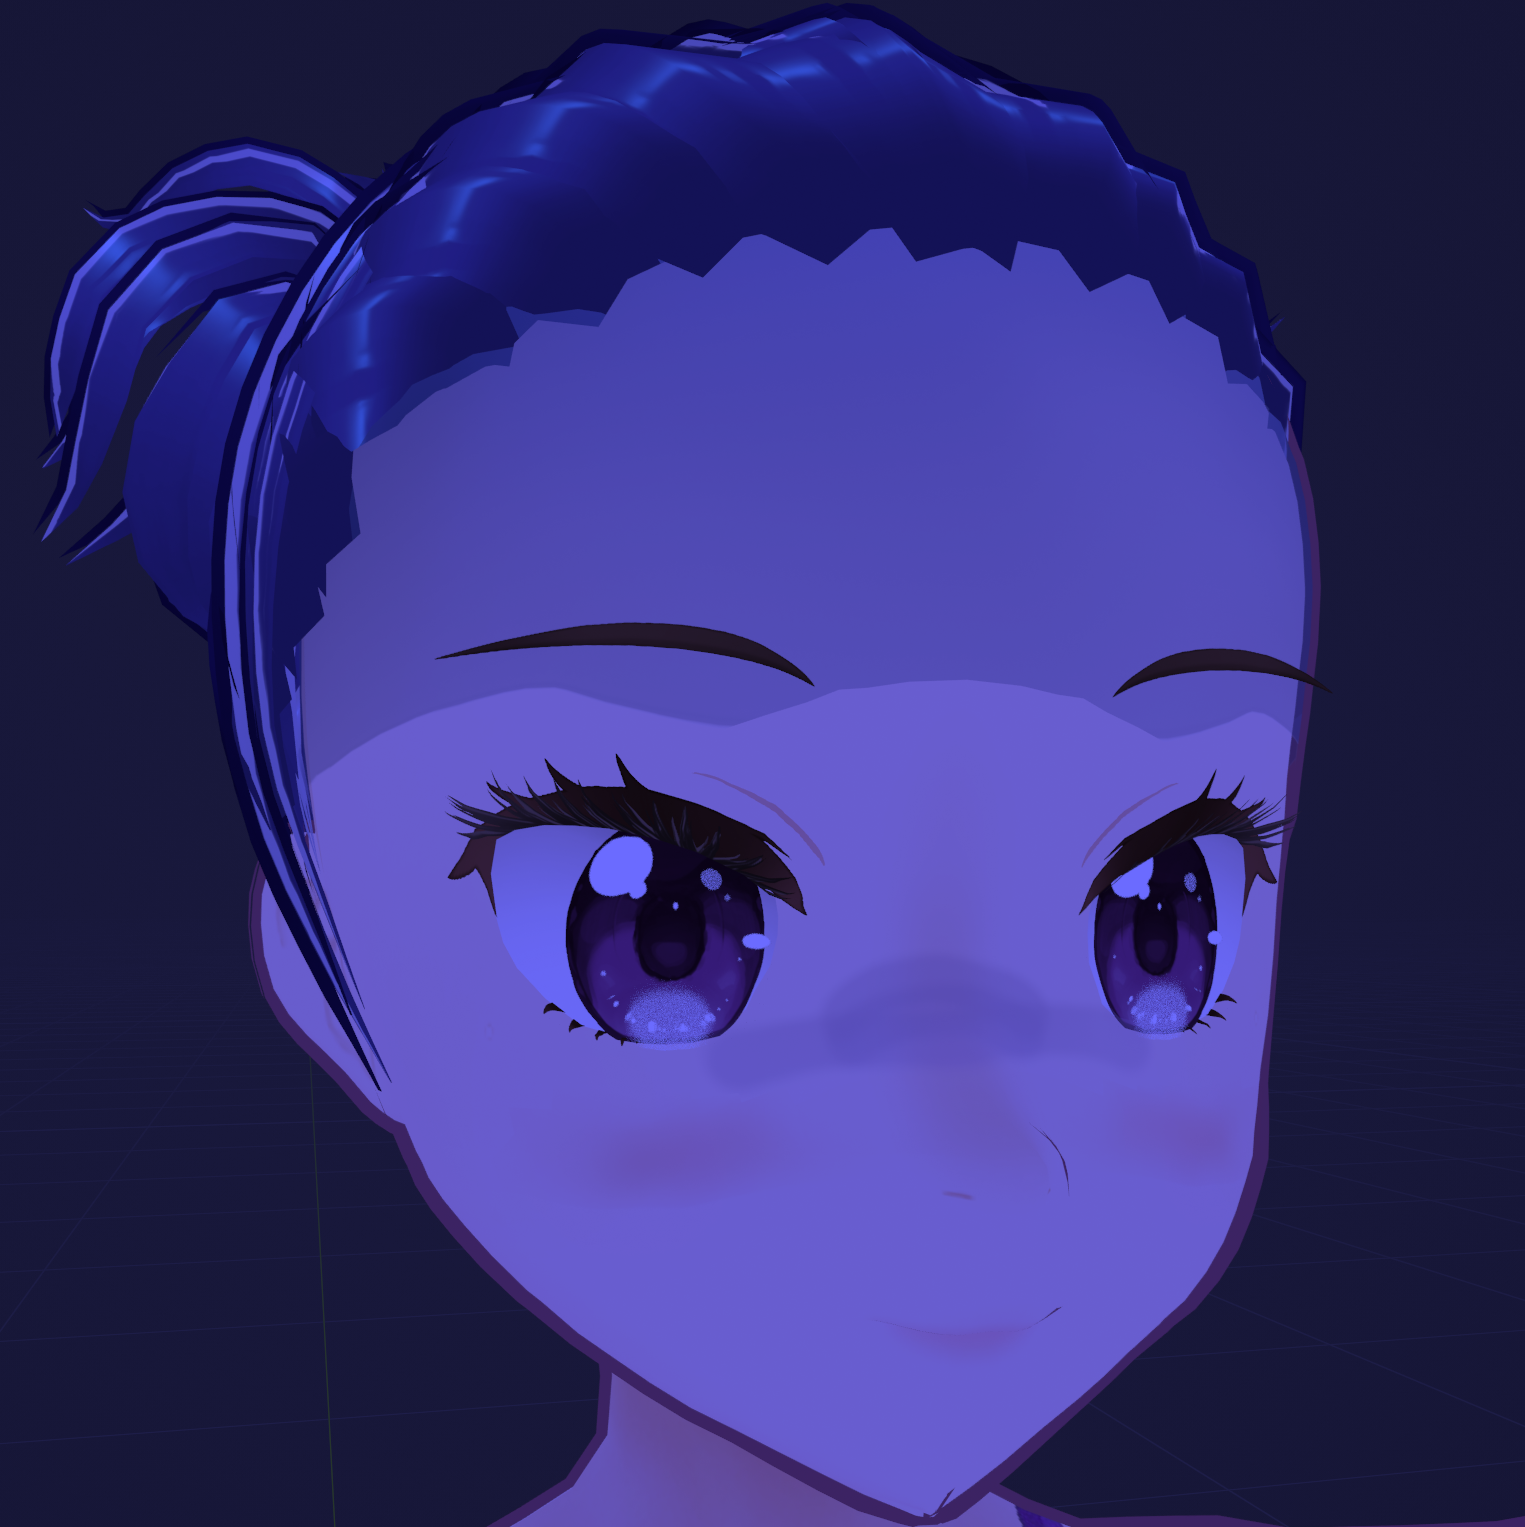
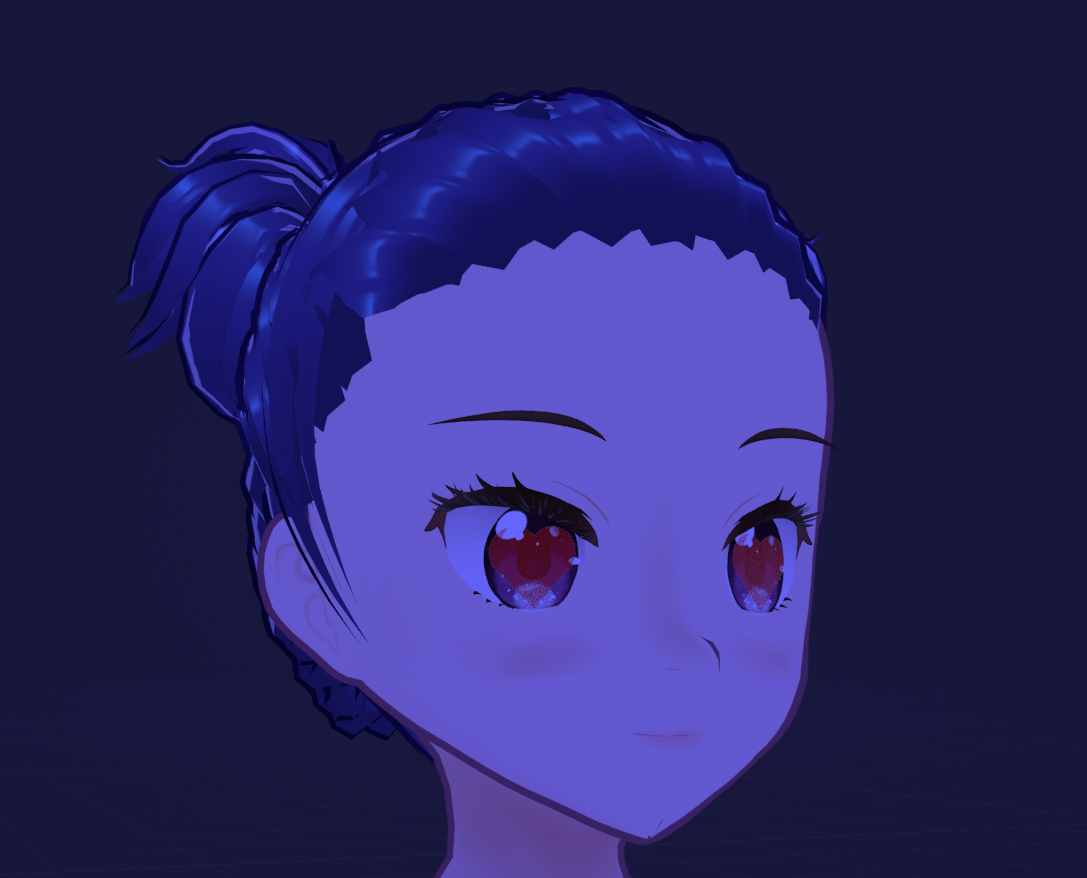
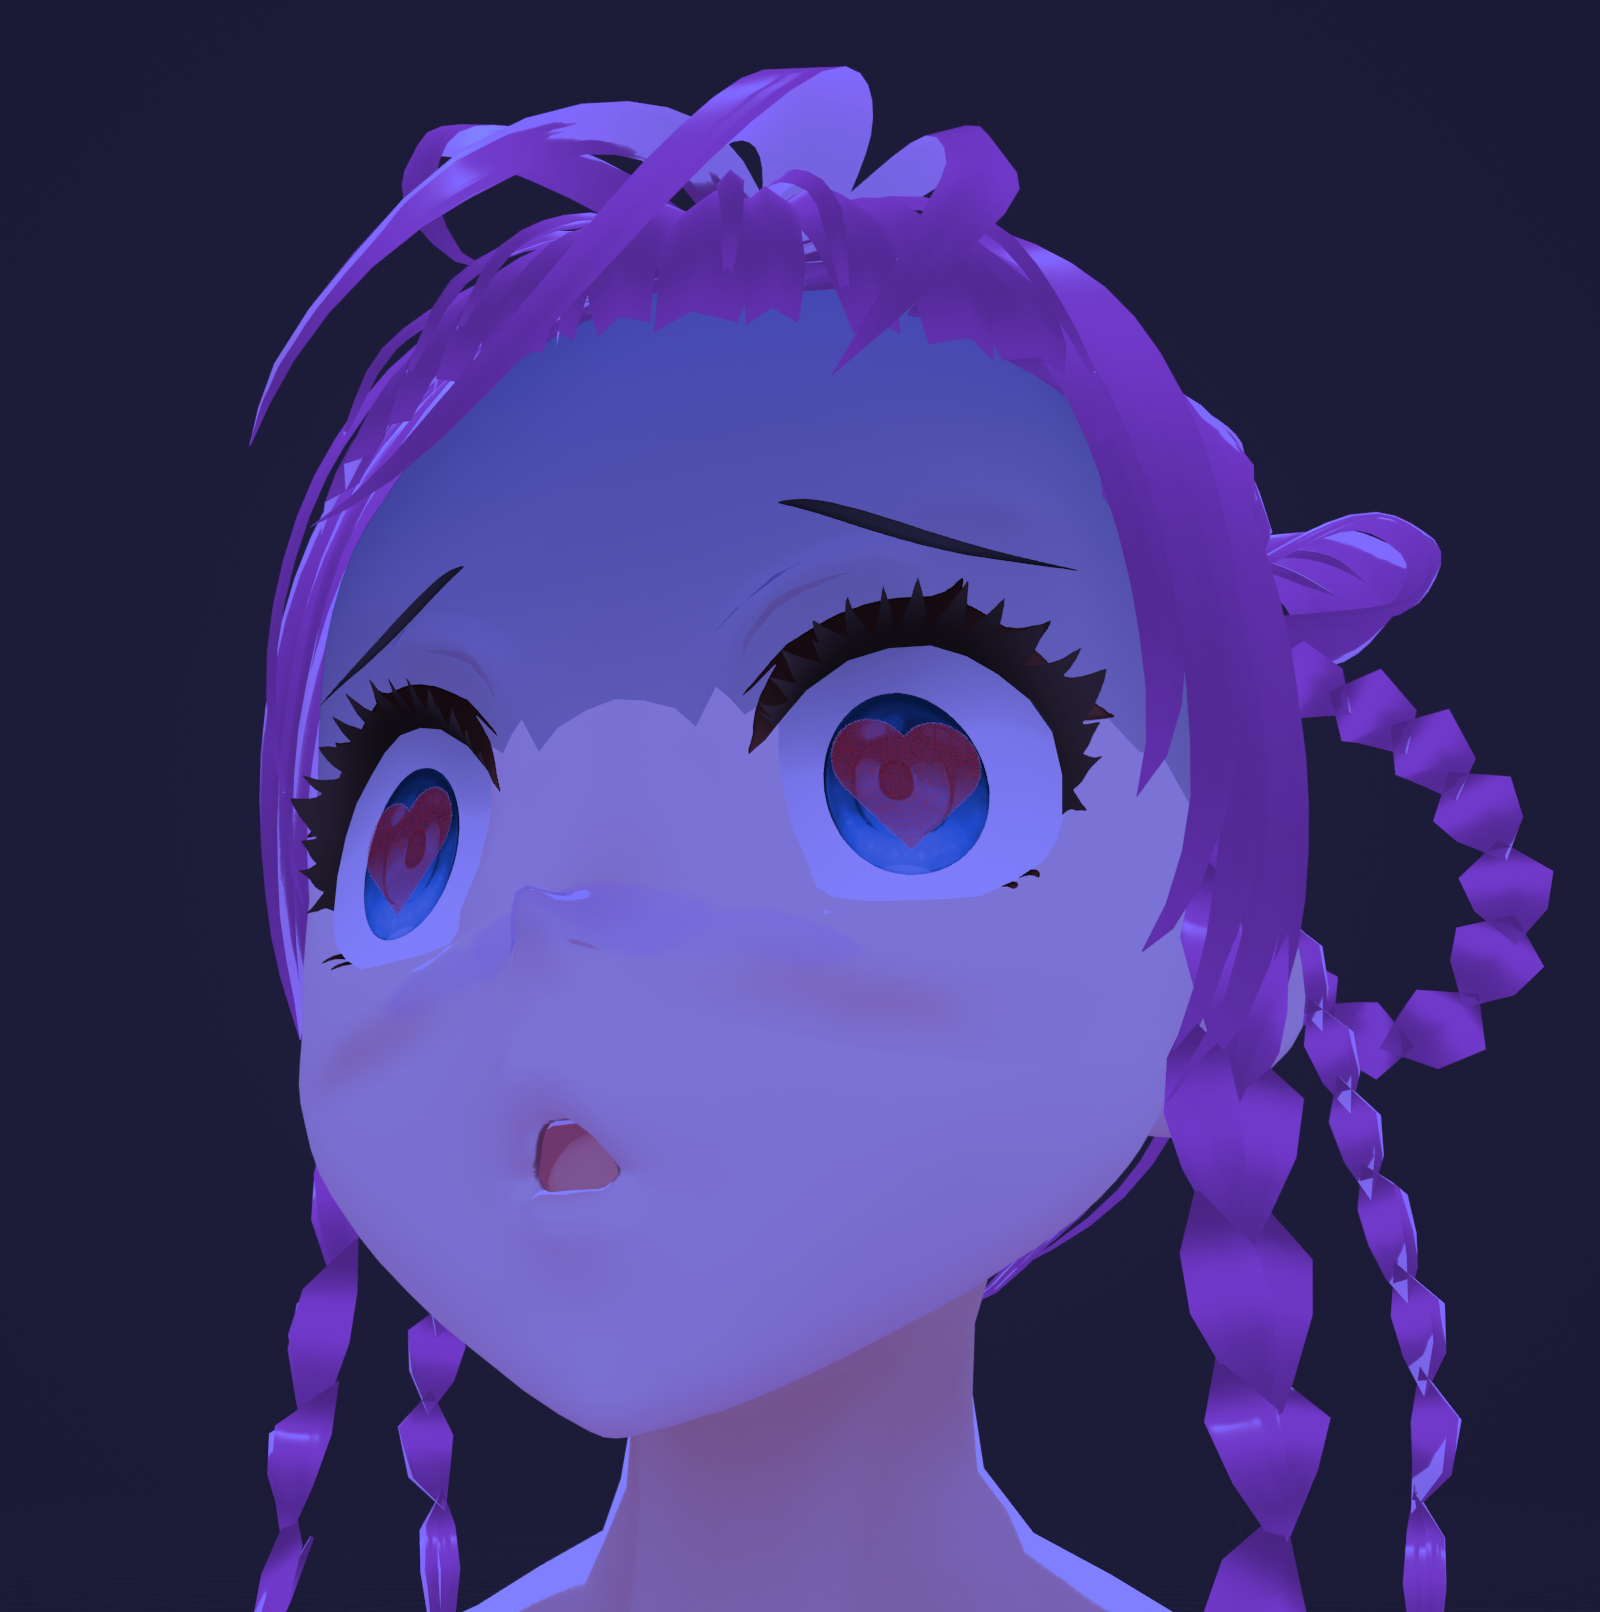
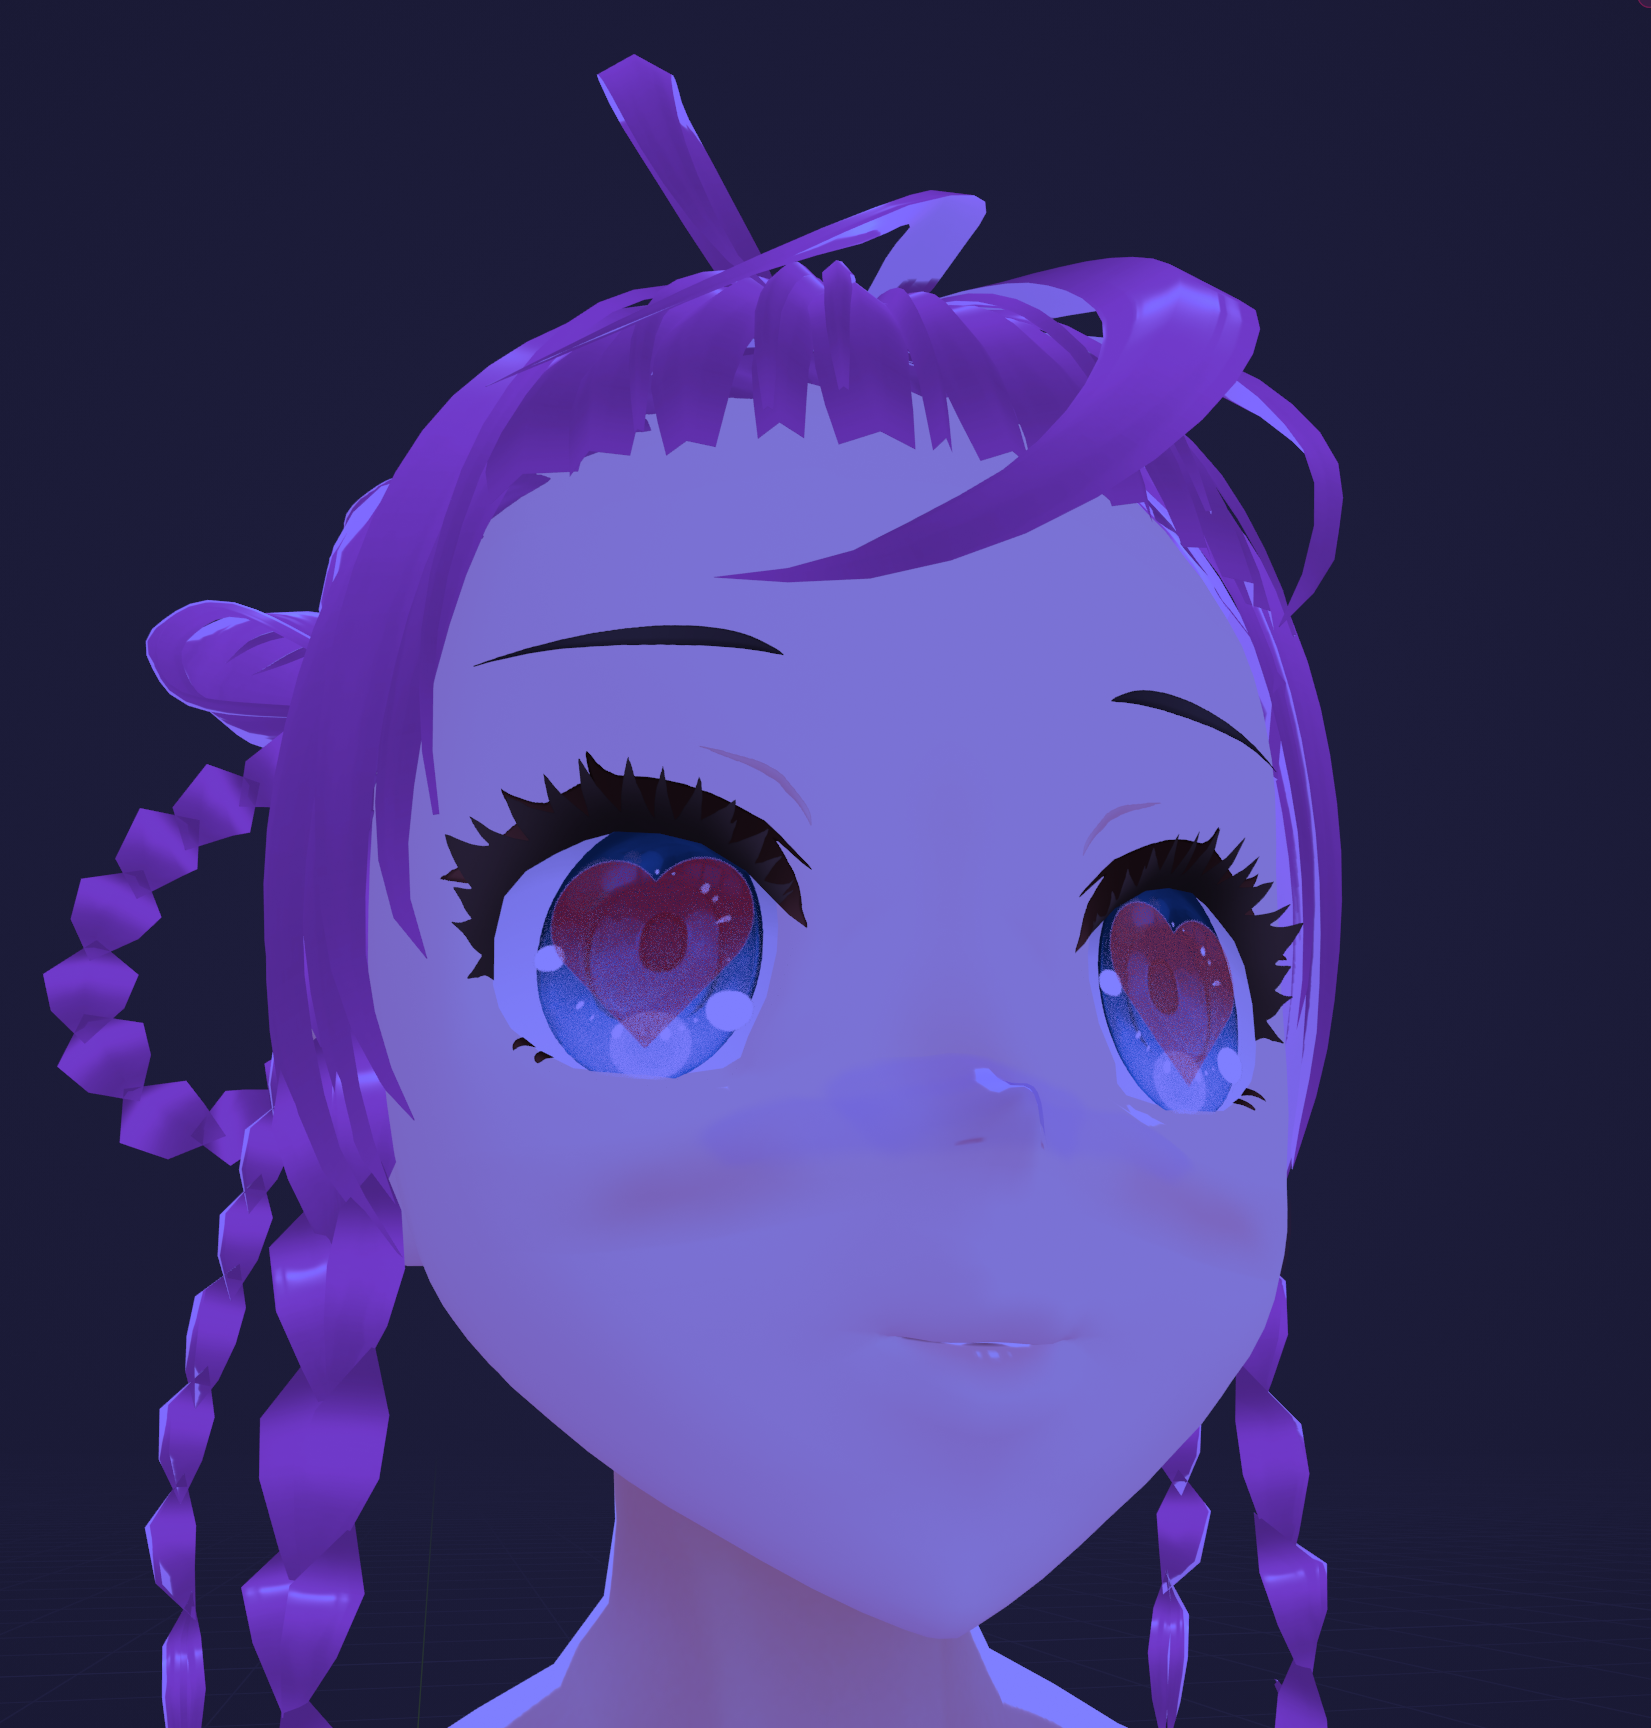
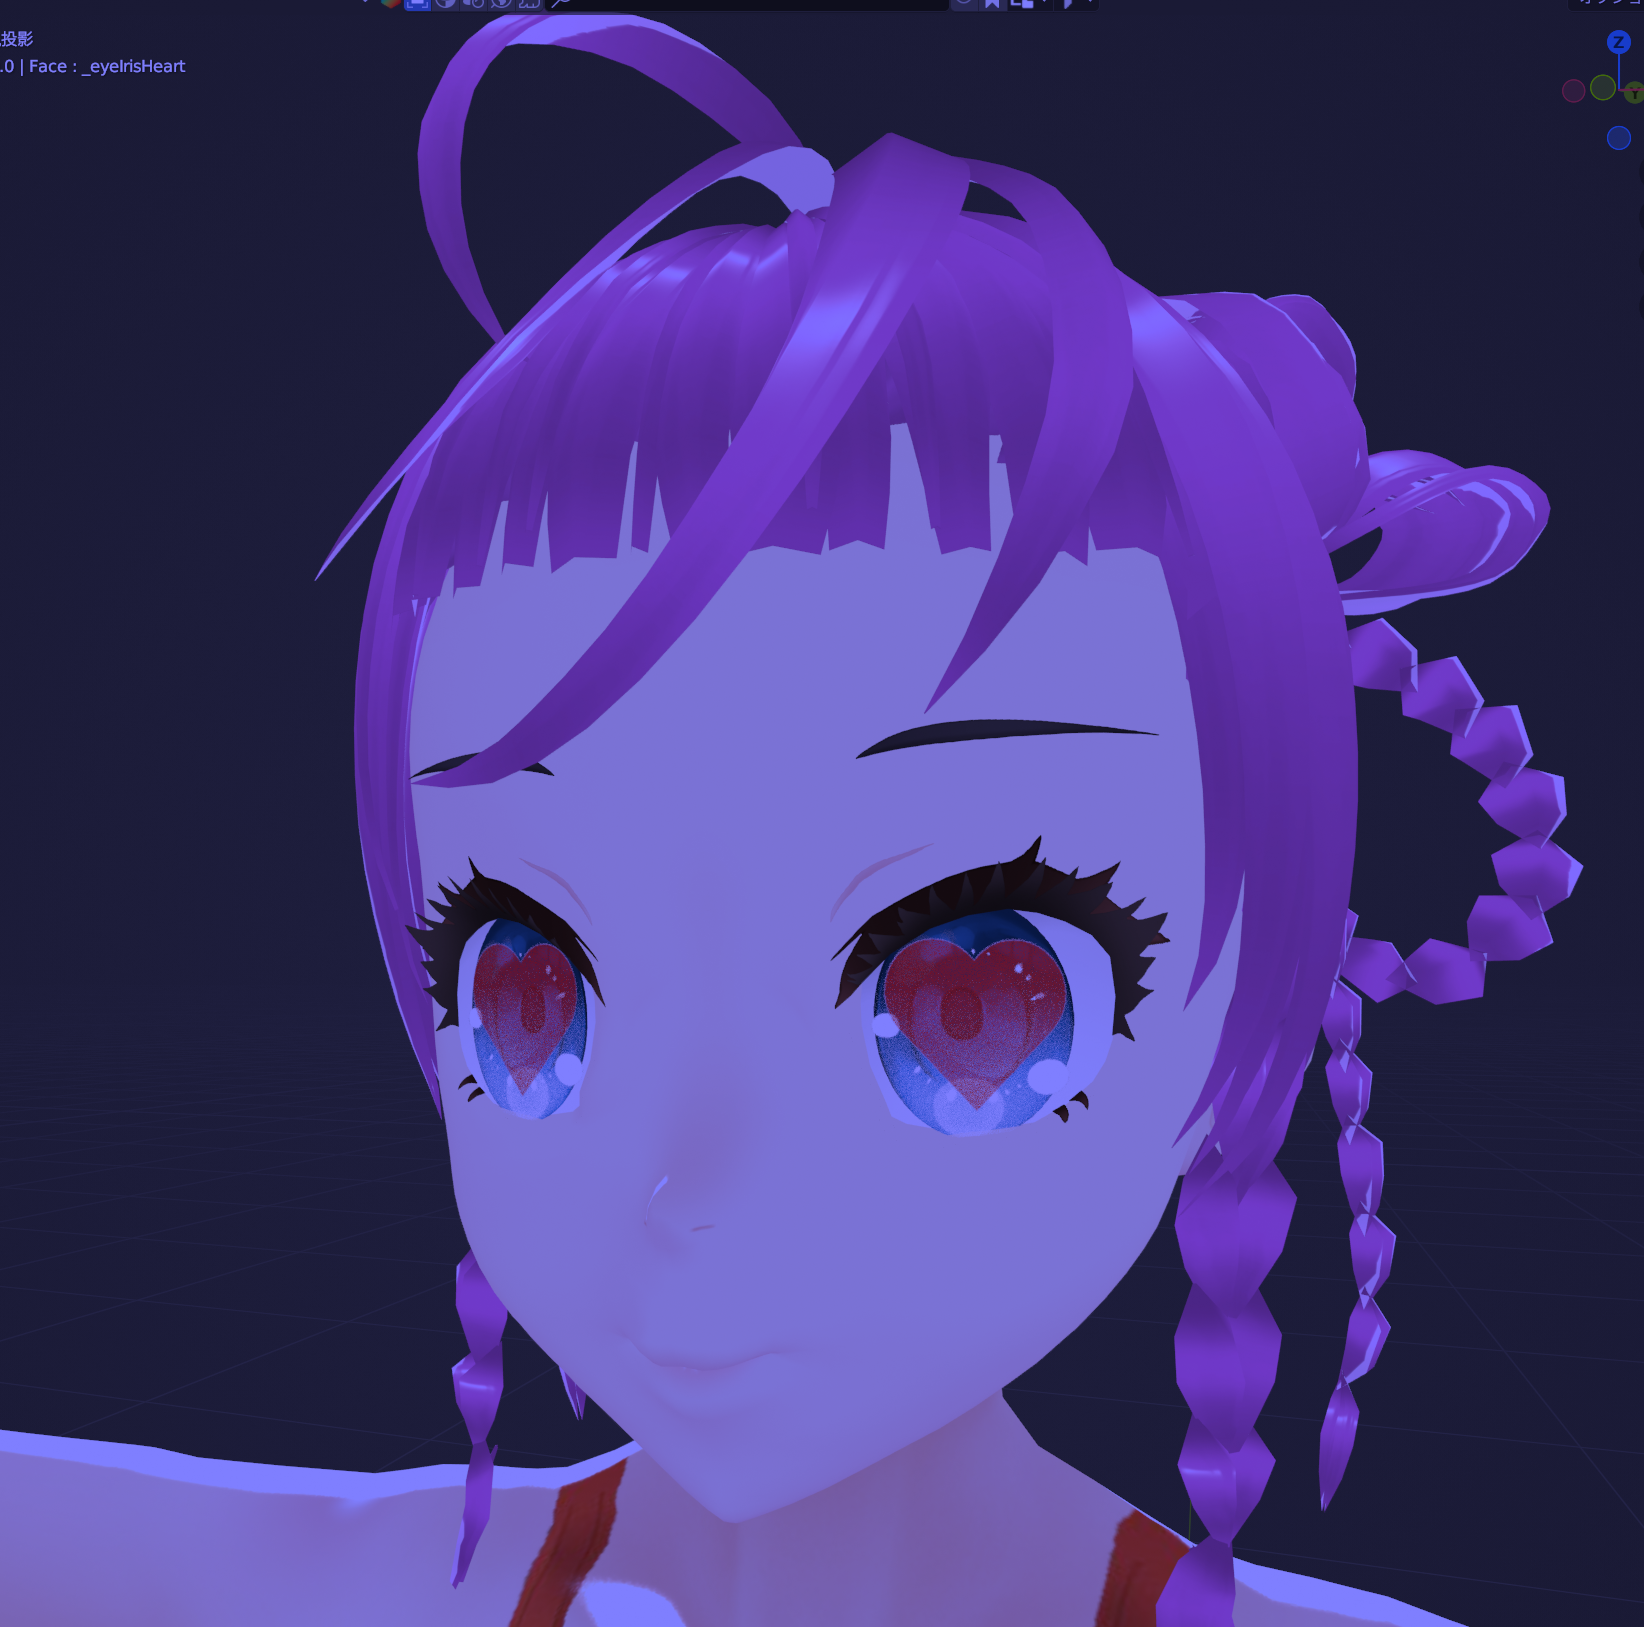
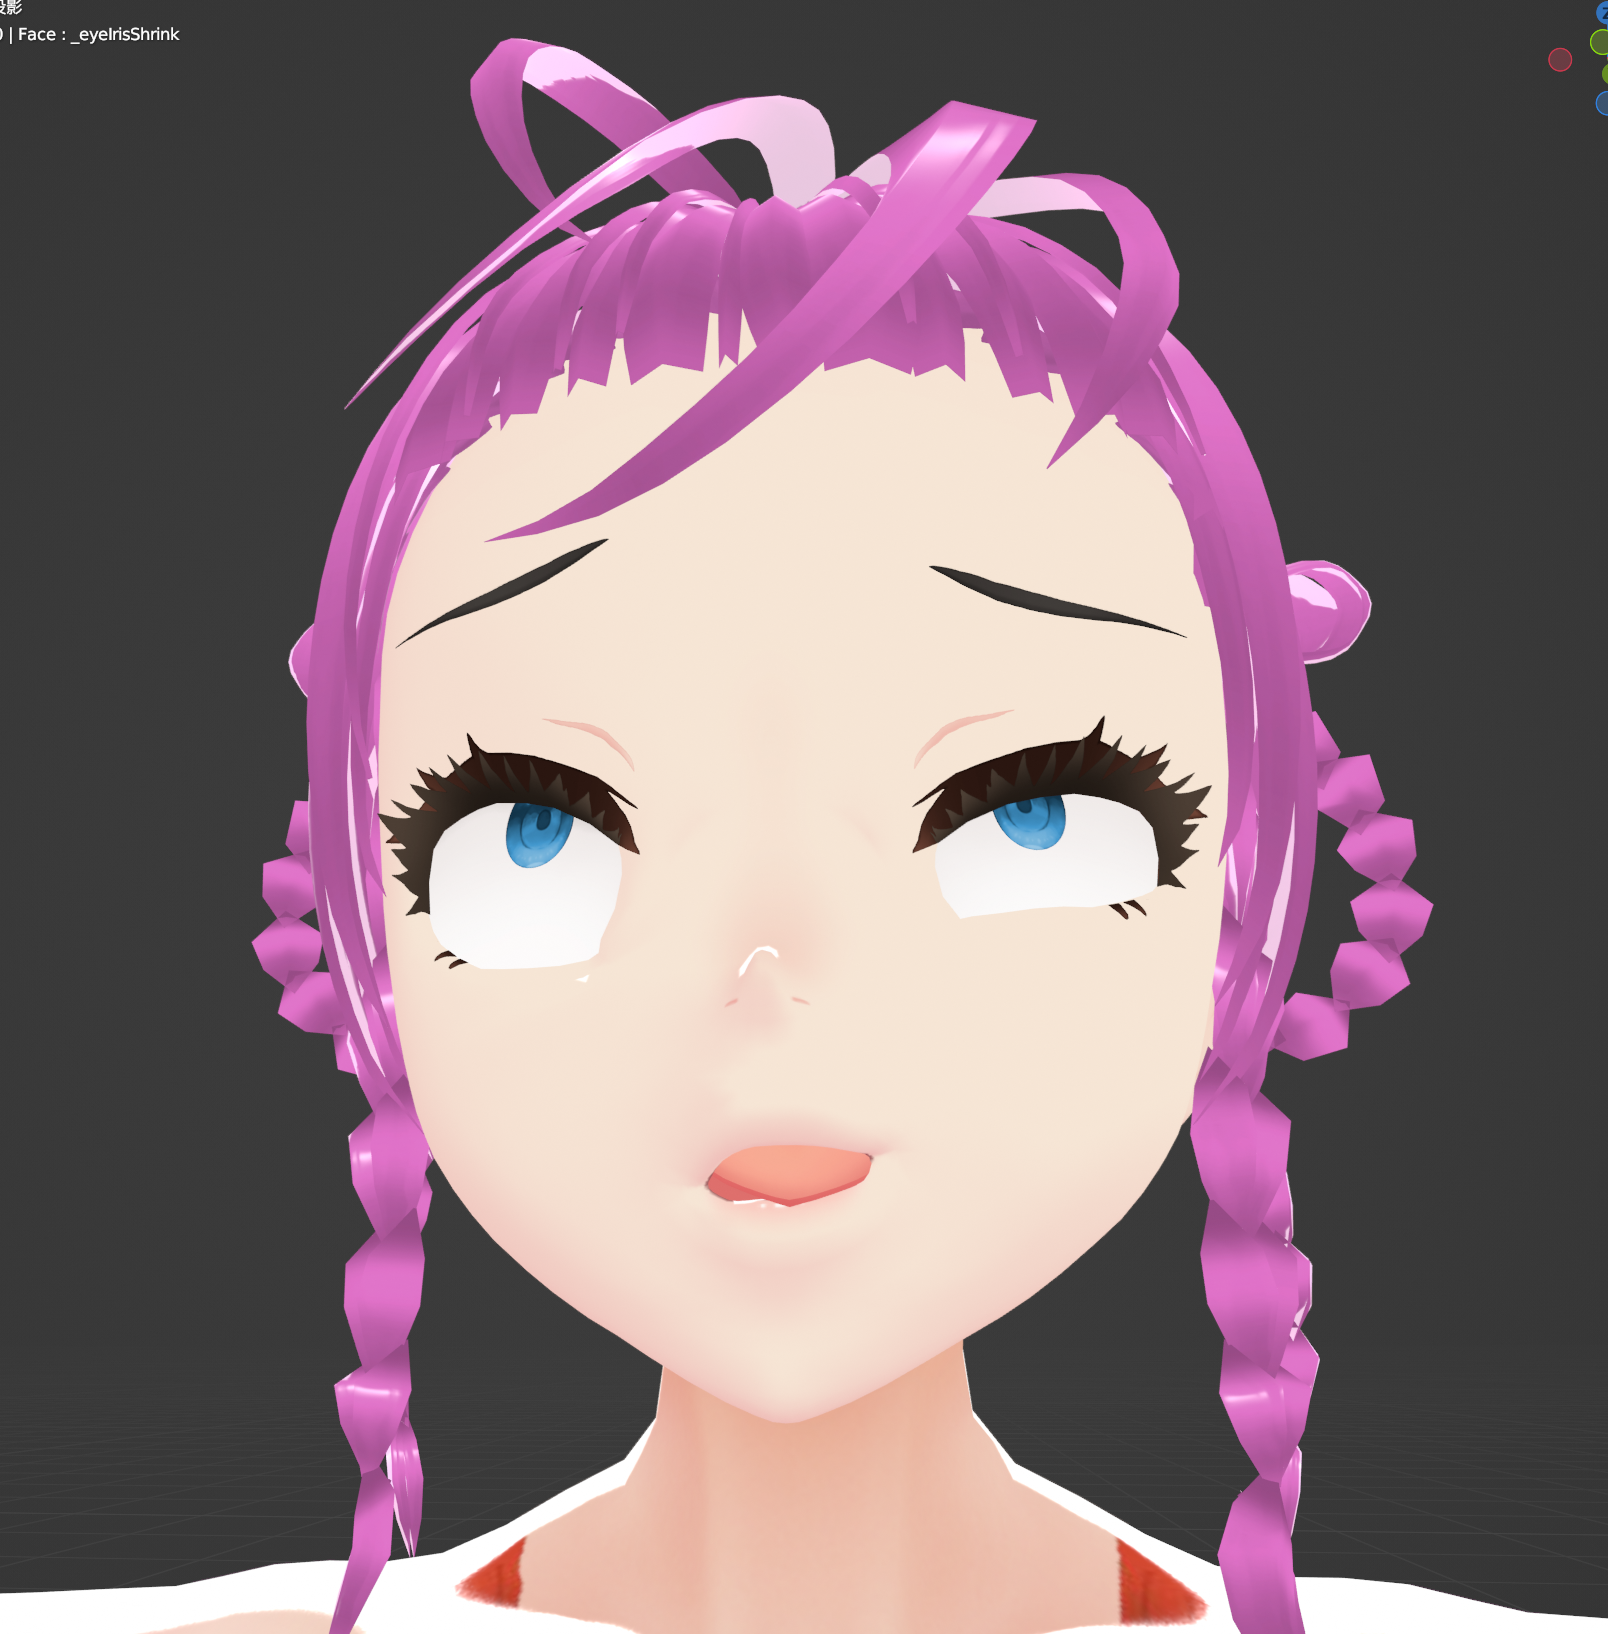
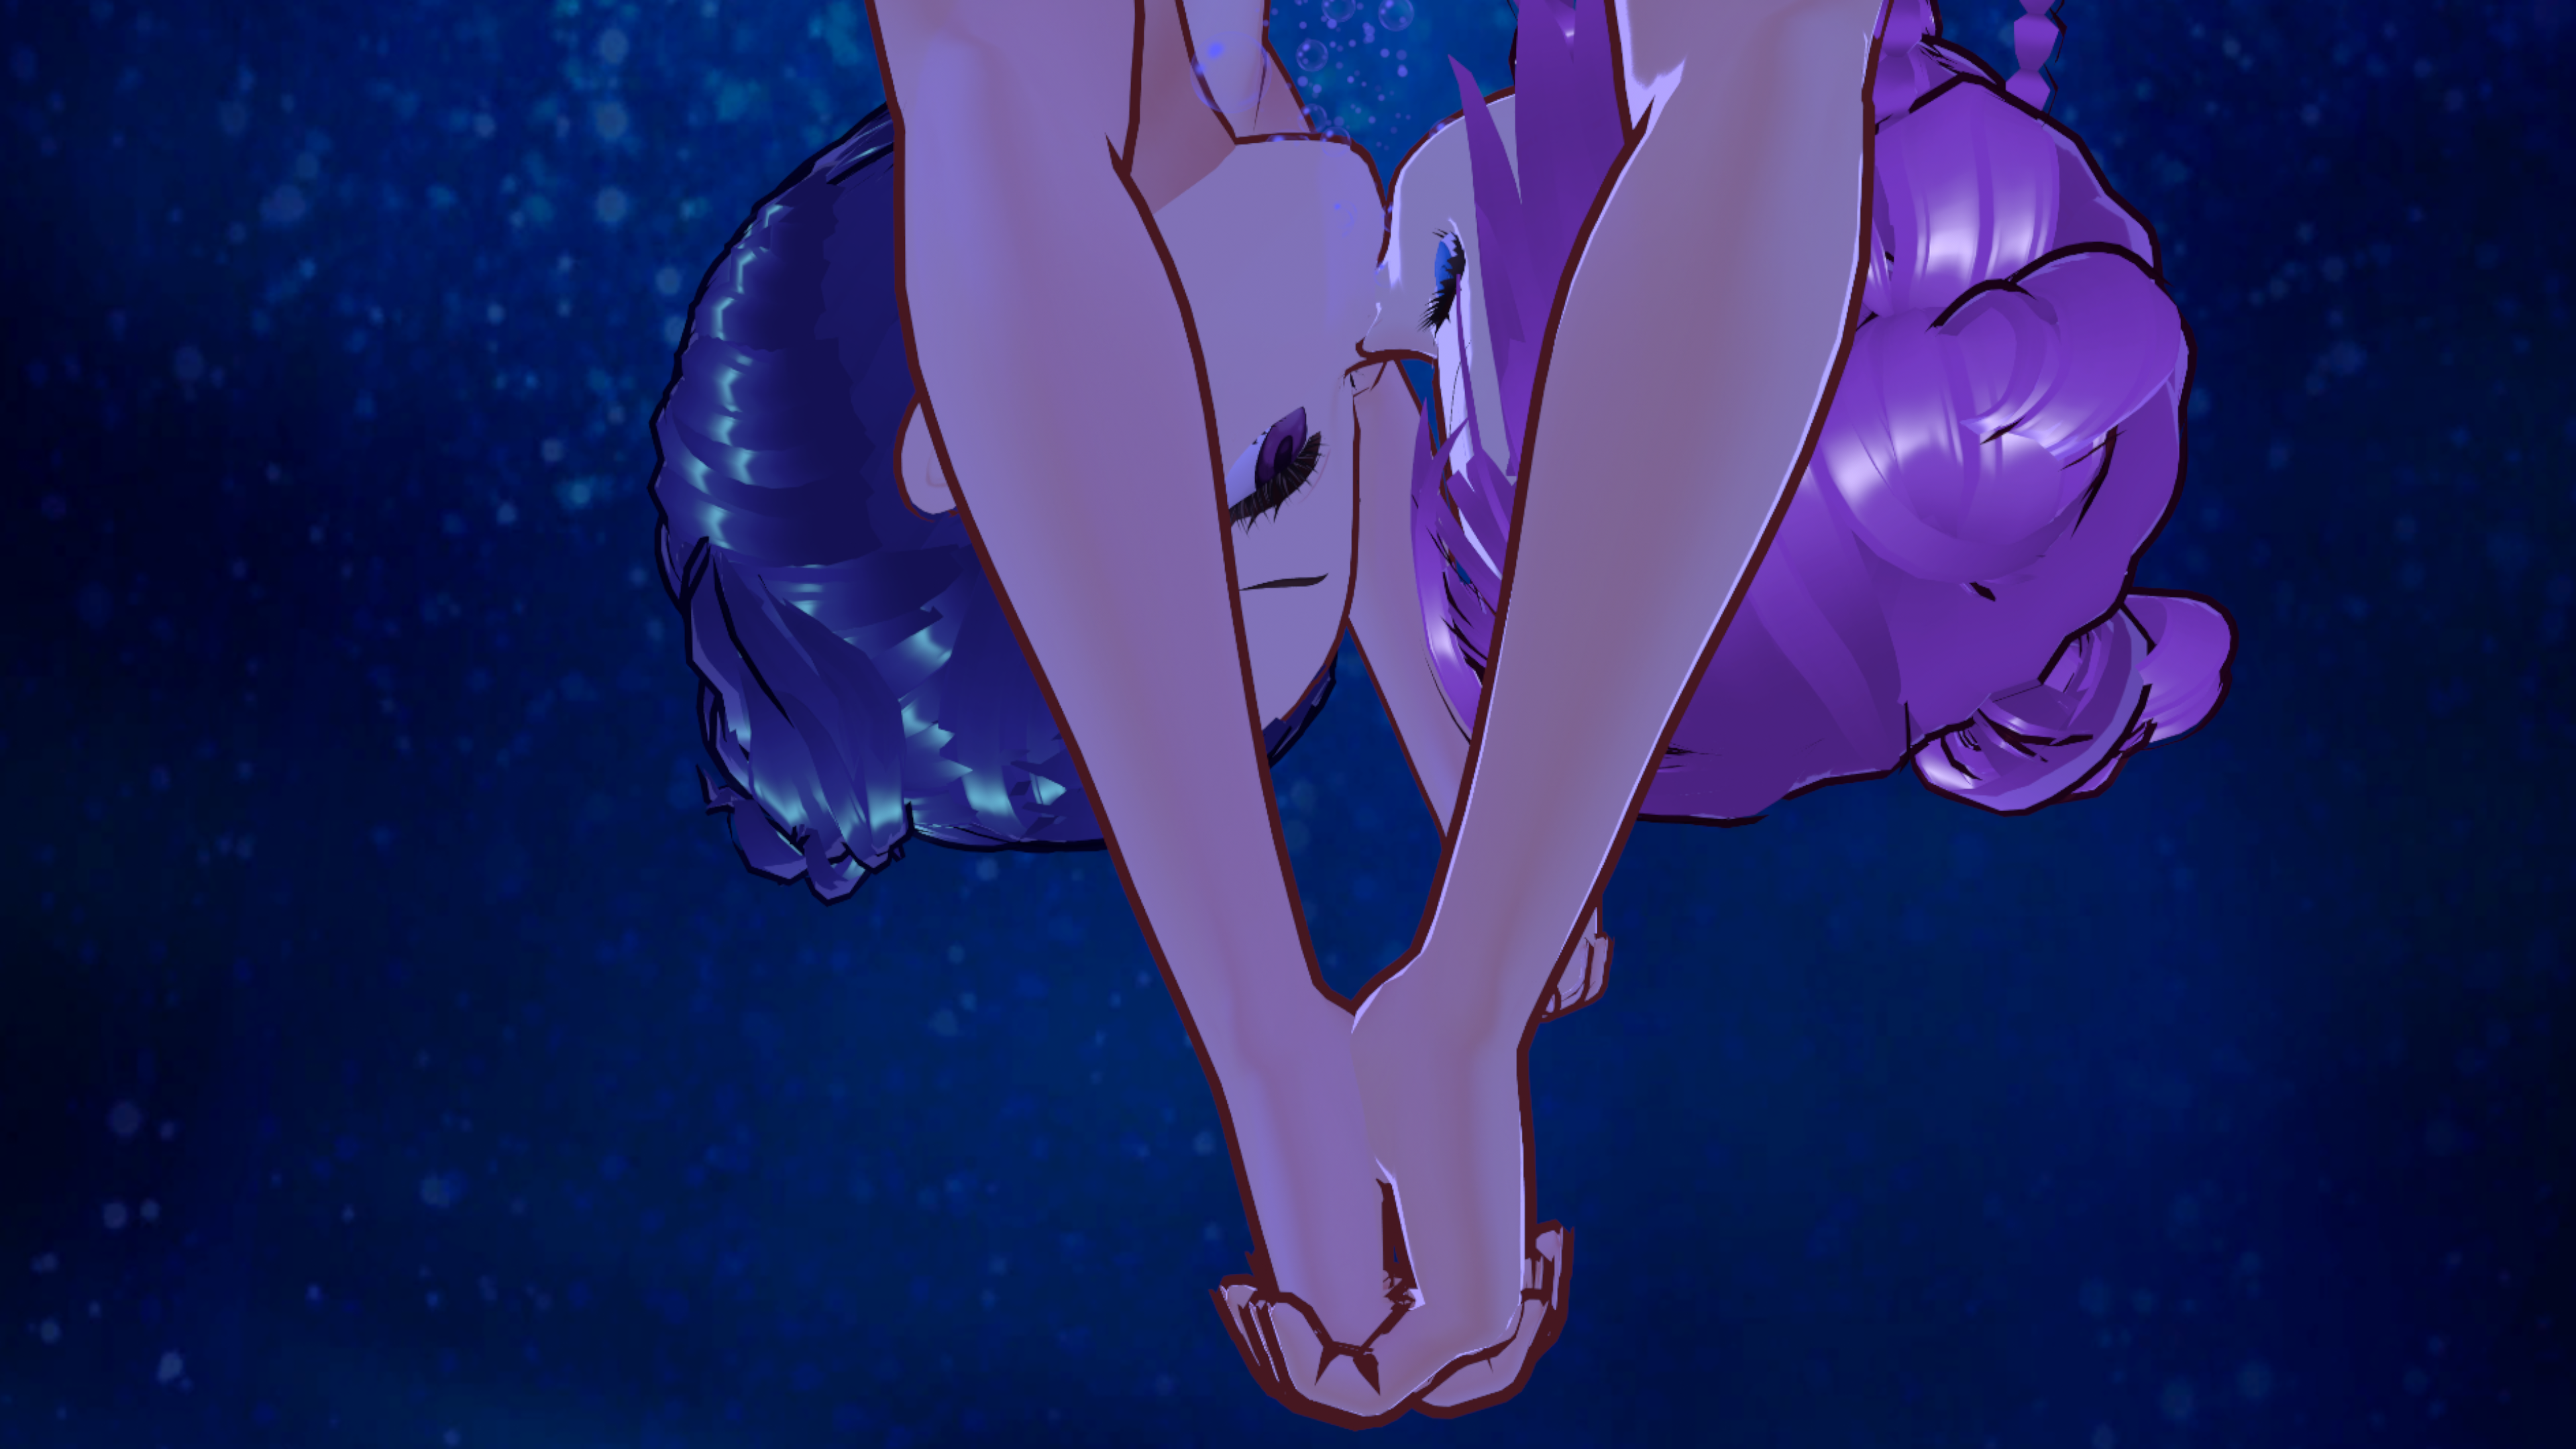
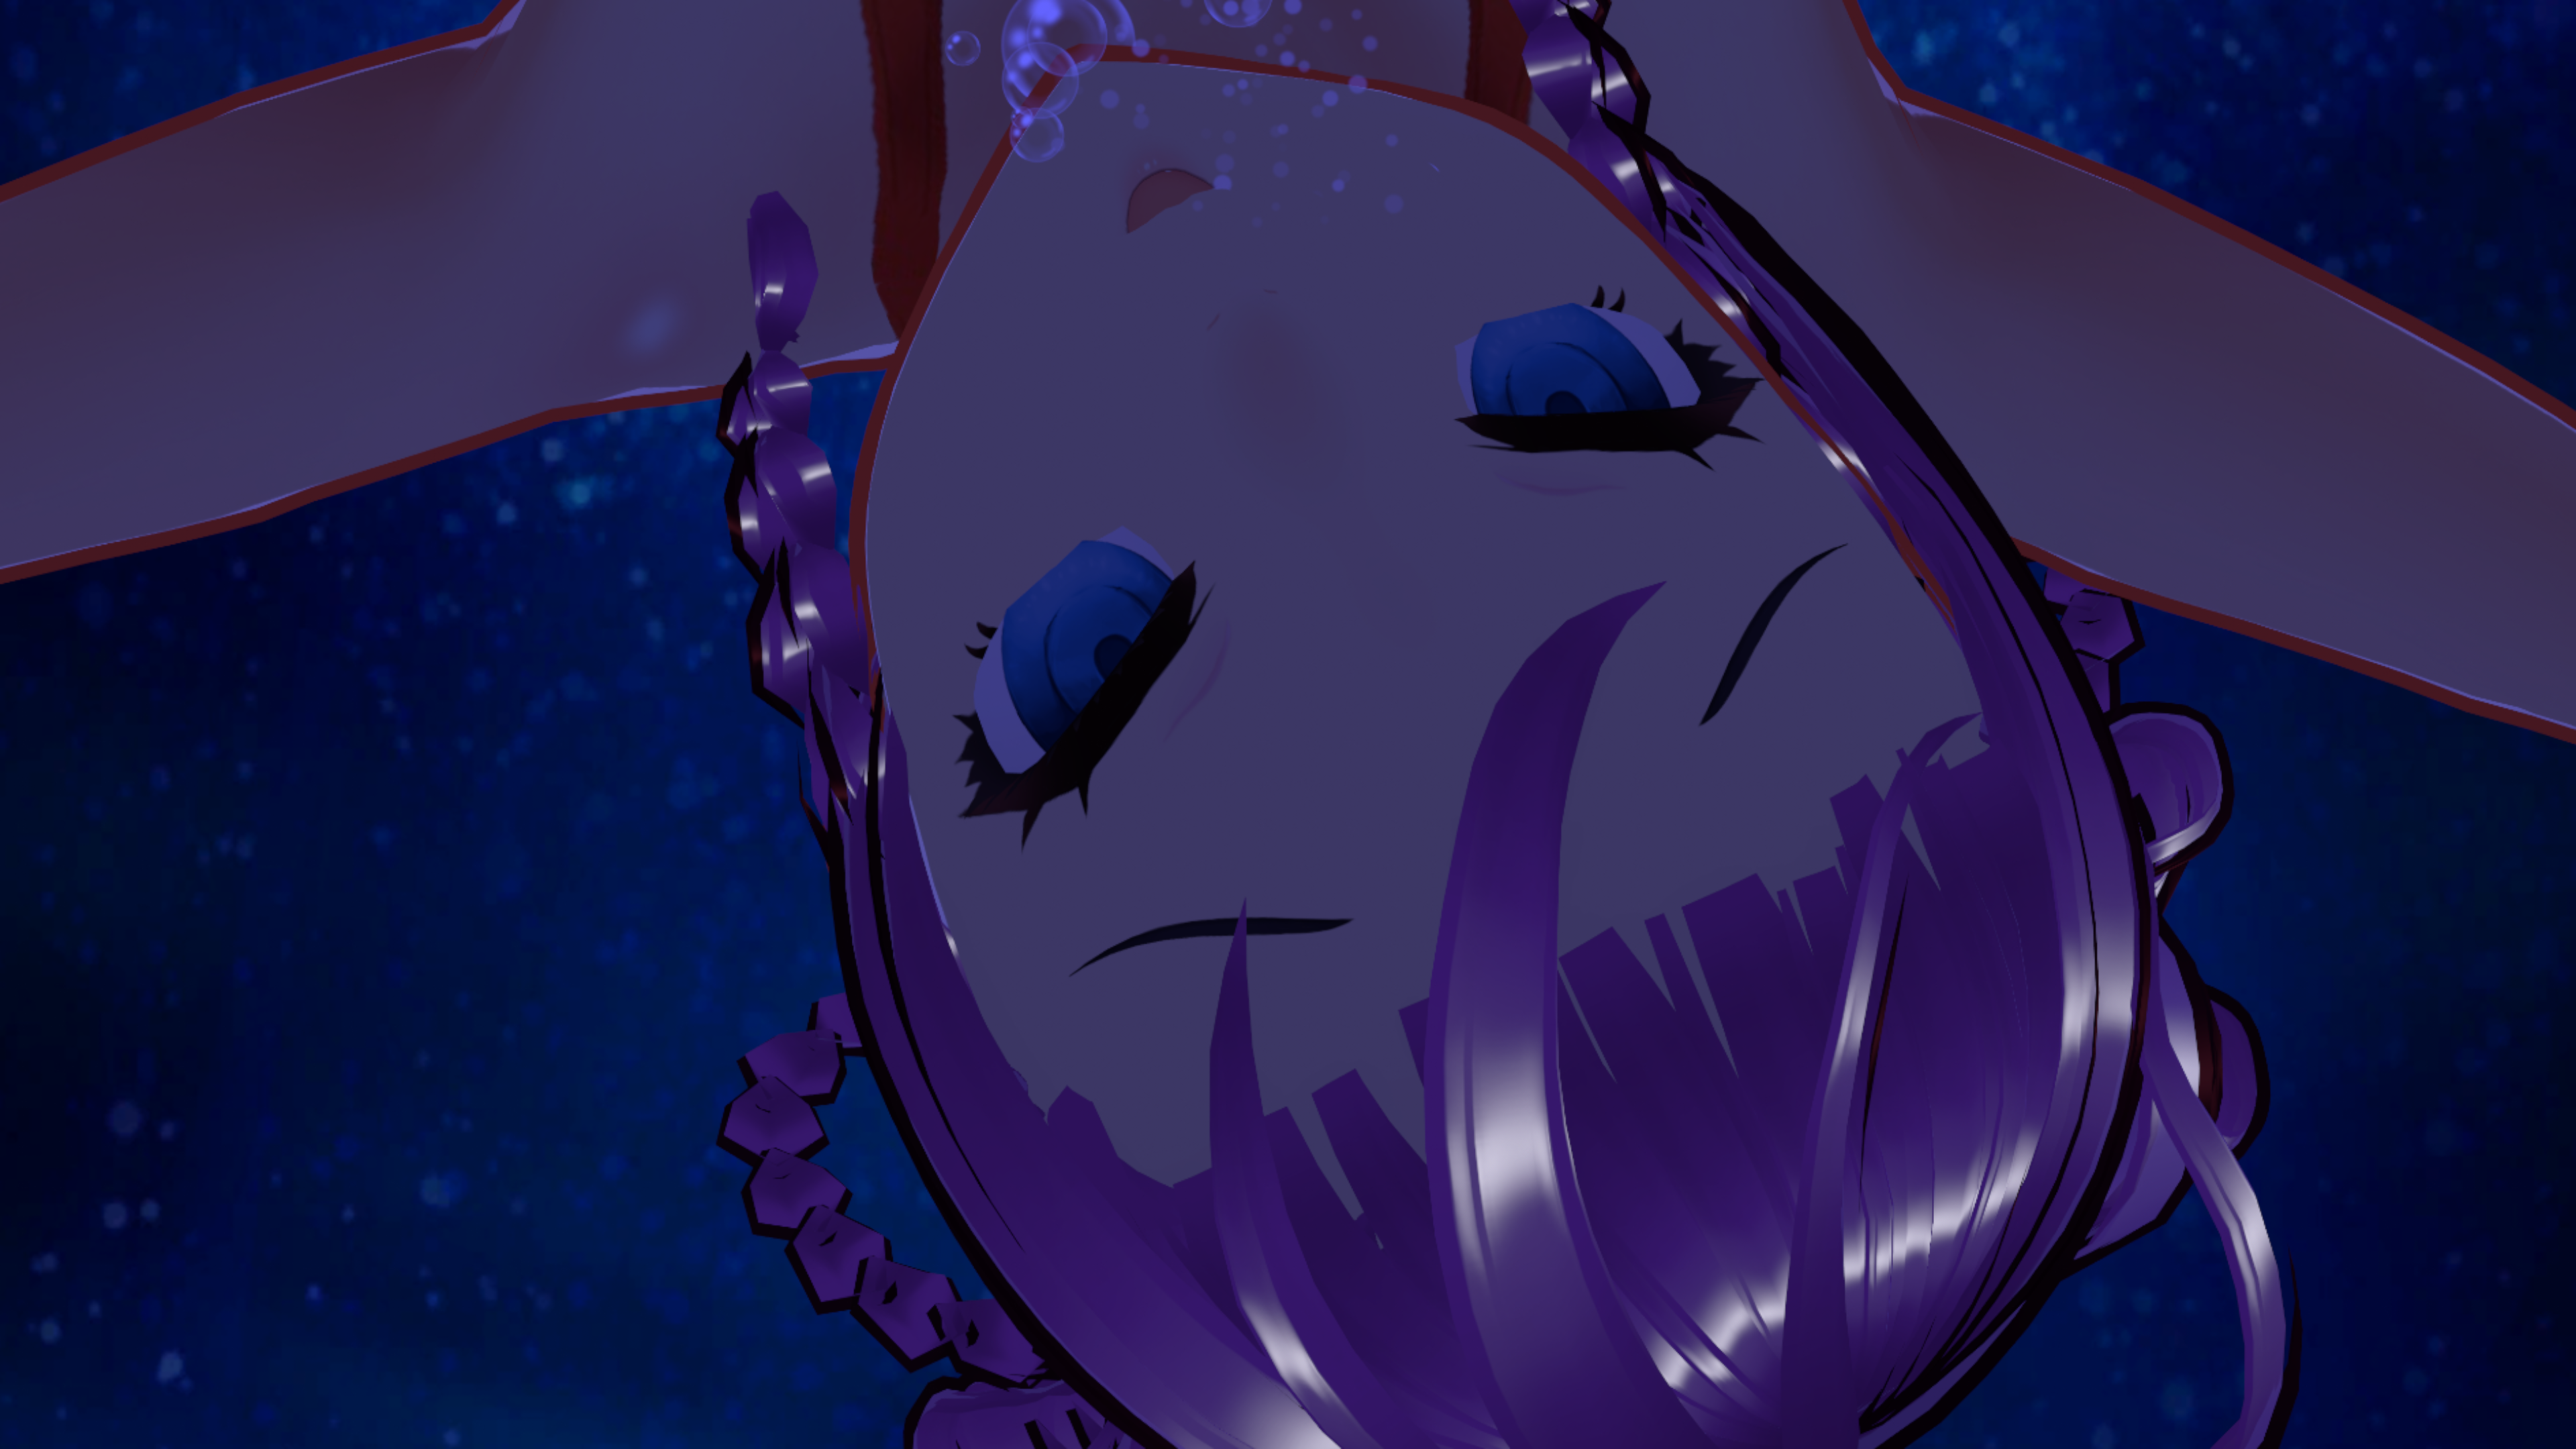
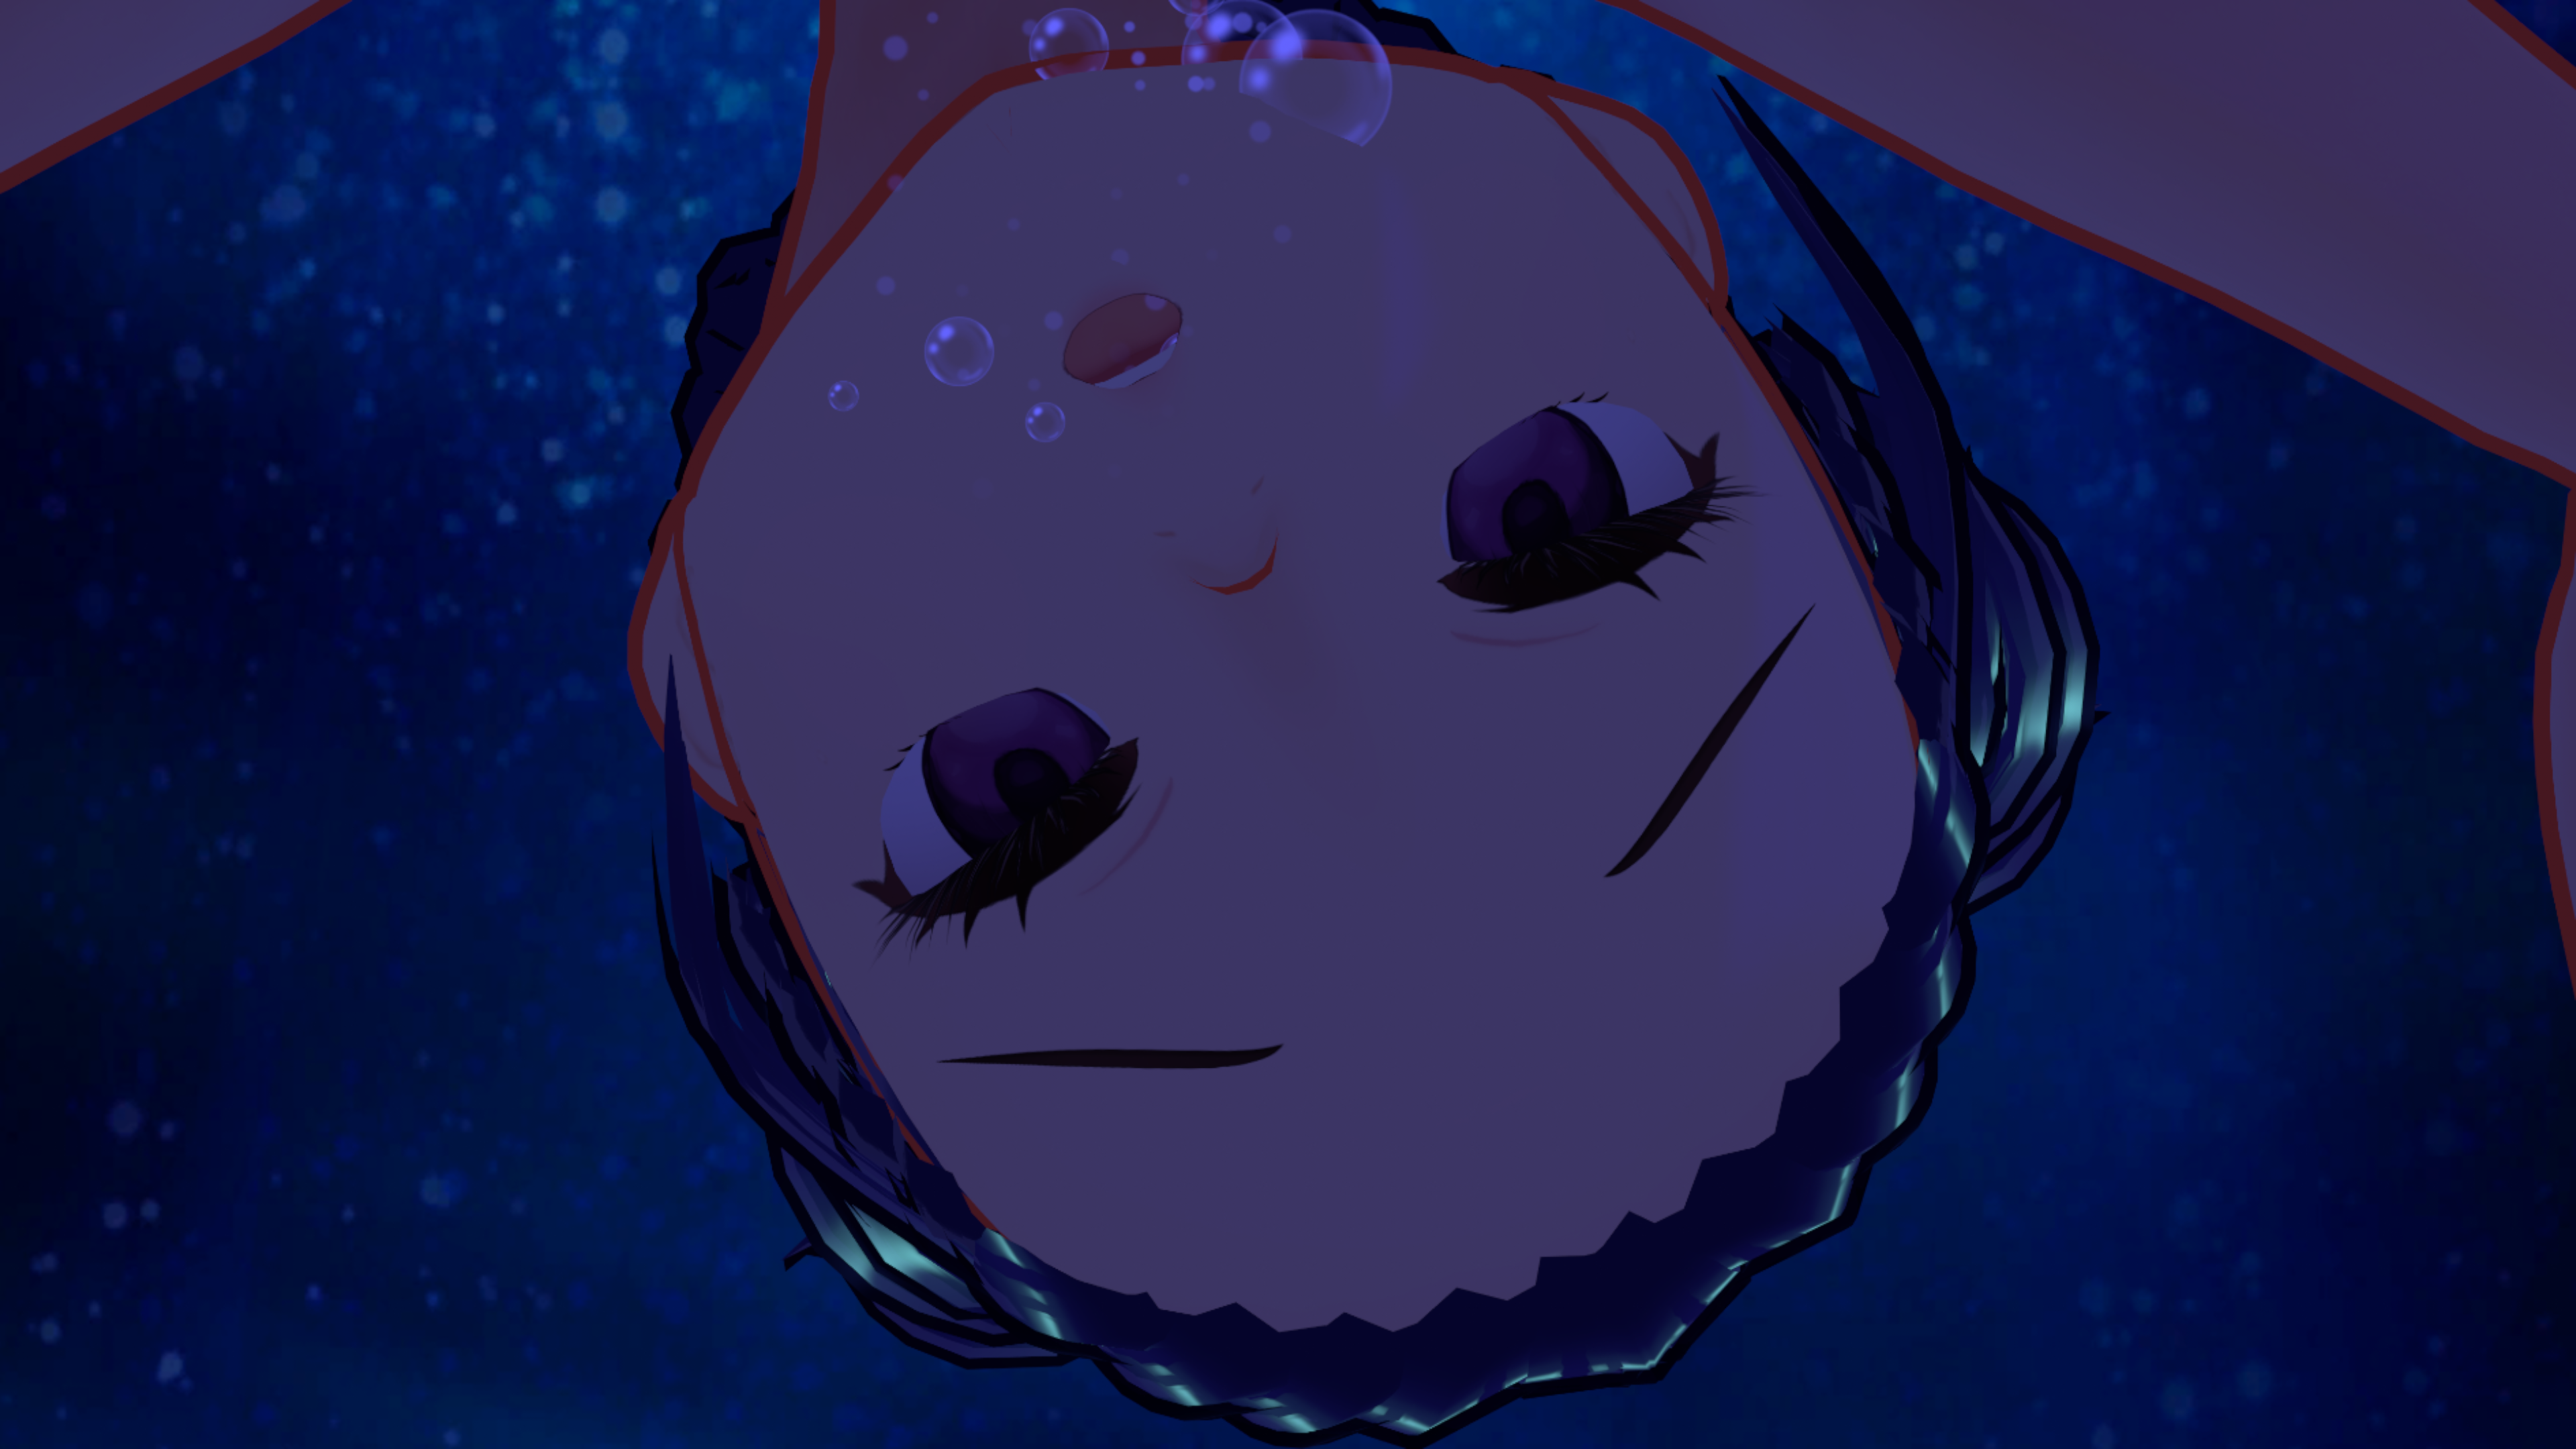
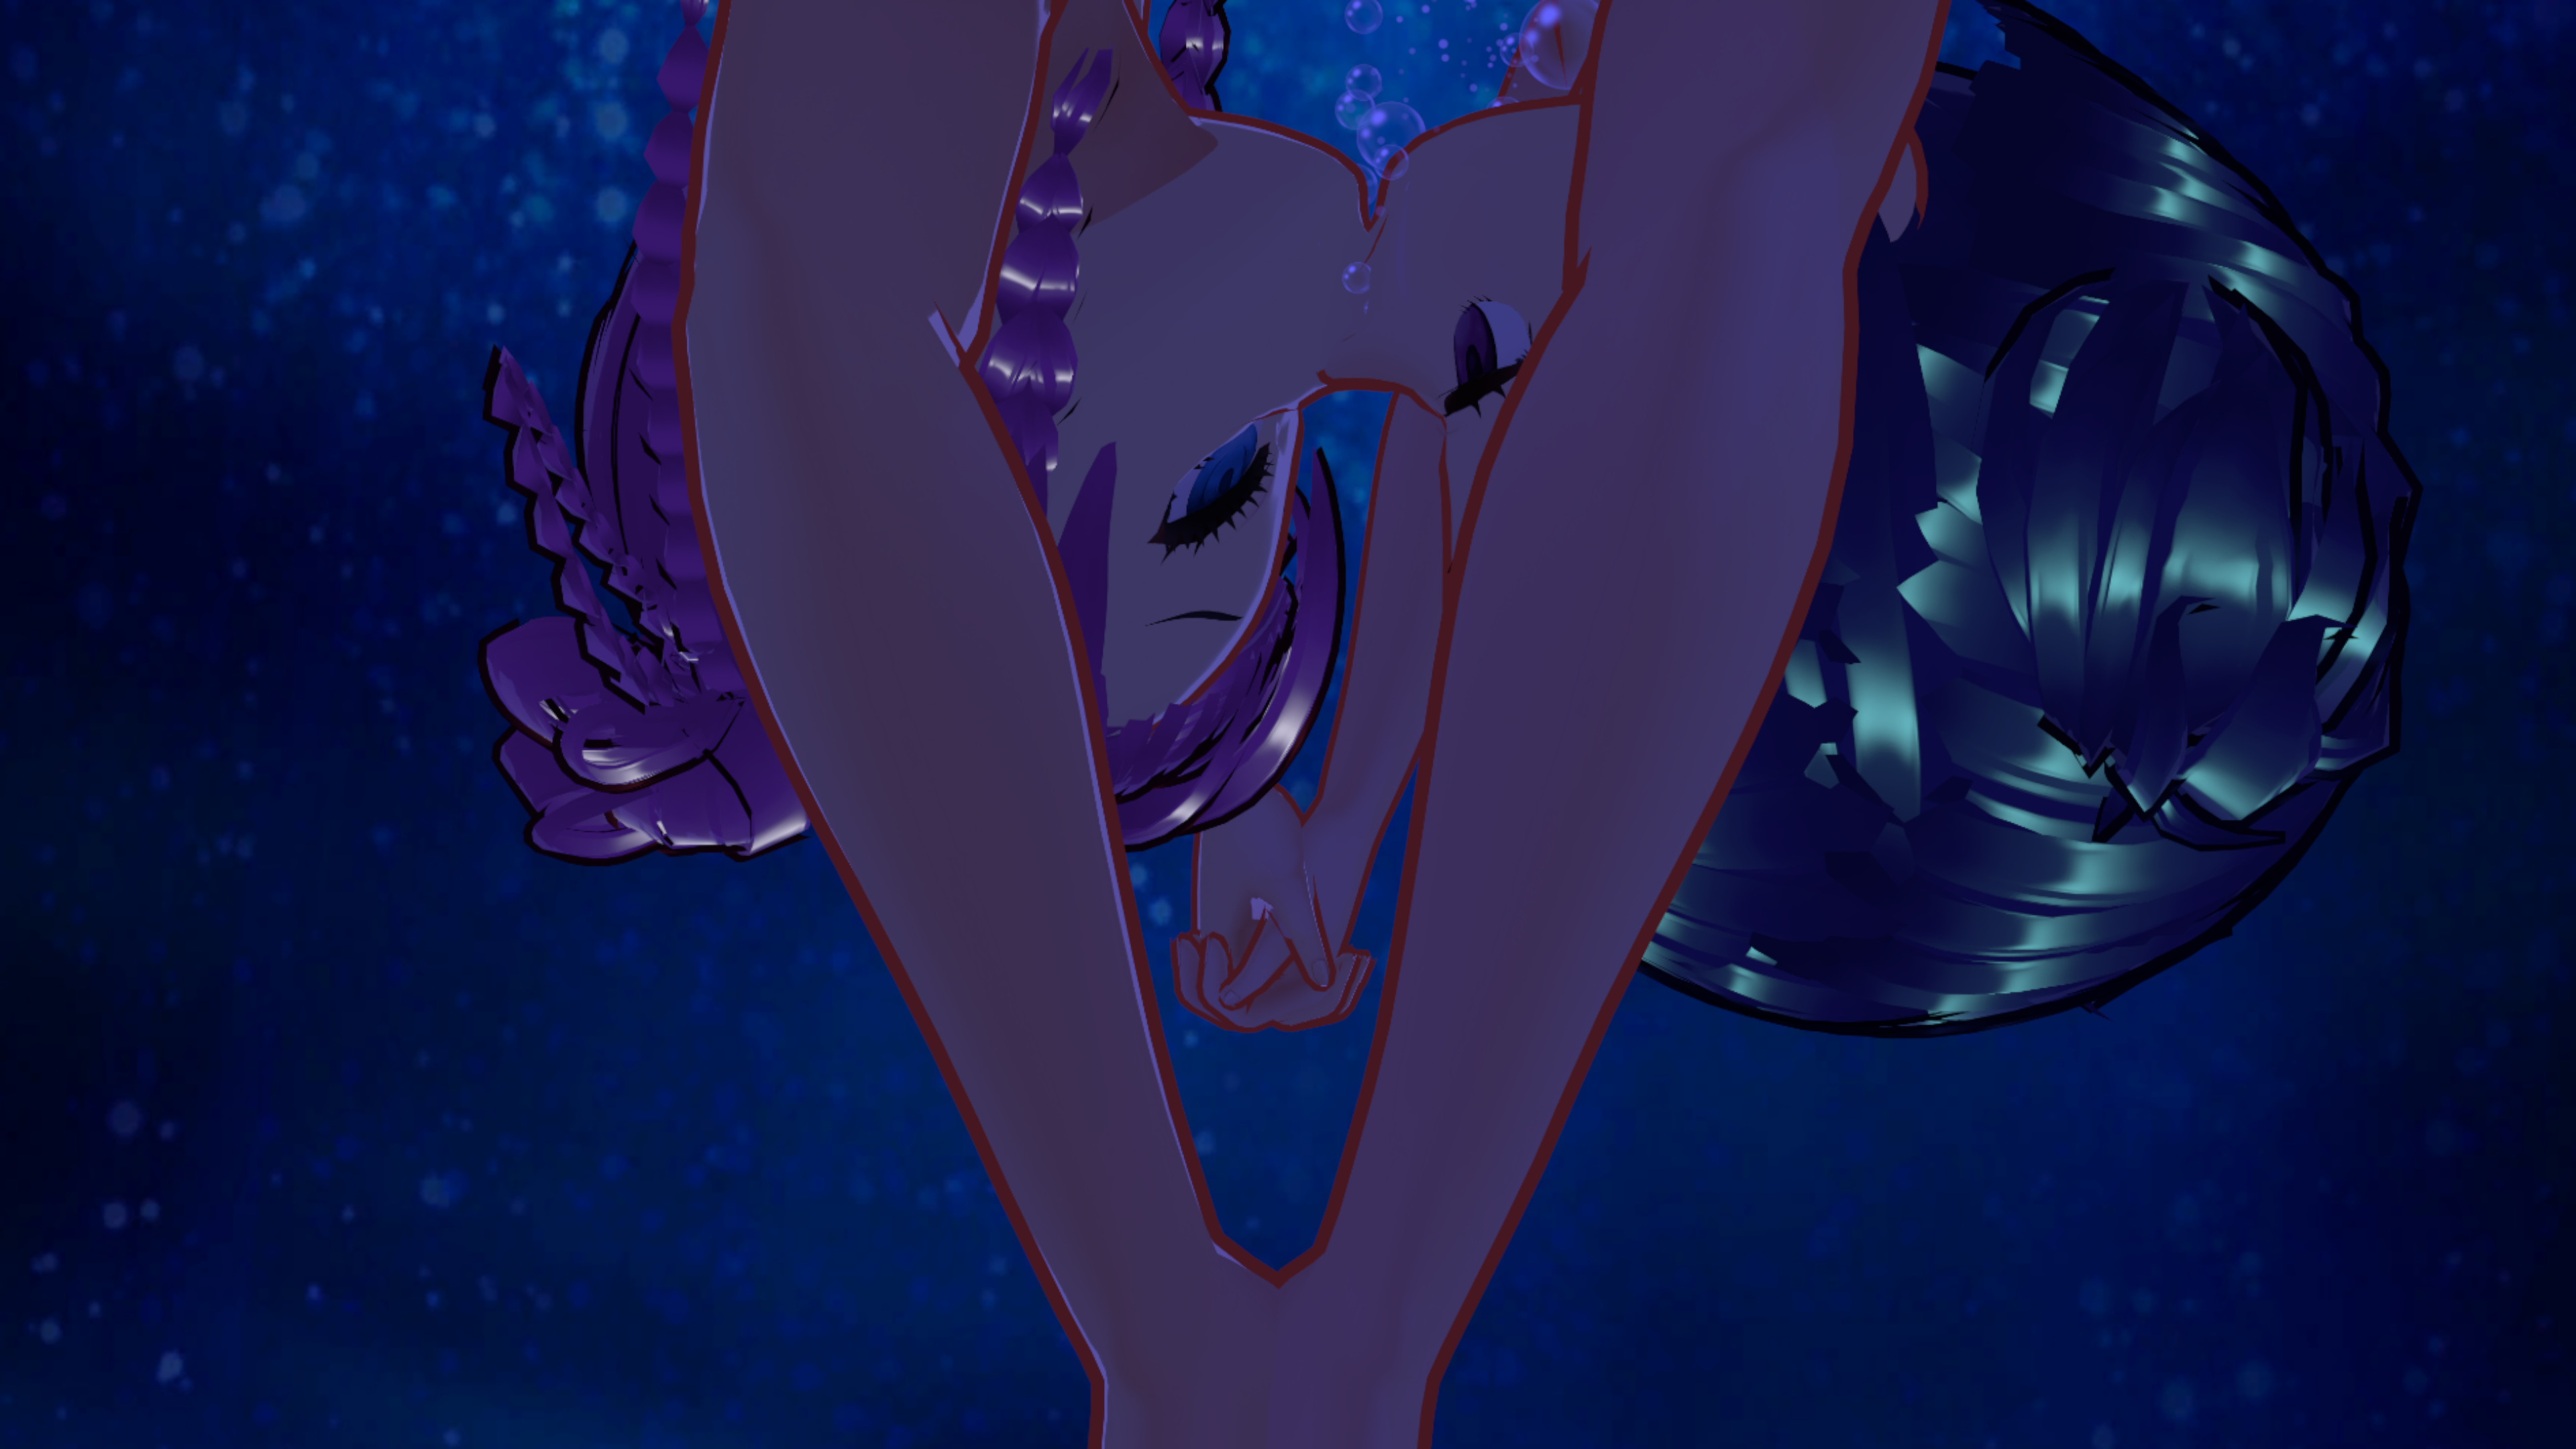
顔のアップが見たかったのでなんとかしてみた。
動画はまた明日~
2024-03-05 16:09:17 +0000 UTC
View Post
本日も寸暇を惜しんで、もっぱらunity作業してました。
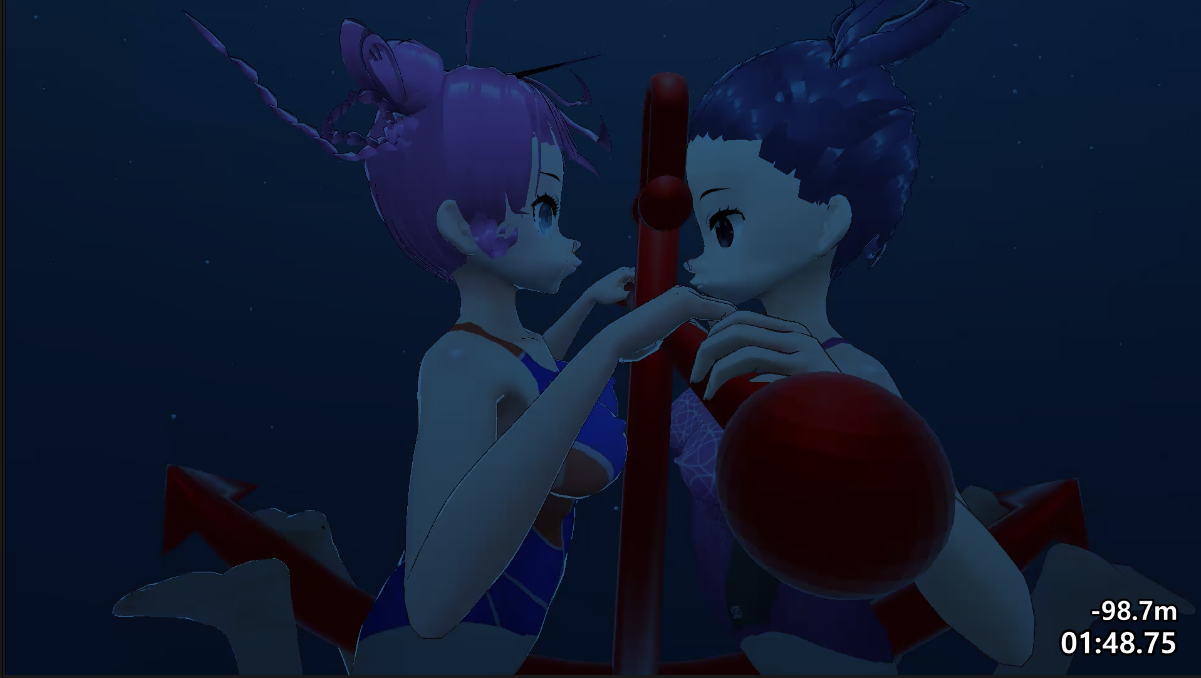
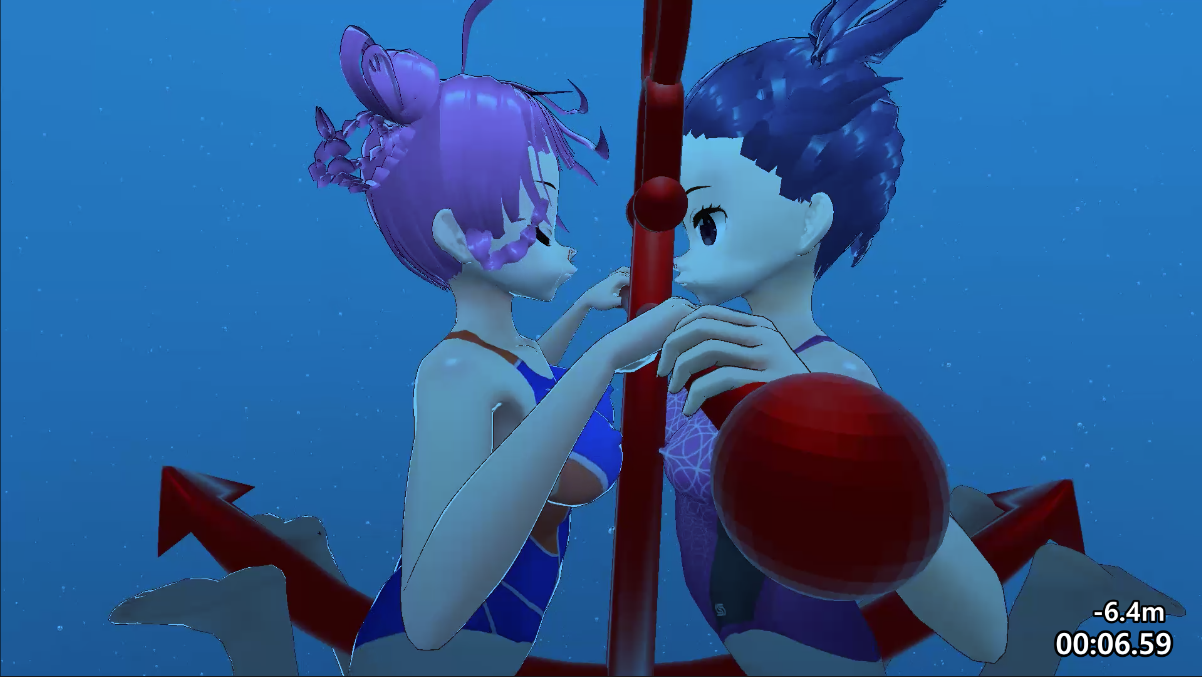
問題点:アバターも錨オブジェクトもFollow Pathで動かしていたため、動画の最初と最後でキャラクターアバターと錨の位置関係が微妙にずれていた
Today, I spent every spare moment working exclusively on unity.
Problem: Because both the avatar and the anchor object were moved by Follow Path, the positioning of the character avatar and the anchor was slightly off at the beginning and end of the video.
解決策:アバターにParent Constraintを設定し、錨に紐付けることで、キャラクターアバターと錨の位置関係を固定したうえで、錨のみをFollow Pathで動かすことによってずれが解消!やったぜ
Solution: set Parent Constraint on the avatar and tie it to the anchor to fix the positional relationship between the character avatar and the anchor, and then move only the anchor using Follow Path to eliminate the misalignment! Yes!
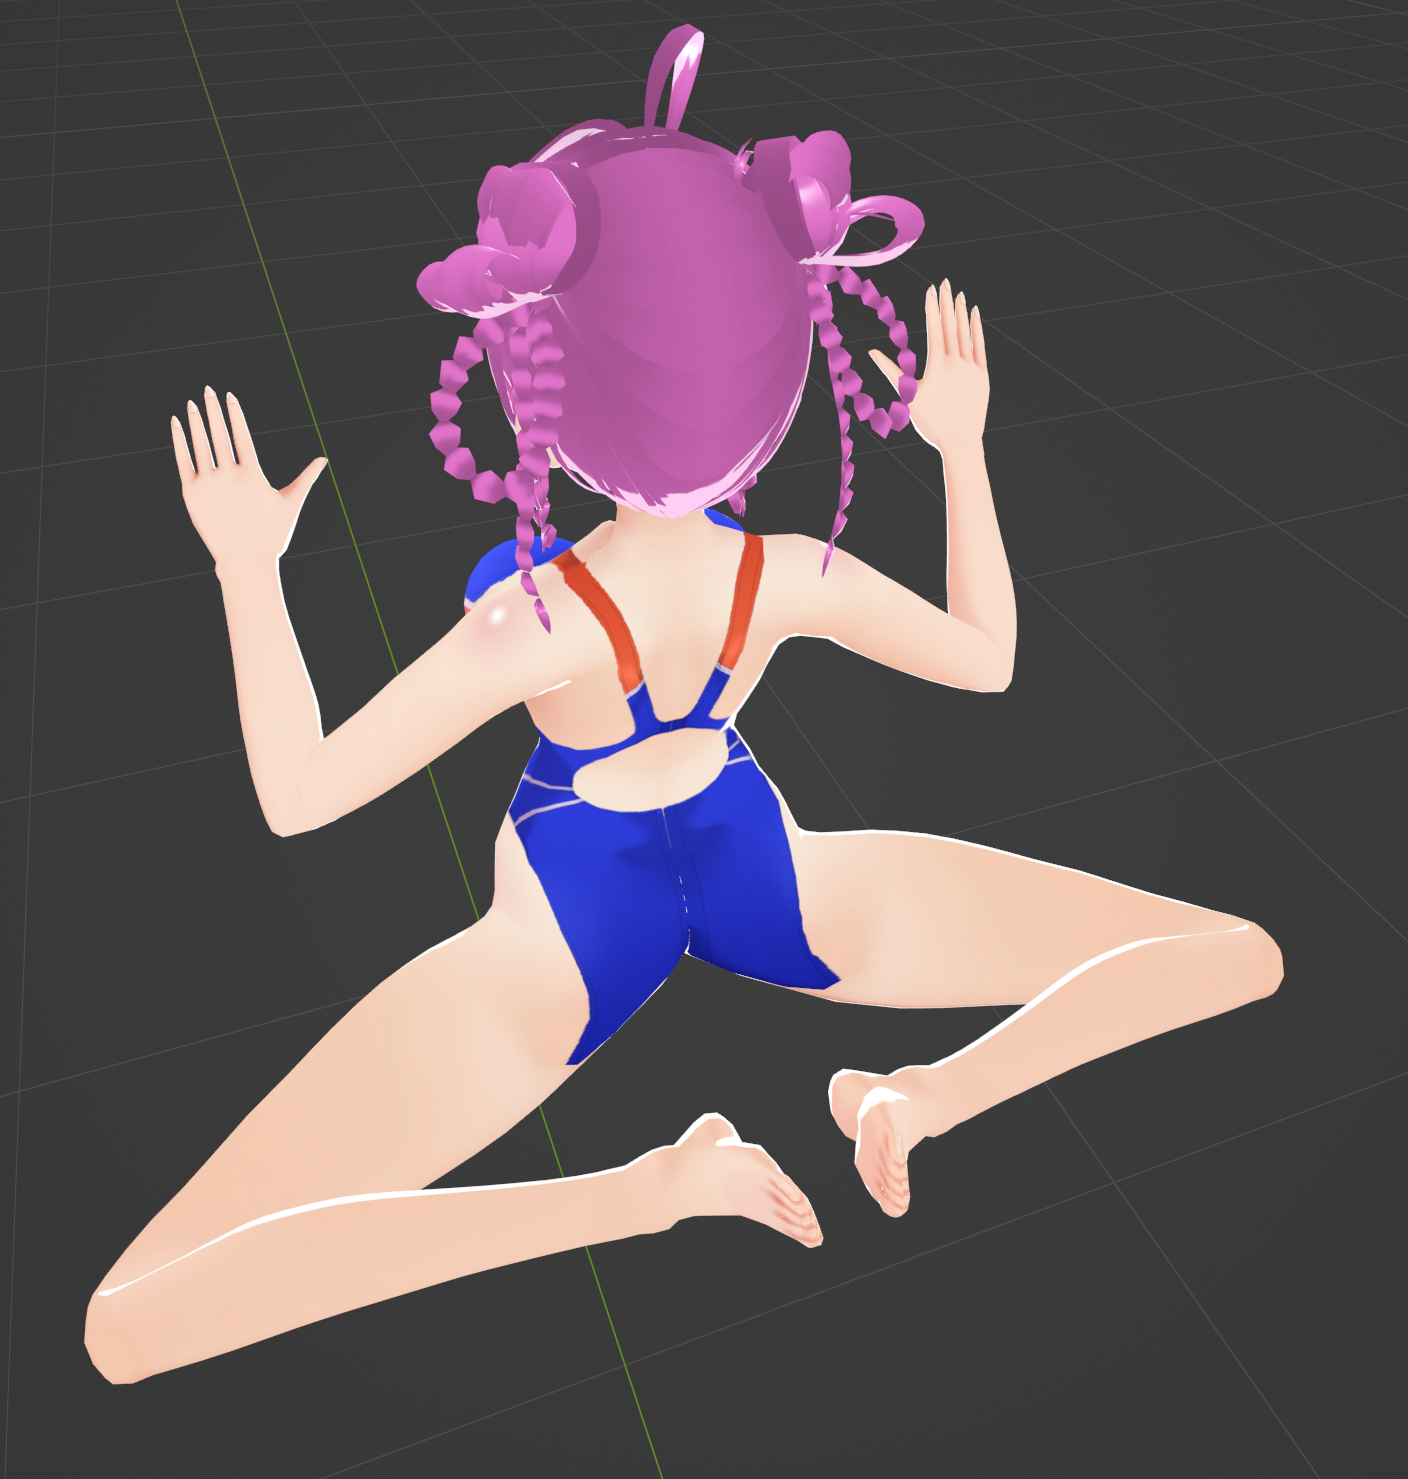
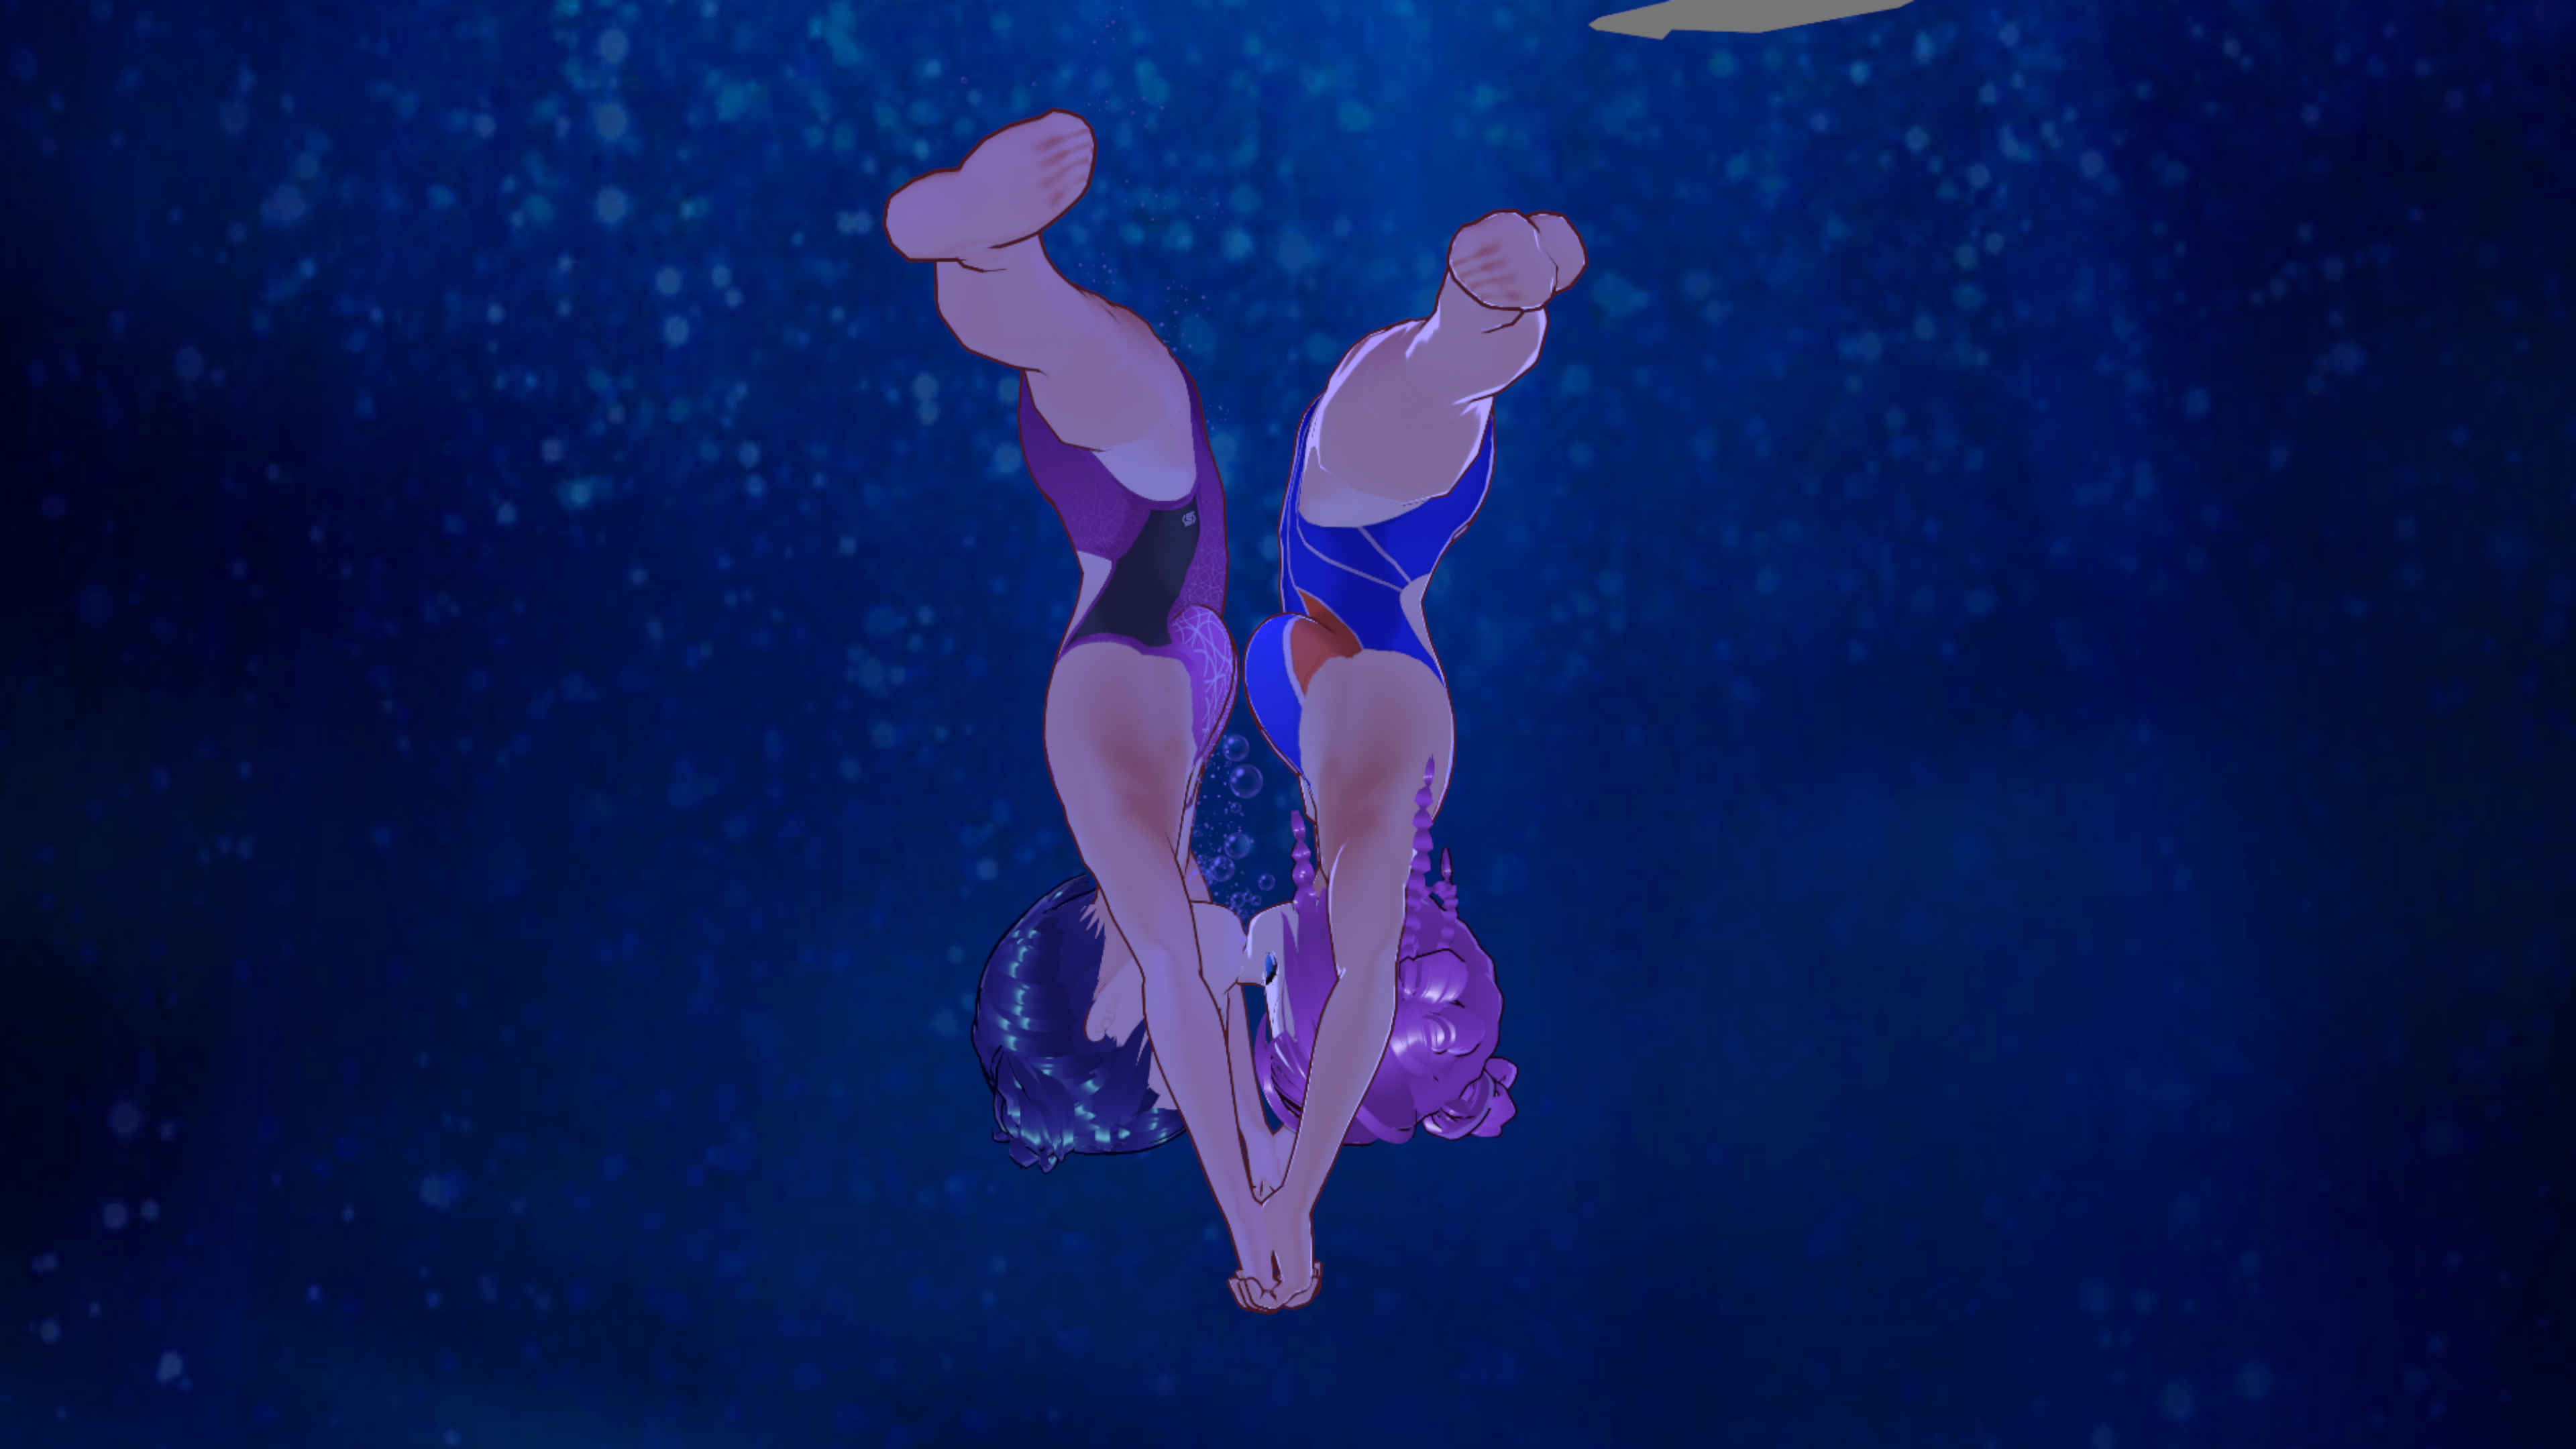
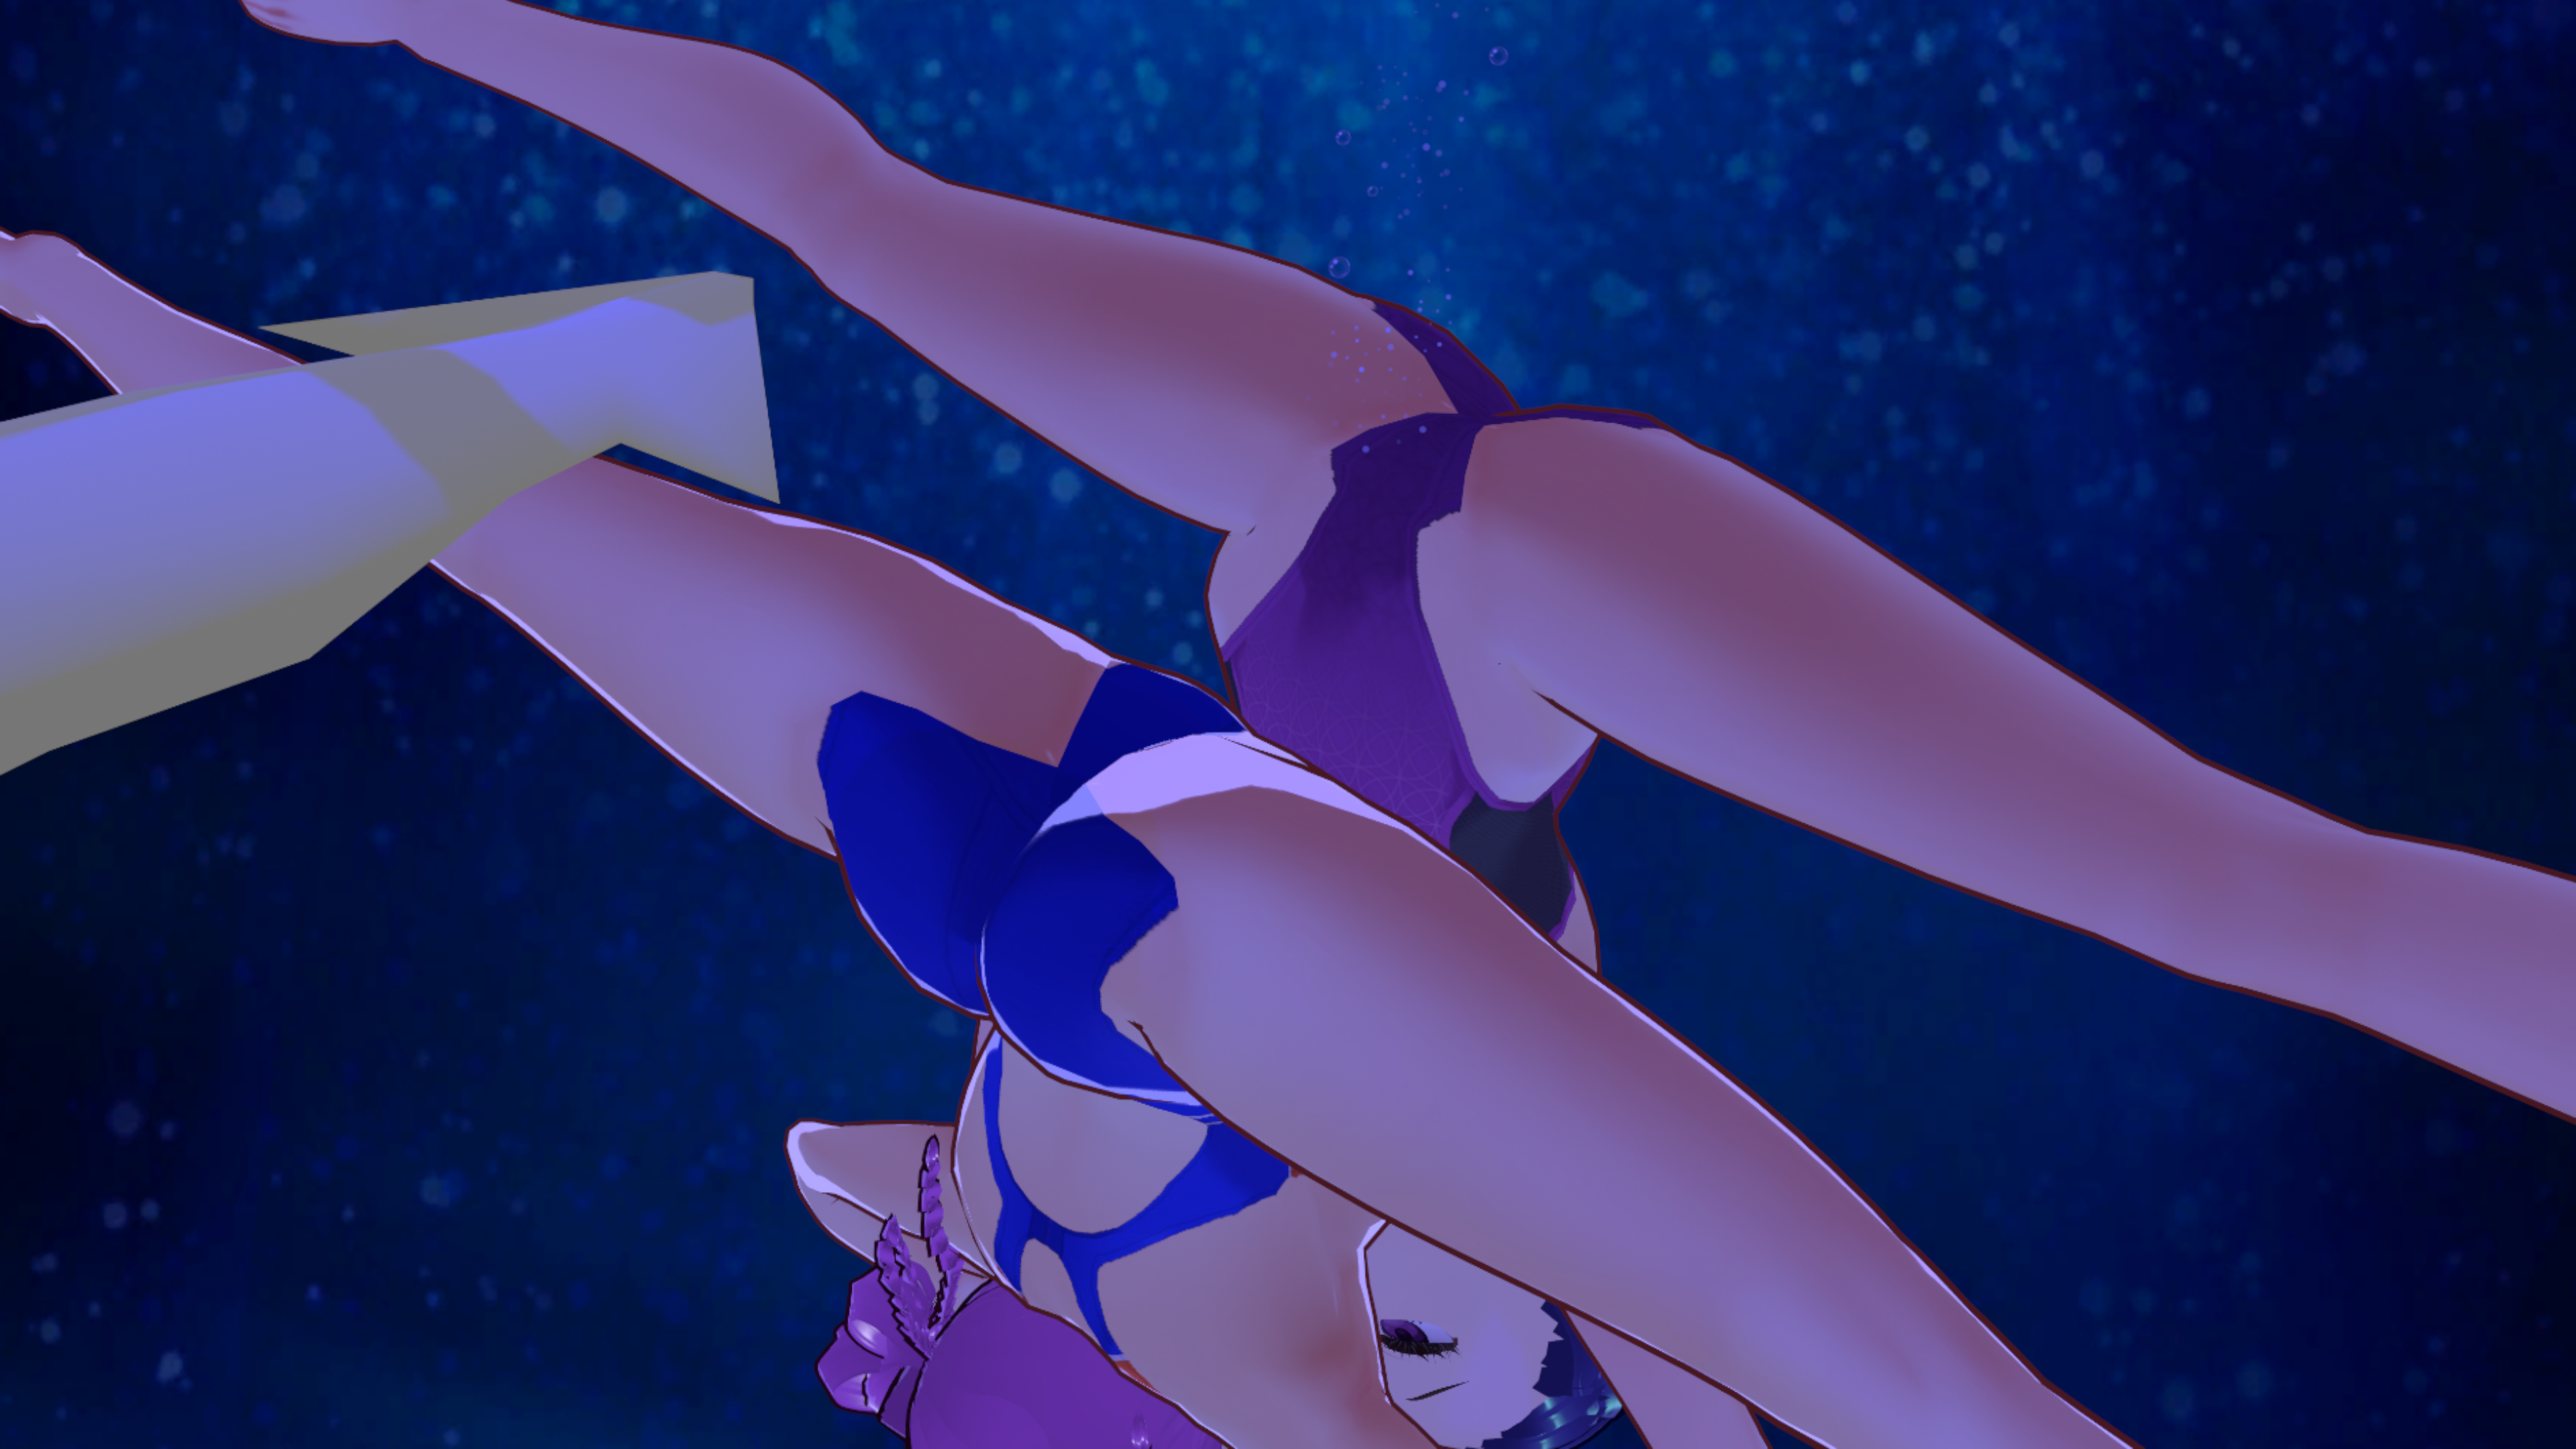
ついでにアングルを工夫することで、両方のキャラクターの乳首がわかるようになりました。結果動画は以下の通り
In addition, by working on the angles, the nipples of both characters can be seen. The resulting video is below
二人でしっかり潜行
2024-03-04 15:16:53 +0000 UTC
View Post
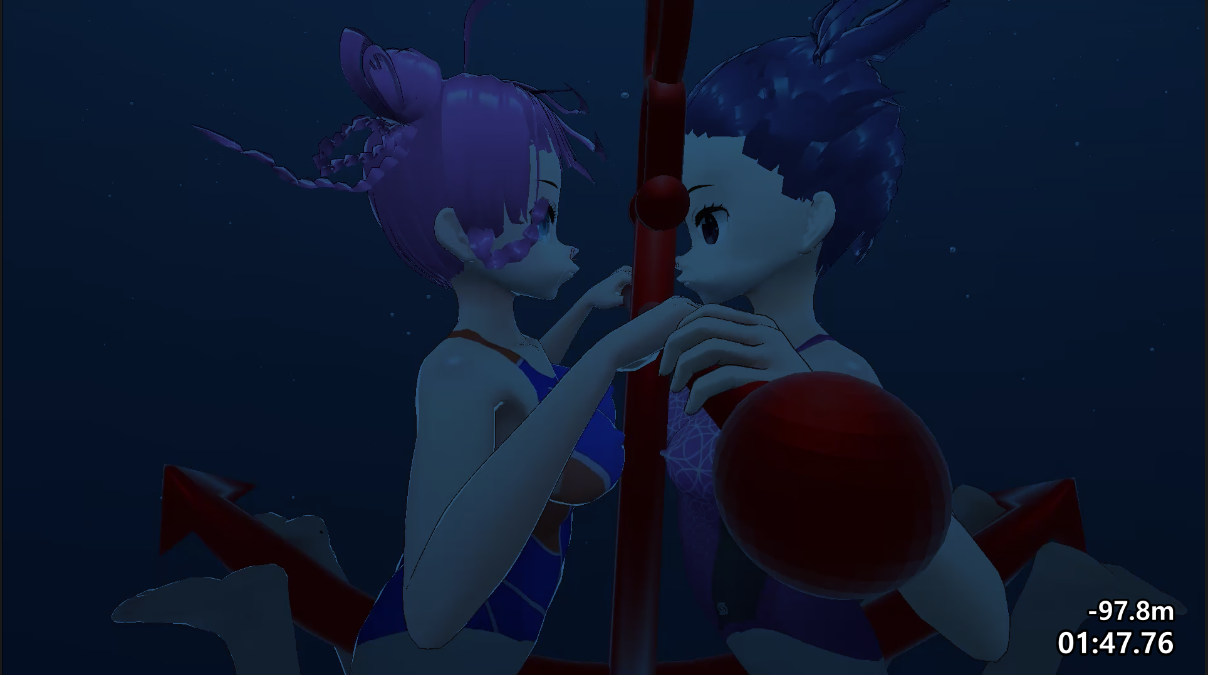
VRMポージングデスクトップで作ったポーズを.animで書き出して、Unityで2体目のアバターにぶっこんでるのに、何故かポーズが微妙にずれる問題を手調整でごそごそとなおすなど。
あと、進捗動画にしては冗長だというご意見があったので、今日は倍速再生にしてみました。
深さの数値もビシッとさせたかったので、Excel課金してゴールシークで計算させたりしてみた。Googleスプレッドシートならタダだと思いきやこれまたサブスクなうえに英語版しかないので、ついカッとなってOffice365個人サブスクかけちゃったw
I exported the poses I made in VRM Posing Desktop as .anim, and then I used Unity to fix the problem of the poses being slightly off when I put them into the second avatar, by manually adjusting the poses.
Also, there was a comment that it was too verbose for a progress video, so today I made it play at double speed.
I also wanted to make sure the depth values were crisp and clear, so I paid for Excel to calculate them in Goal Seek, which I thought was free with Google Spreadsheets, but it's also a subscription and only available in English, so I got frustrated and applied an Office 365 personal subscription. lol
二人で潜行
2024-03-03 12:33:39 +0000 UTC
View Post
今日は、unity側でパーティクルの追加と、動画編集側で水中動画には必須の潜水時間と深度のテロップを付けるスクリプトをガリガリと調べつつ書いておりました。
パーティクルは以前の作品で作っていたものがあったので流用でき、1時間半ほどで解決しました
ですが、Davinci Resolveで動的な数値変化のあるテロップを実現するためのスクリプトはLUAという初挑戦の言語だったため、文字列フォーマットのお作法がわからずちょっと苦労しました。
ついでにブラーフィルタも動画編集側でかけて画を馴染ませてみました。
Today's tasks are.
On the unity side, I added particles.
On the video editing side, I wrote a script to add dive time and depth tickers, which are essential for underwater videos, while doing a lot of research.
I had made the particles in a previous work.
I was able to use the particles that I had made in my previous work, and solved the problem in about an hour and a half.
However, the script to realise a message with dynamic numerical changes in Davinci Resolve was in LUA, a language I had never tried before, so I had a bit of trouble understanding the string formatting.
I also applied a blur filter on the video editing side to make the picture more familiar.
結果がこちら
Here are the results.
パーティクル・字幕スクリプトテスト
2024-03-02 12:27:51 +0000 UTC
View Post
今日試したことは2つ
・Unityのアニメーション作成アセット「Slate」の試用
・Davinci resolveでの青カブリ追加テスト
Two things I tried today.
Trial of Slate, an animation creation asset in Unity.
Tested the addition of blue fogging in Davinci resolve.
まずは、FinalIKでのオブジェクト間のコンストレイント設定を目論んで、Slateを導入してみた。
First, I installed Slate with a plan to set up constrains between objects in FinalIK.
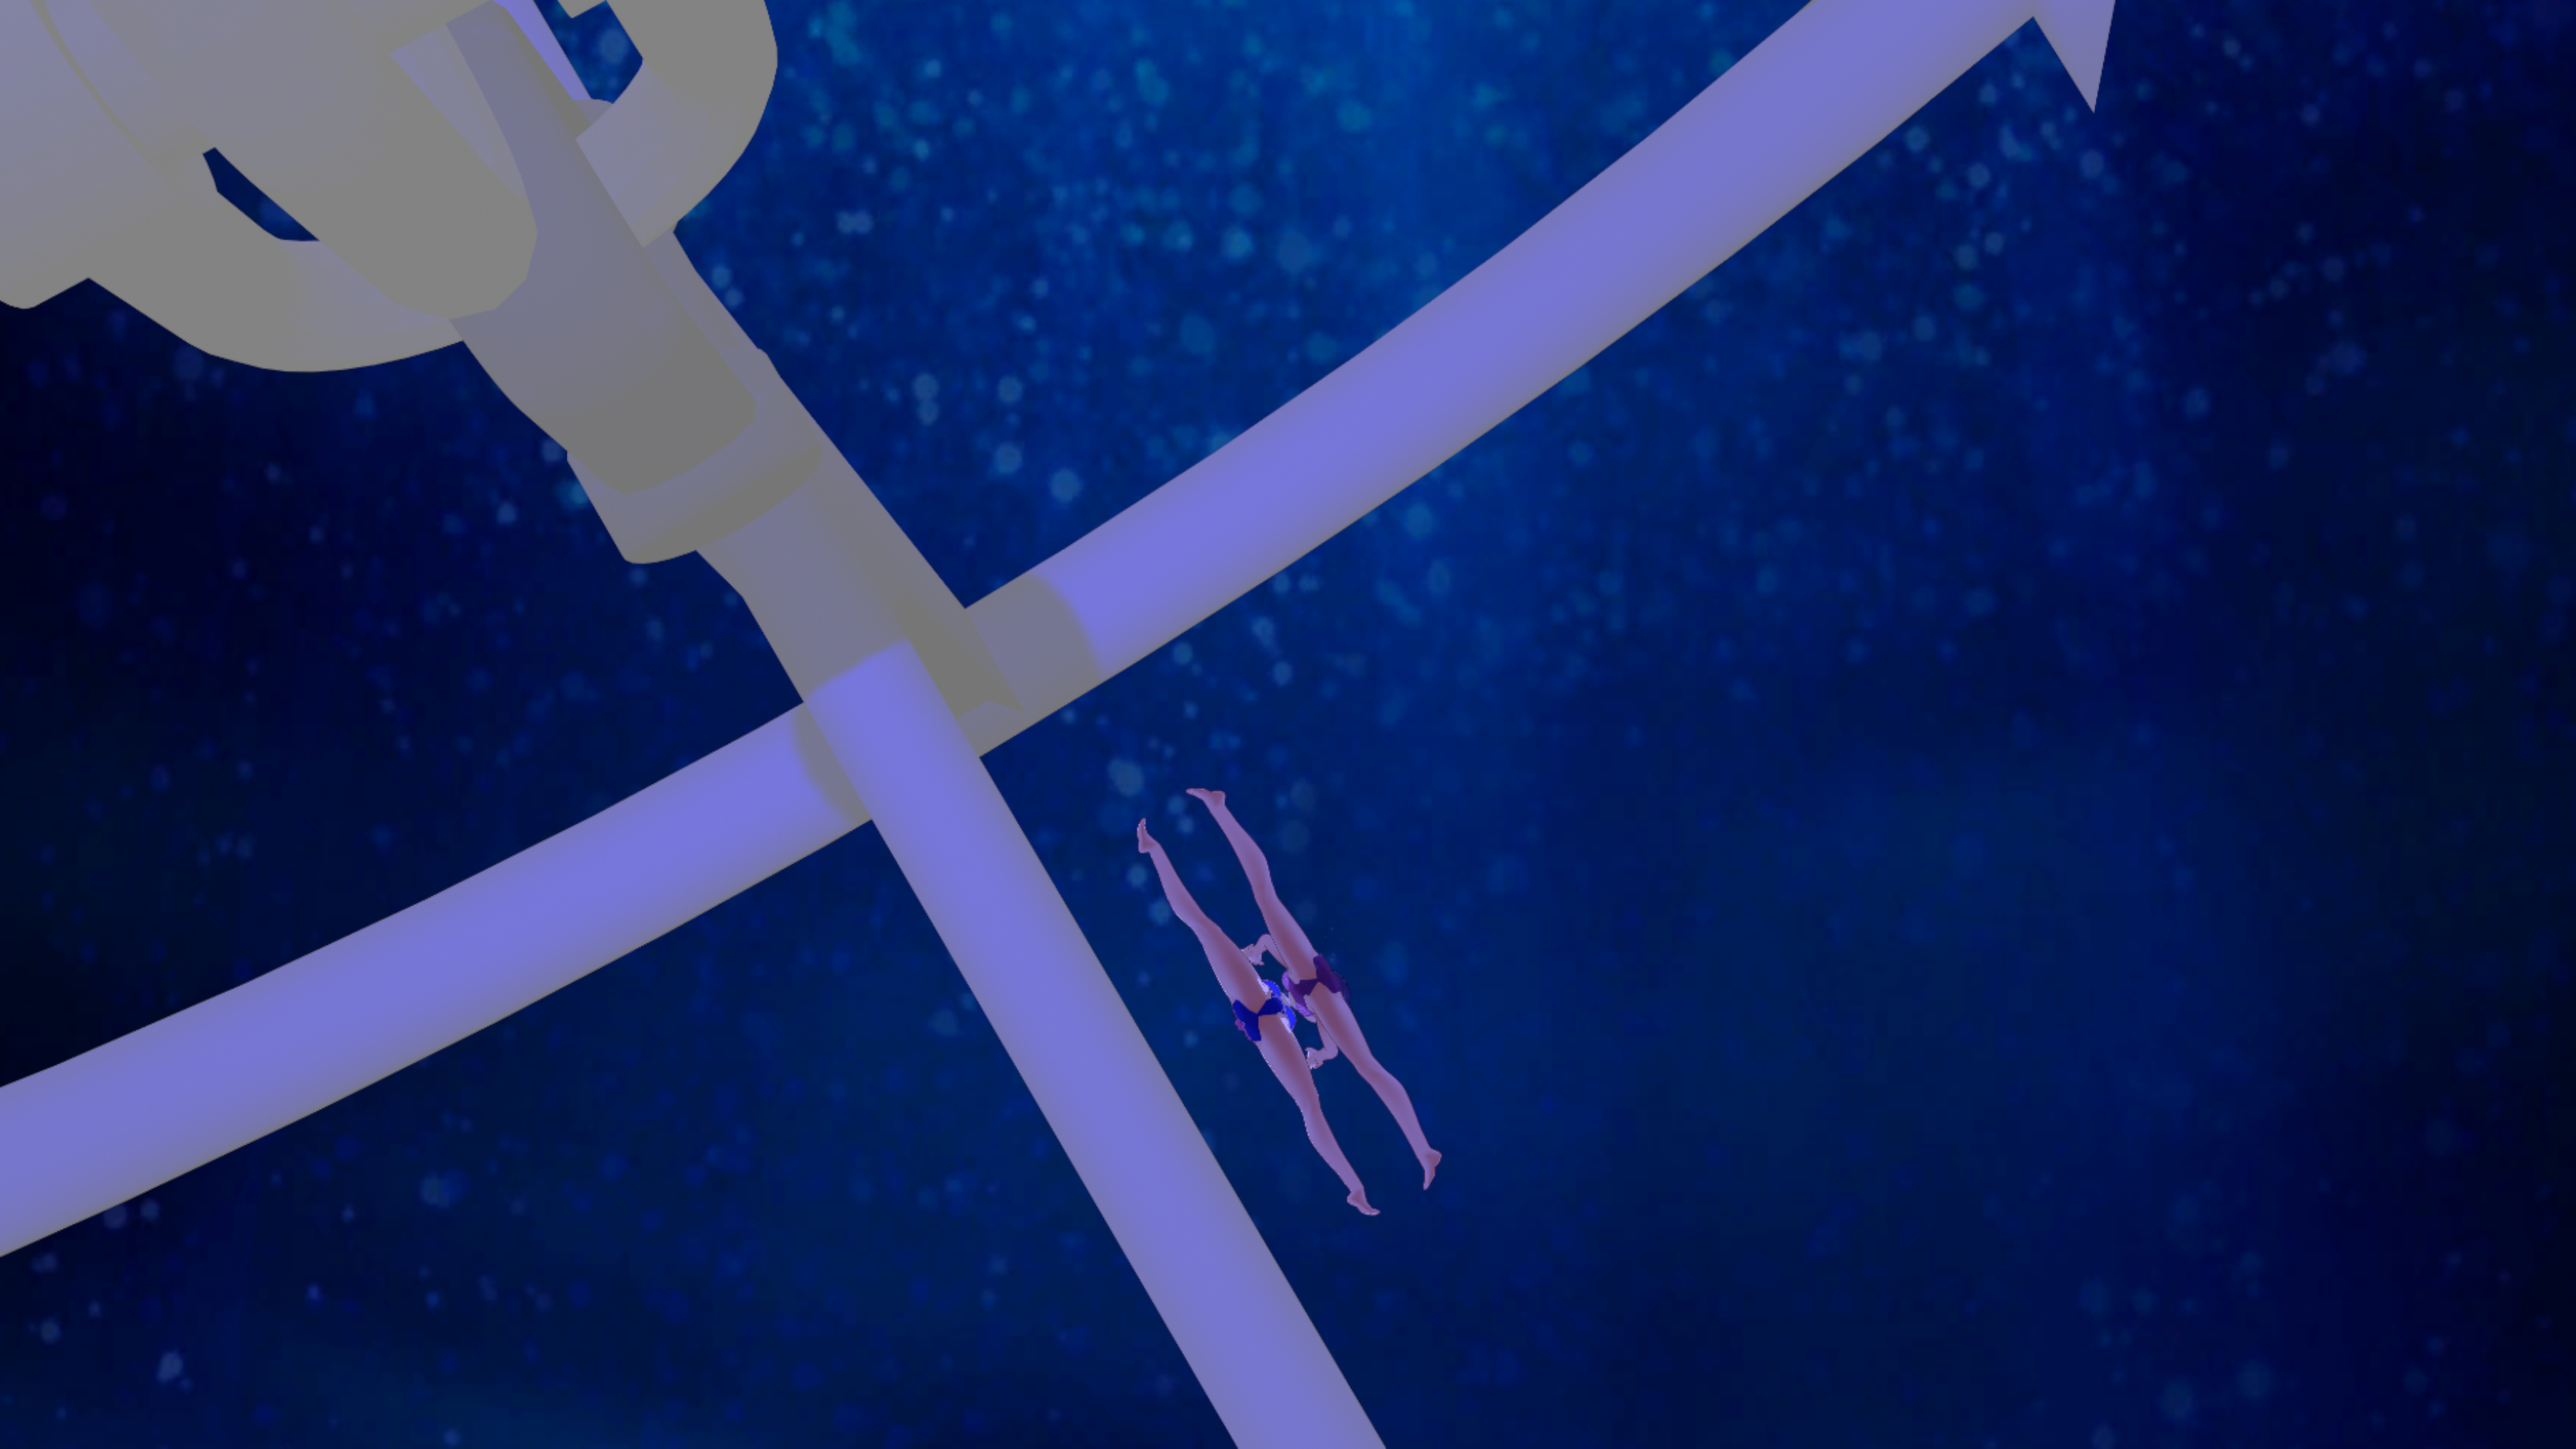
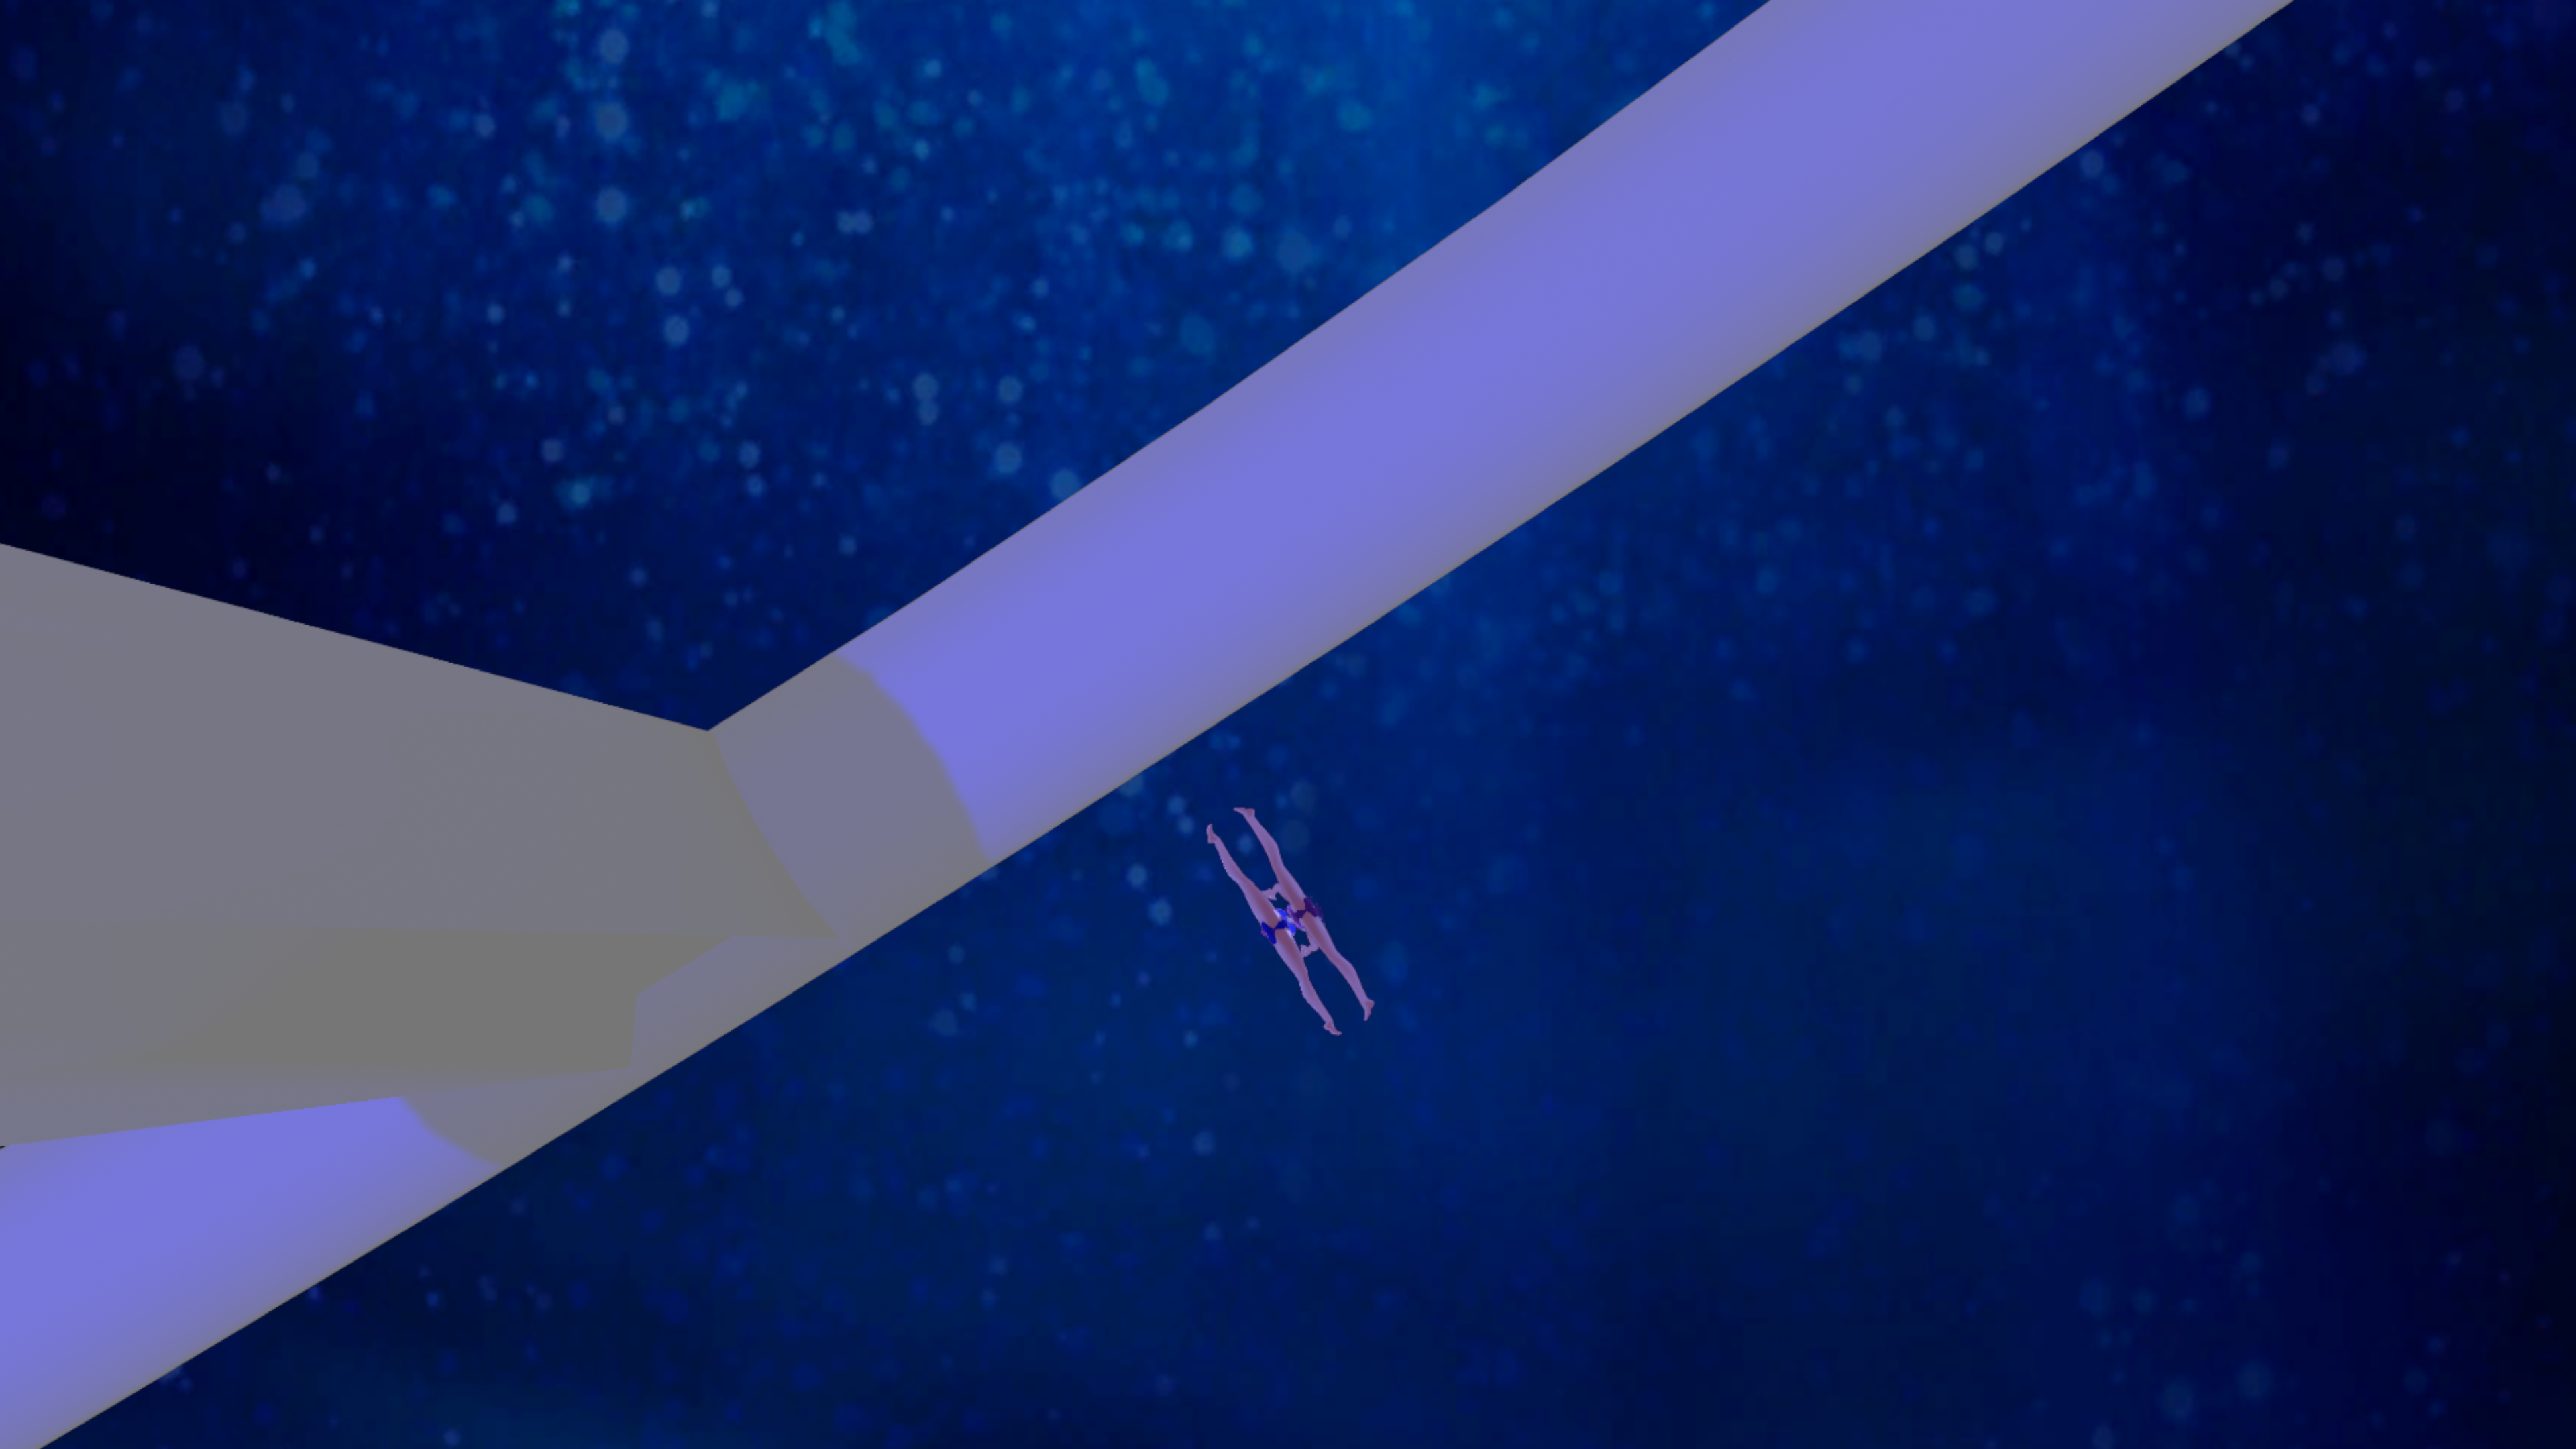
背景はSphereにグラデーションマテリアルを設定し、その中にキャラクターアバターと錨オブジェクトを配置。
Slateのパス追尾機能で、これのオブジェクトを動かして動きを作り込む。
そうするとunity側ではこんな感じの画が作れる
The background is set to Sphere with a gradient material and the character avatar and anchor object are placed in it.
The Slate path tracking function is used to move these objects and create movement.
Then on the unity side, I can create a scene like this.
これを動画として書き出したのち、Davinci Resolveで浅めの色べた塗りと、深めの色べた塗りの画像を乗算レイヤーとして重ね、それぞれの画像の乗算不透明度をキーフレーム付きで設定し、0フレームでは浅めの色が重なるように、最終フレームでは深めの色が適切な不透明度で重なるように設定する
After exporting this as a video, the shallow colour solid and deep colour solid images are overlaid as a multiply layer in Davinci Resolve, and the multiply opacity of each image is set with keyframes so that the shallow colour overlaps at frame 0 and the deep colour overlaps at the final frame with the appropriate Set the opacity to overlap at the appropriate opacity.
その結果がこちら
Here's the result.
ポストプロセス実験
今のところの課題は
・Slateの設定?の問題で書き出し動画左上にメッセージが出てしまう。
→DirectorGUIアセットの設定をしろと読めるが、どこをどう設定すべきかググっても出てこない
→DirecotorGUIのアセットに「シーンのRootに配置せよ」とあったので配置してみたら治りましたw
・VRM Windを設定したが、これをキーフレーム等でコントロールするようにしないといつまででも一定に髪が揺れるようになるので考察必要
・Davinci Resolve側での青カブリを重ねる際に2枚のレイヤーの書き出しにズレが見られる。画像サイズ・配置位置等再検討
といったところだろう
These are the issues at the moment.
Slate settings are causing a message to appear in the top left hand corner of the exported video.
→I can read that I need to set up the Director GUI assets, but I can't find anything by Googling what I need to set up.
The VRM Wind is set, but if this is not controlled by keyframes, etc., the hair will shake constantly, so it is necessary to consider this.
When overlapping blue shadows on the Davinci Resolve side, there is a discrepancy in the export of the two layers. Need to rethink image size, placement position, etc.
2024-03-02 02:37:29 +0000 UTC
View Post
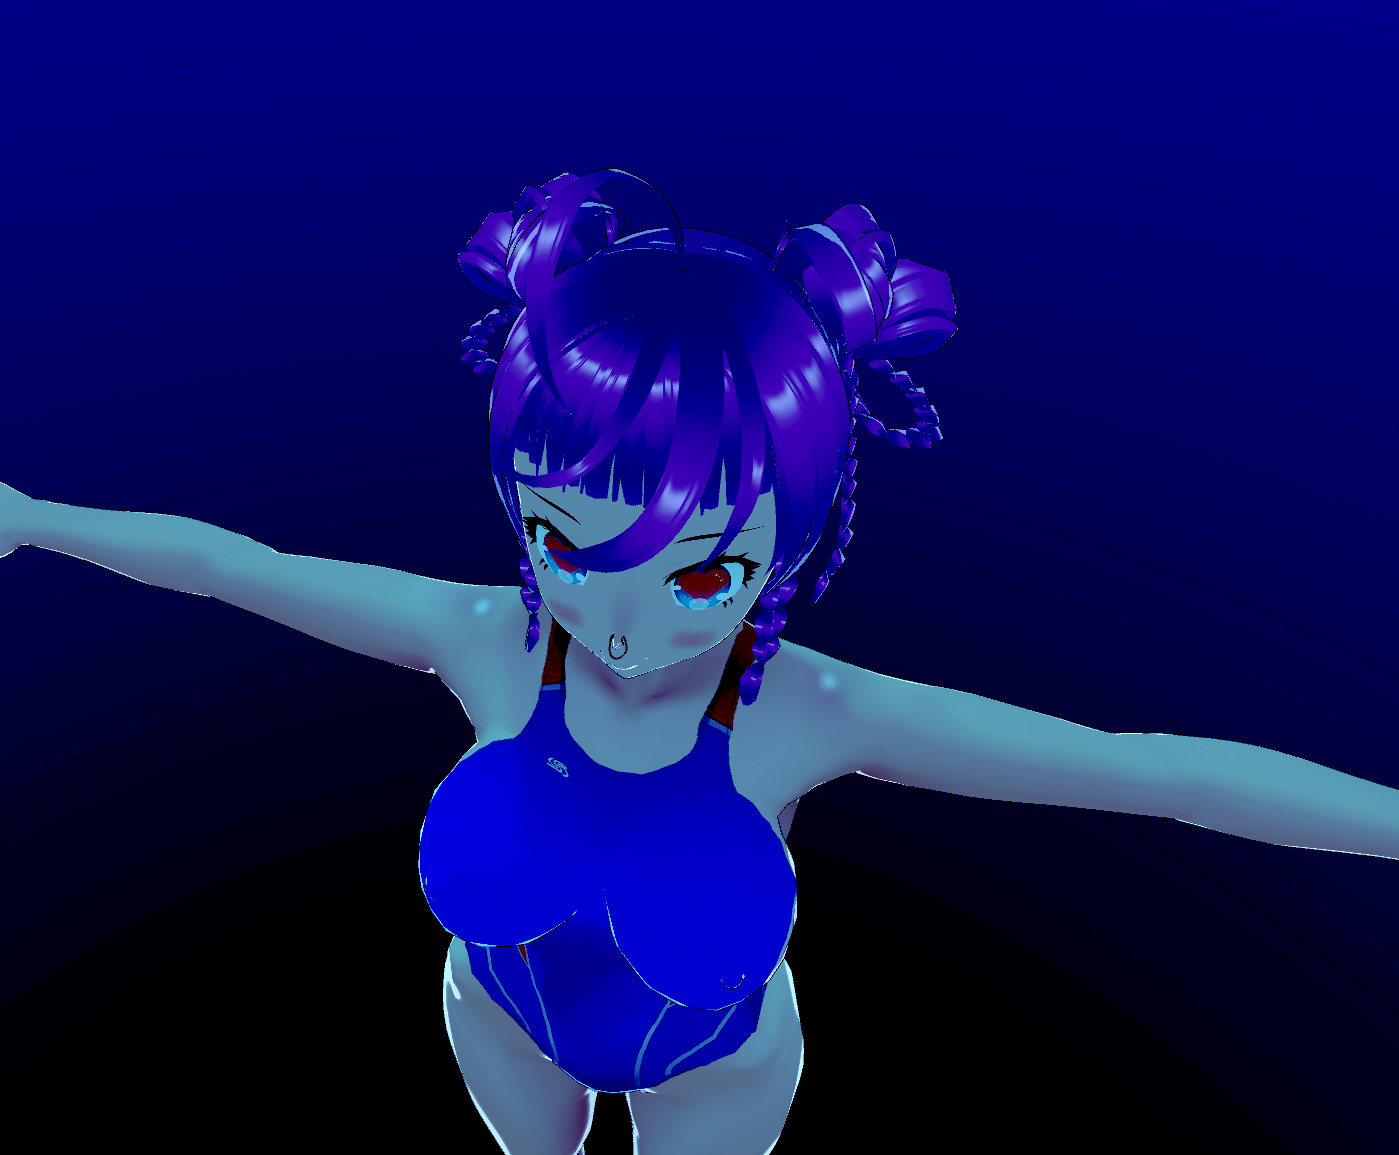
WindforVRMなるスクリプトを見つけたので、これ幸いと水中っぽい髪揺れをVRMポージングデスクトップでやってたのをUnity Editorで再現することを試みてみた
https://github.com/malaybaku/WindForVRM
I found a script called WindforVRM, so I took advantage of it and tried to reproduce the underwater-like hair swaying on the VRM posing desktop in the Unity Editor.
20240226-1
20240226-2
うむ。良い感じだ。やっぱり水中ではいろいろ揺れないとね
Mm. It feels good. I knew she'd have to shake her various parts underwater.
2024-02-26 12:01:52 +0000 UTC
View Post
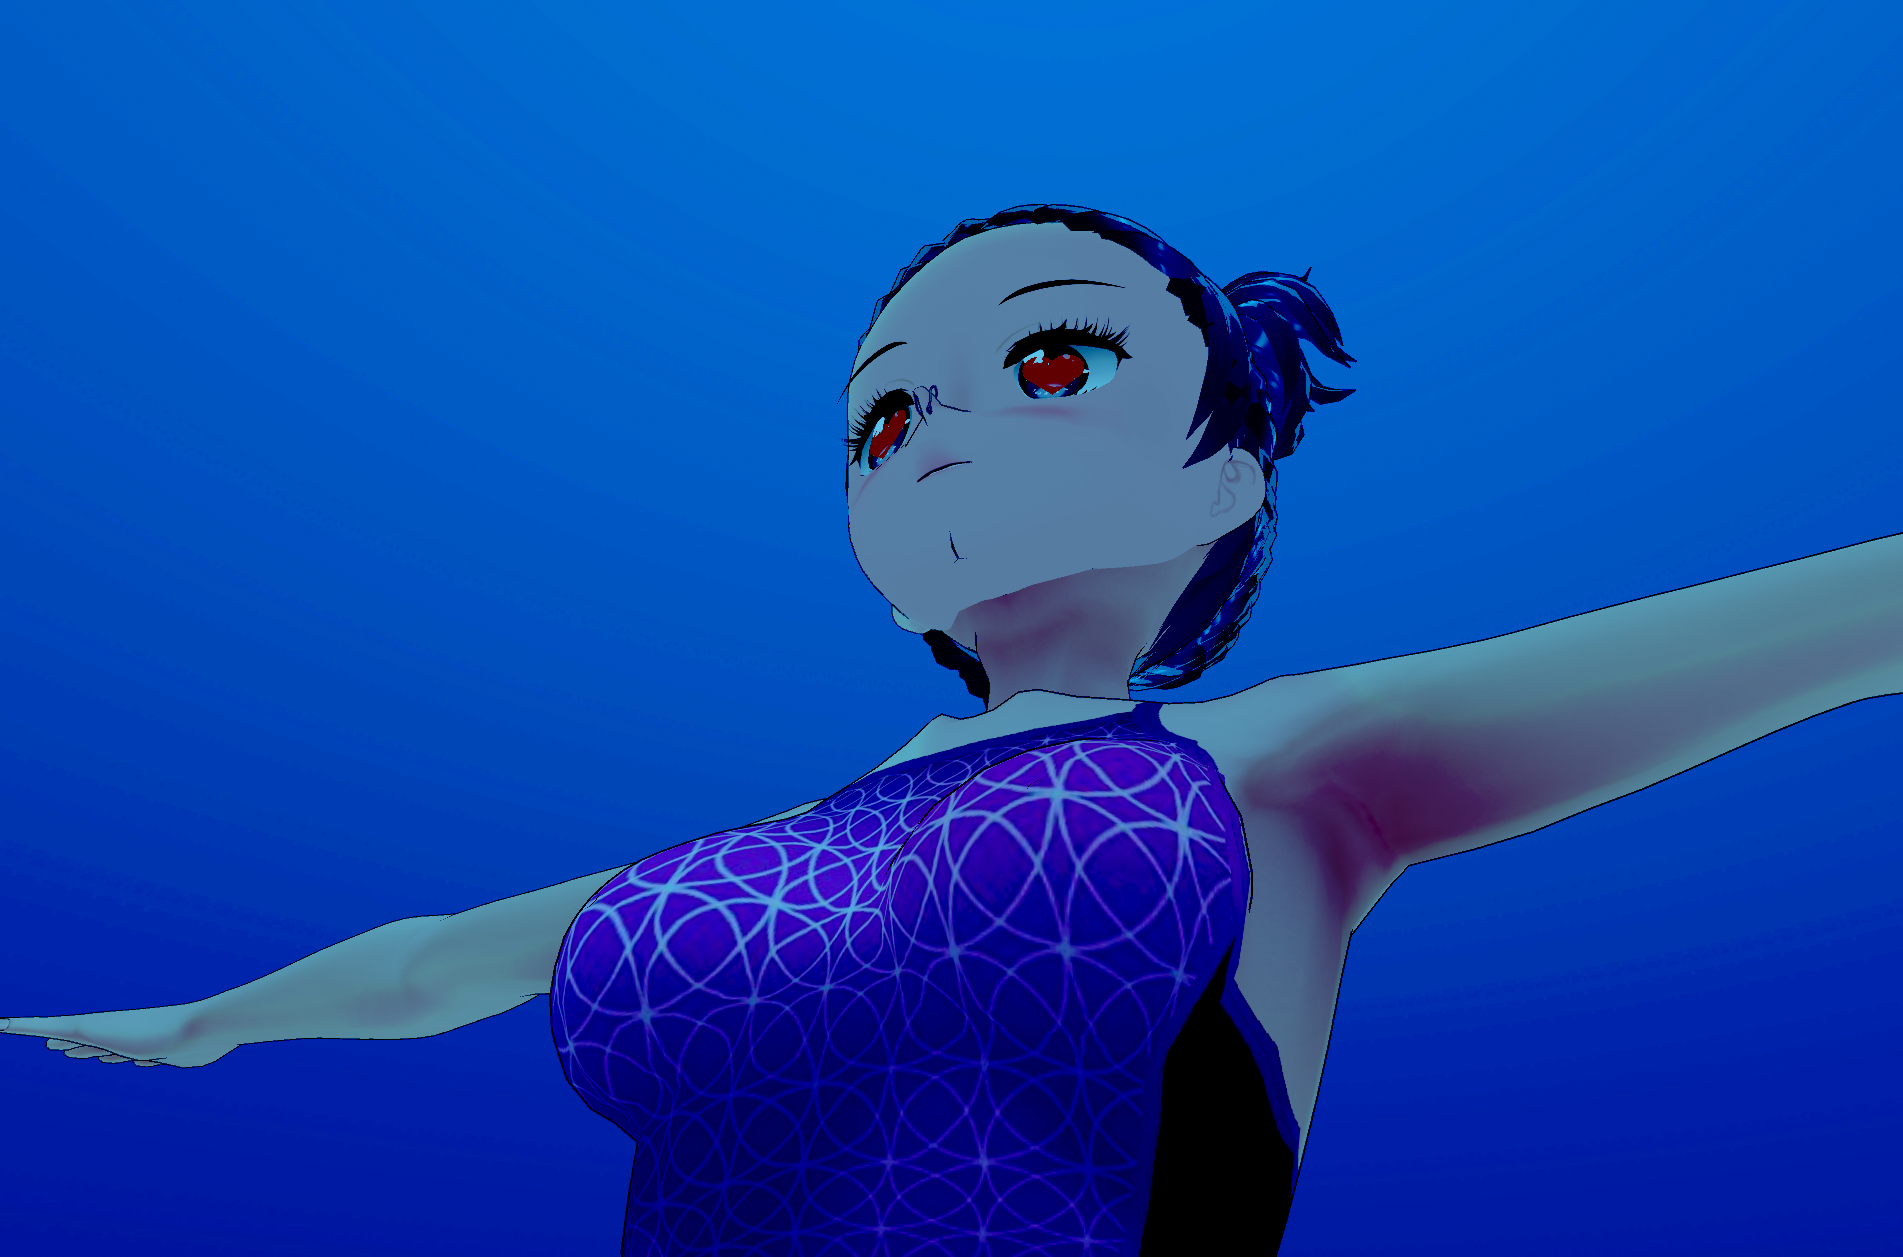
背景の天球画像の作成とunityへの配置、ビルトインレンダーパイプラインでのPostProcessVolumeの解決まで無事完了。
ただunityで実験的機能として提供されていたAnimeToolBoxが昨年8月から開発止まってるので、別のアニメーションワークフローを考えないとイカン状況。
とりま海底の暗さと上を見た時の明るさを表現する背景グラデーションは上手くいったので今日は満足。
The creation of the background celestial image, its placement in unity and the solving of the PostProcessVolume in the built-in render pipeline have been successfully completed.
However, the development of the AnimeToolBox, which was provided as an experimental feature in unity, has been stopped since August last year, so I need to think about a different animation workflow.
At any rate, the background gradient that expresses the darkness of the seabed and the brightness when looking upwards went well, so I'm satisfied today.
今後の課題
ビルトインレンダーパイプラインでのPostProcessVolumeのグラデーション化。前作でやったのでできるはず。
アニメーションワークフローの解決。何やらSlateとFinal IKでできそうという感触は得ていて、どっちのアセットも購入済ではあるが、使ってみないとどうなるかはわからない
Future tasks.
Gradientisation of PostProcessVolume in the built-in render pipeline. It should be possible as it was done in the previous work.
Solving the animation workflow. I've got a feeling that it could be done with Slate and Final IK, and I've already bought both assets, but I won't know what will happen until I use them.
2024-02-25 14:13:19 +0000 UTC
View Post
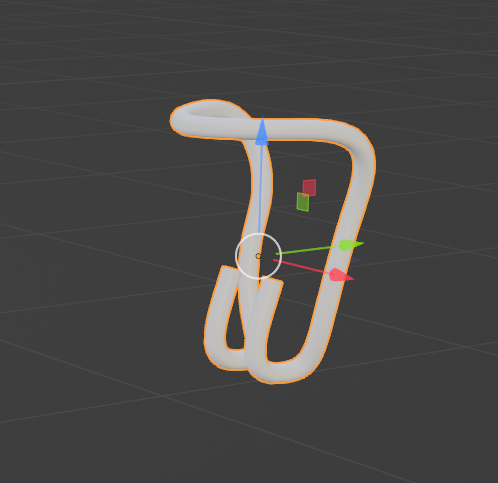
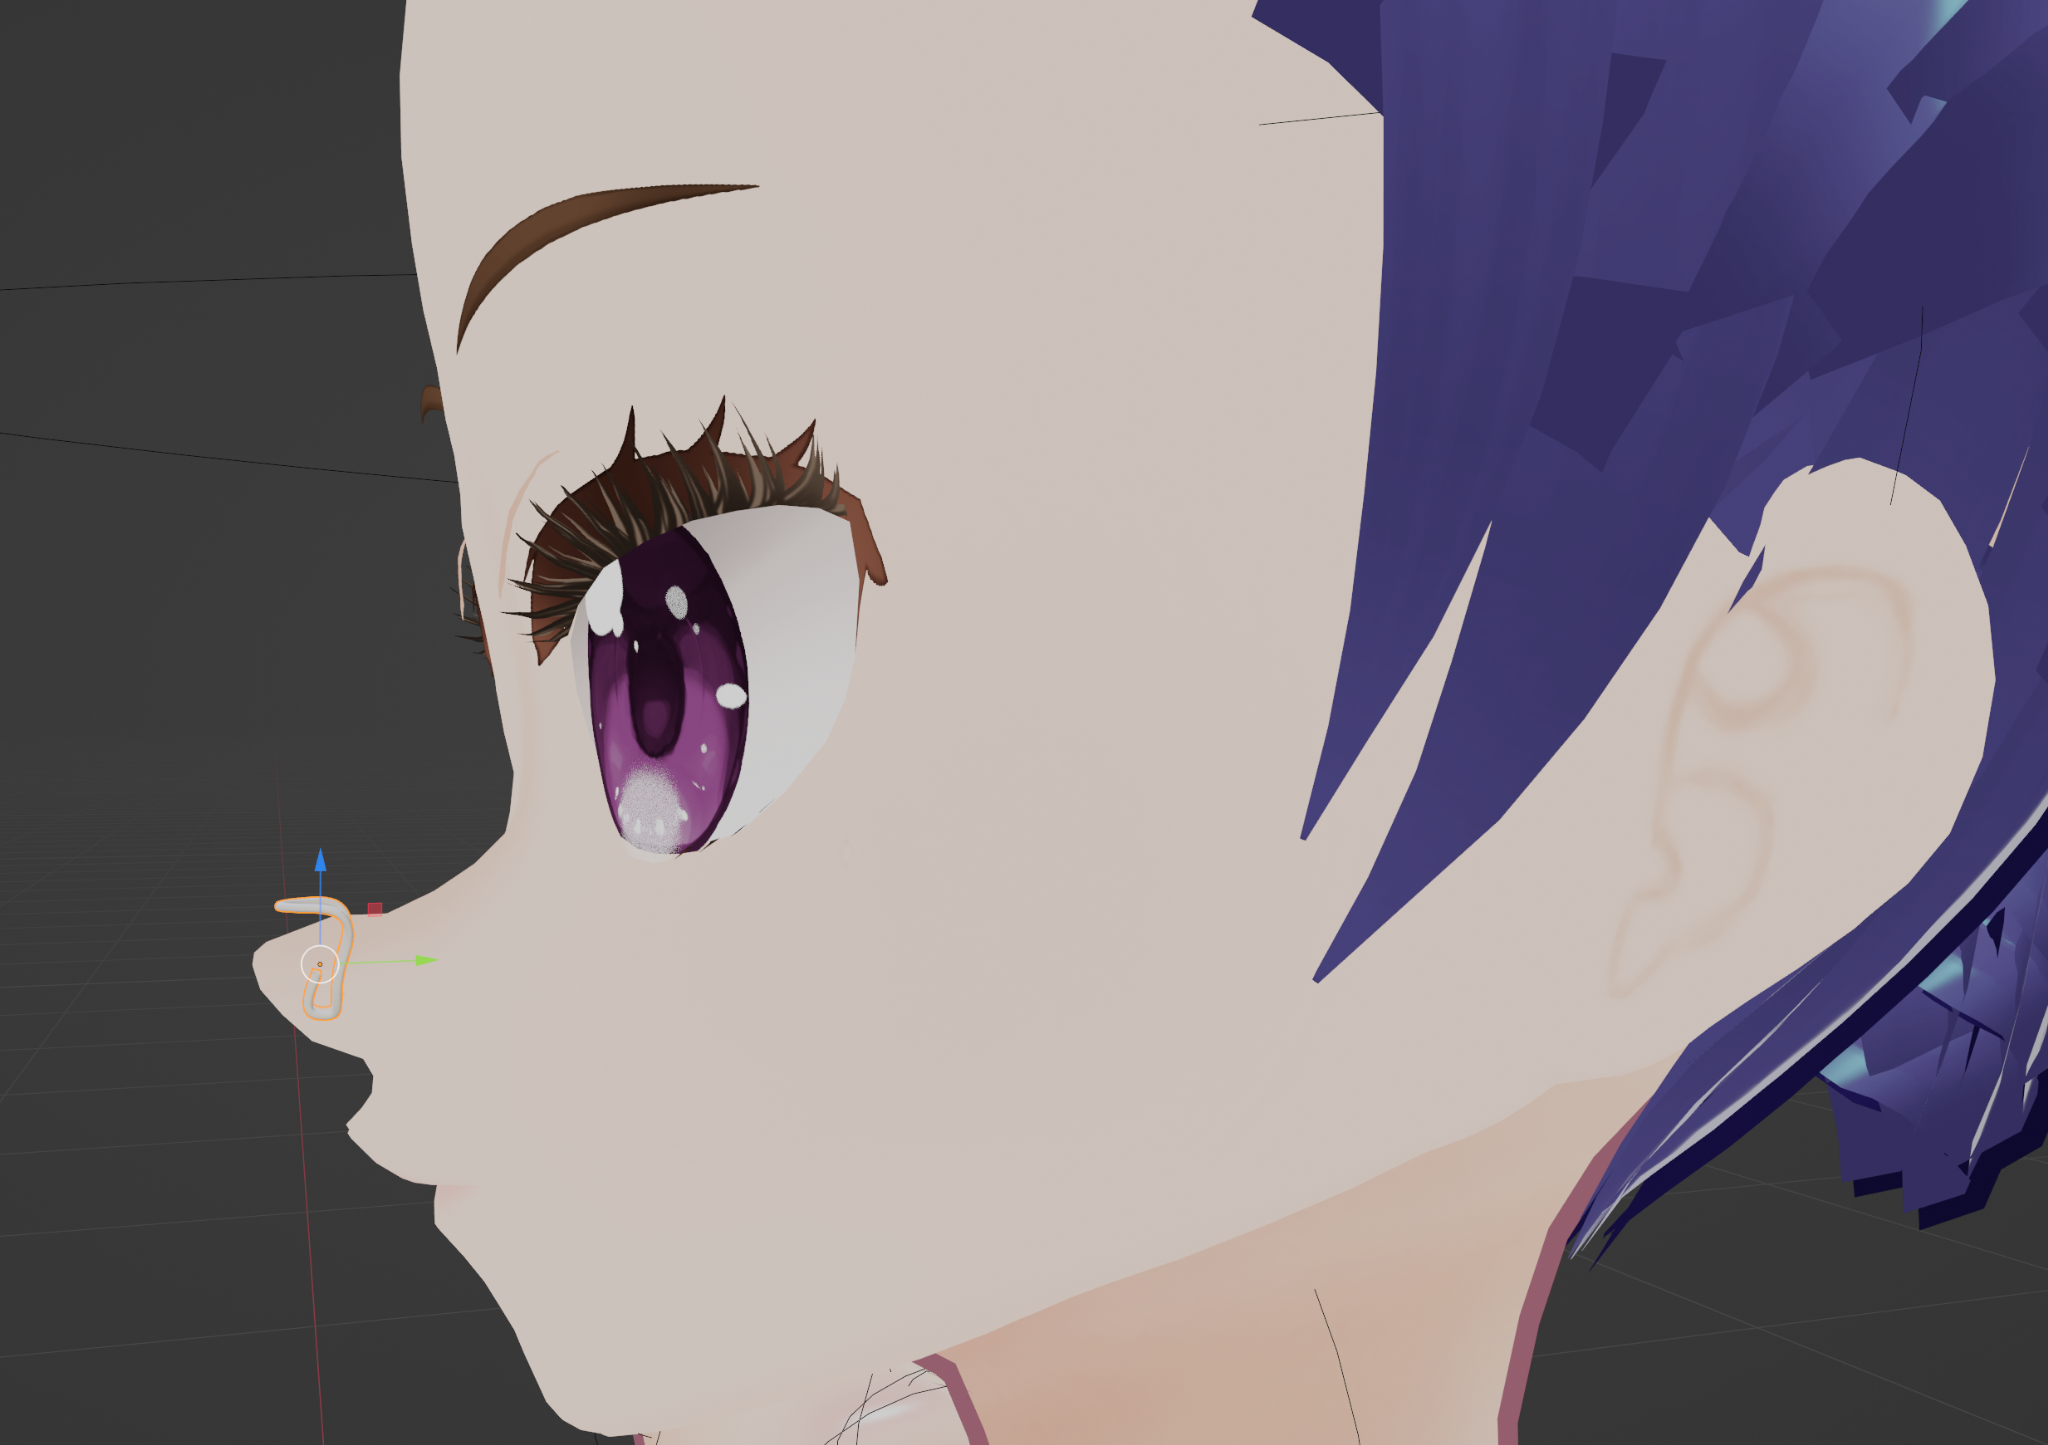
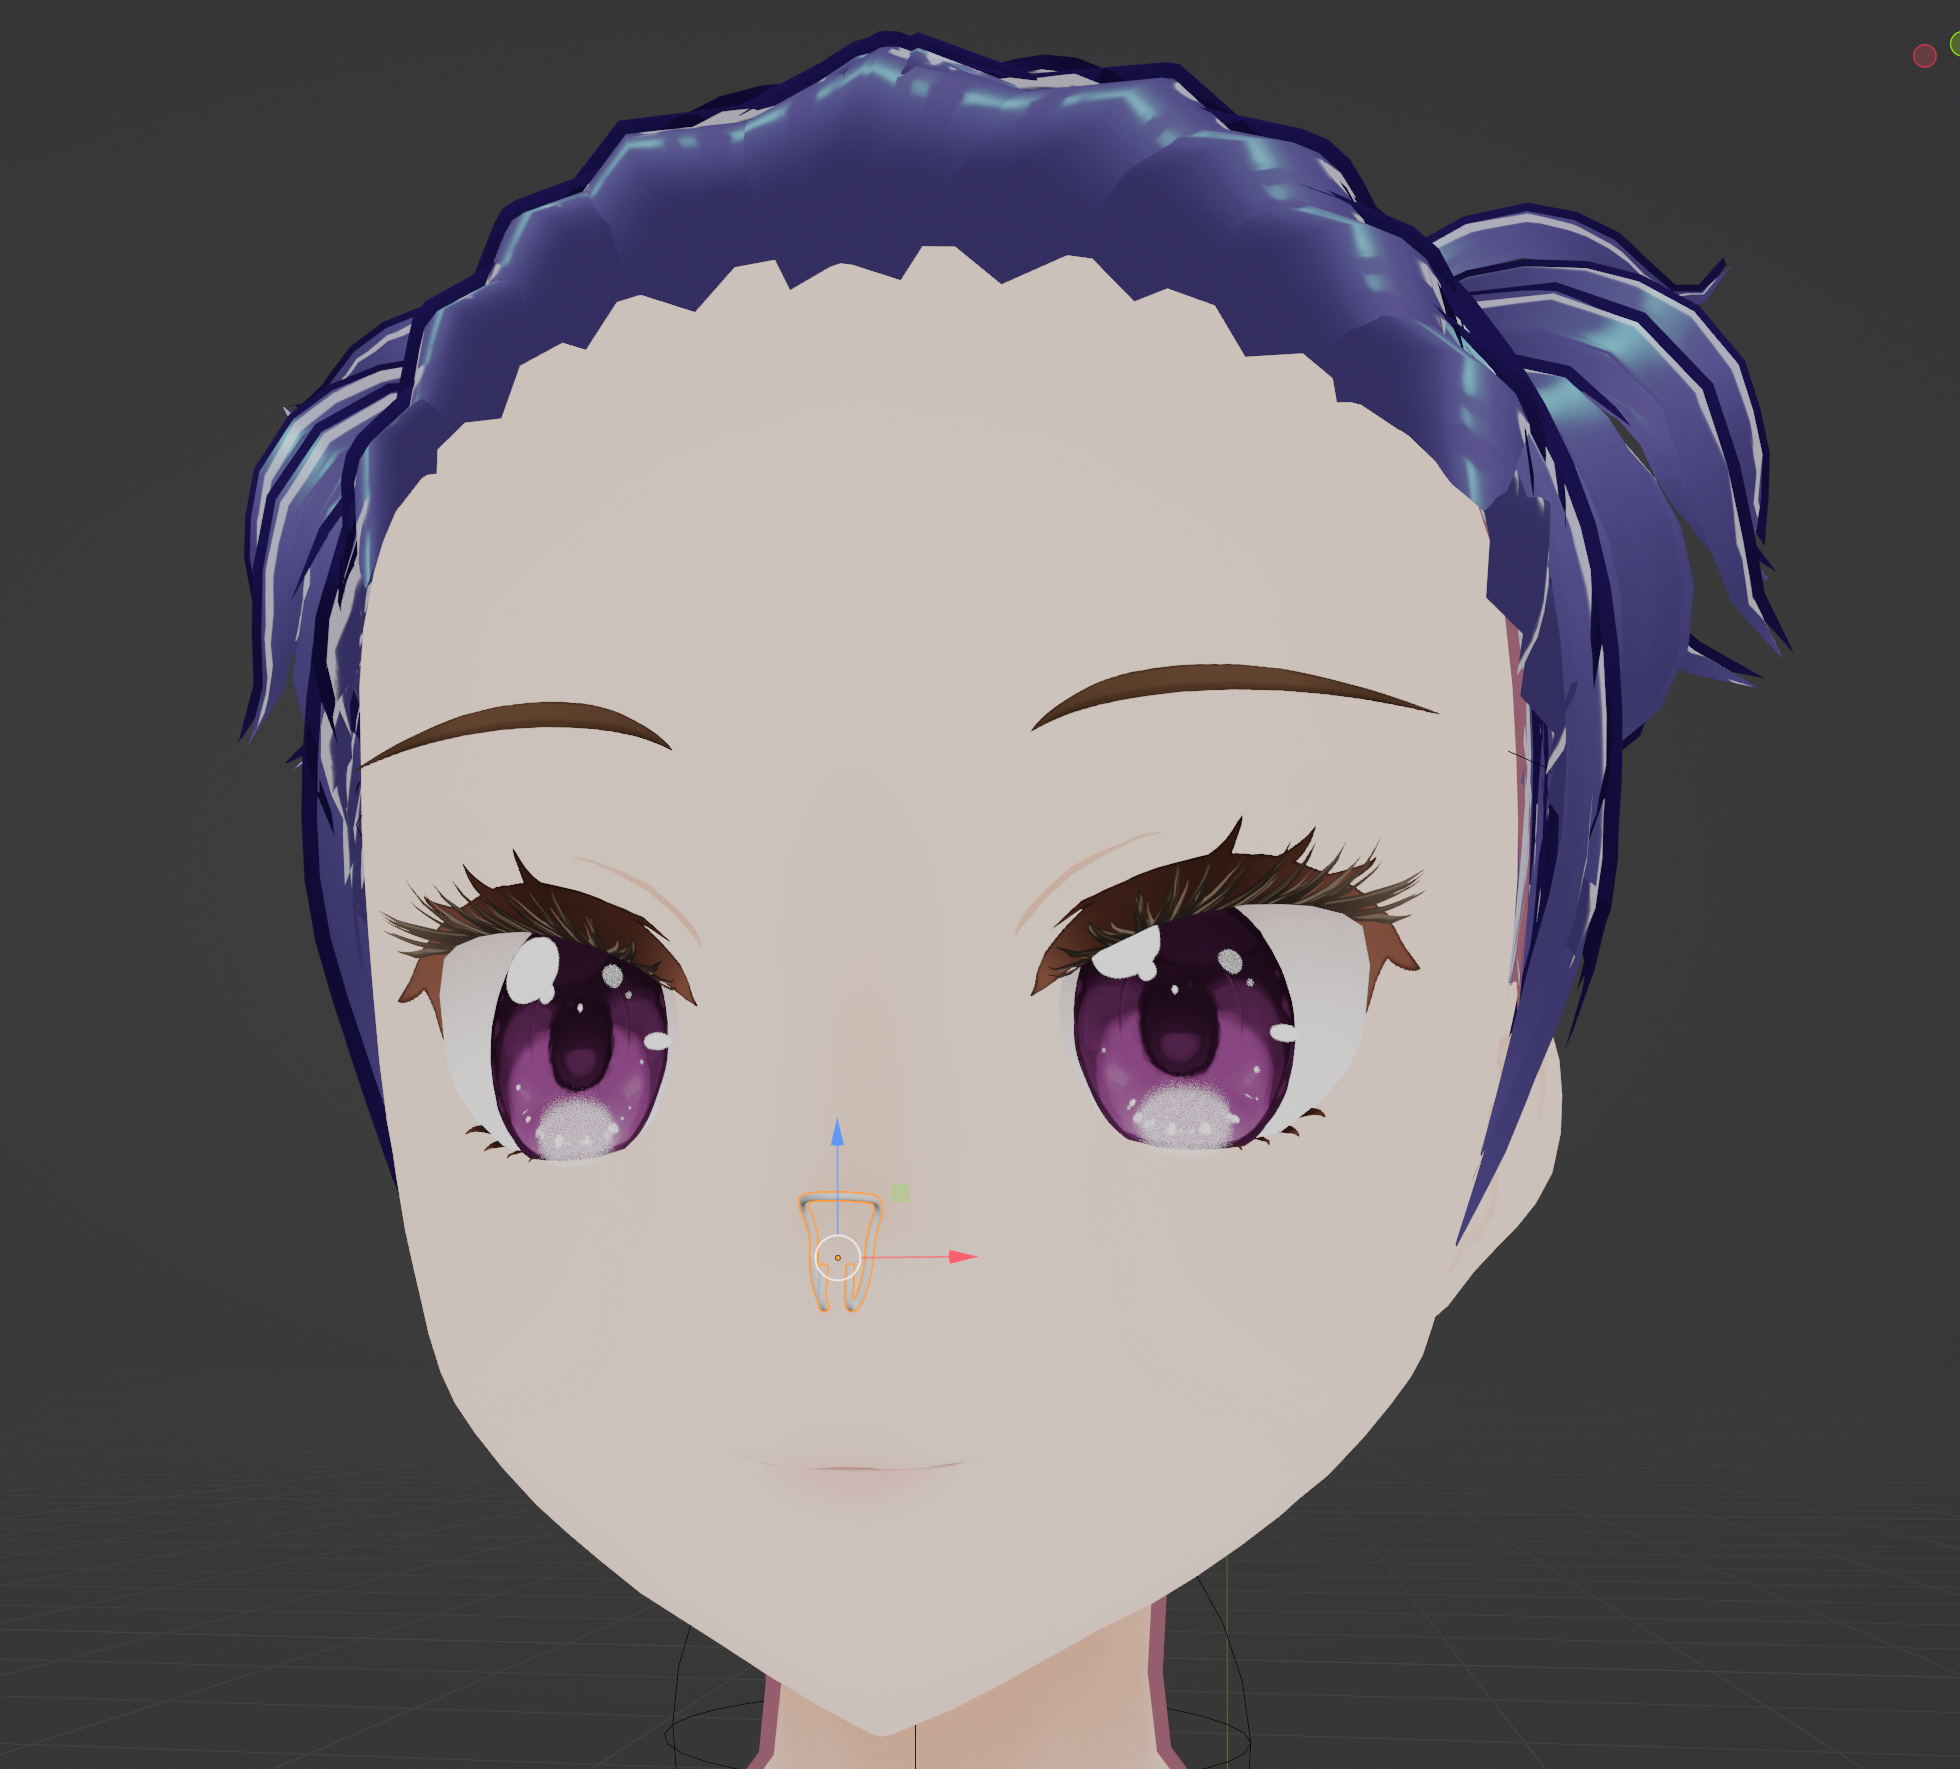
今日は師匠をミスキーに誘いつつ、アバターをunityへ移植するのと、unity内でノーズクリップマテリアル設定をミスりつつもやりきれました。ついでにunityでシェイプキーが無事に動作するのもチェックできました。
Today, while inviting my master to Misskey, I was able to finish porting the avatar to unity and setting up the nose clip material in unity. In addition, I was able to check that the shape key works fine in unity.
2024-02-23 13:51:11 +0000 UTC
View Post
2体分作ったノーズクリップをアバターに装備してみました。完全にワイの性癖です。
I equipped my avatar with the nose clips I made for two of them. It's completely my jerk-off material
2024-02-21 11:42:40 +0000 UTC
View Post
初めての3Dフルスクラッチモデリングでノーズクリップを作ってみました。テクスチャなどはこれからだけどとりま形になった。
I made my first 3D full-scratch modelling nose clip. I'm still working on the textures etc., but it's taking shape anyway.
2024-02-18 08:16:48 +0000 UTC
View Post
2体目の鼻つまみシェイプキーは1体目のを参考にしつつ15分ほどでできあがり。余った時間で表情&色チェックついでにクリスタで遊ぶなど。
The second nose pinch shape key was completed in 15 minutes, using the first one as a reference. In the time I had left over, I played with Clip Studio Paint while checking the expressions and colours.
鼻つまみシェイプキーの動き
Movement of nose pinch shape key
鼻つまみシェイプキー
遊んだ結果
As a result of playing
2024-02-17 08:36:35 +0000 UTC
View Post
今日は青ざめ系をサクサクと付けることができました。この調子で明日は鼻つまみシェイプキーやっぞー
Today I was able to quickly put on the nose and head pallor. At this rate, I'll be doing nose pinch shape keys tomorrow!
2024-02-16 12:41:48 +0000 UTC
View Post
食中毒でしばらく伏せっておりました。ようやく普通食が摂れるようになったので、作業再開。寝込む前のハート目作業と本日の頬染め作業で少し進みました。
I was laid low for a while due to food poisoning. I am finally able to eat normal food and have resumed work. I made some progress with the heart eye work before I fell asleep and today's cheek dyeing work.
2024-02-15 12:24:43 +0000 UTC
View Post
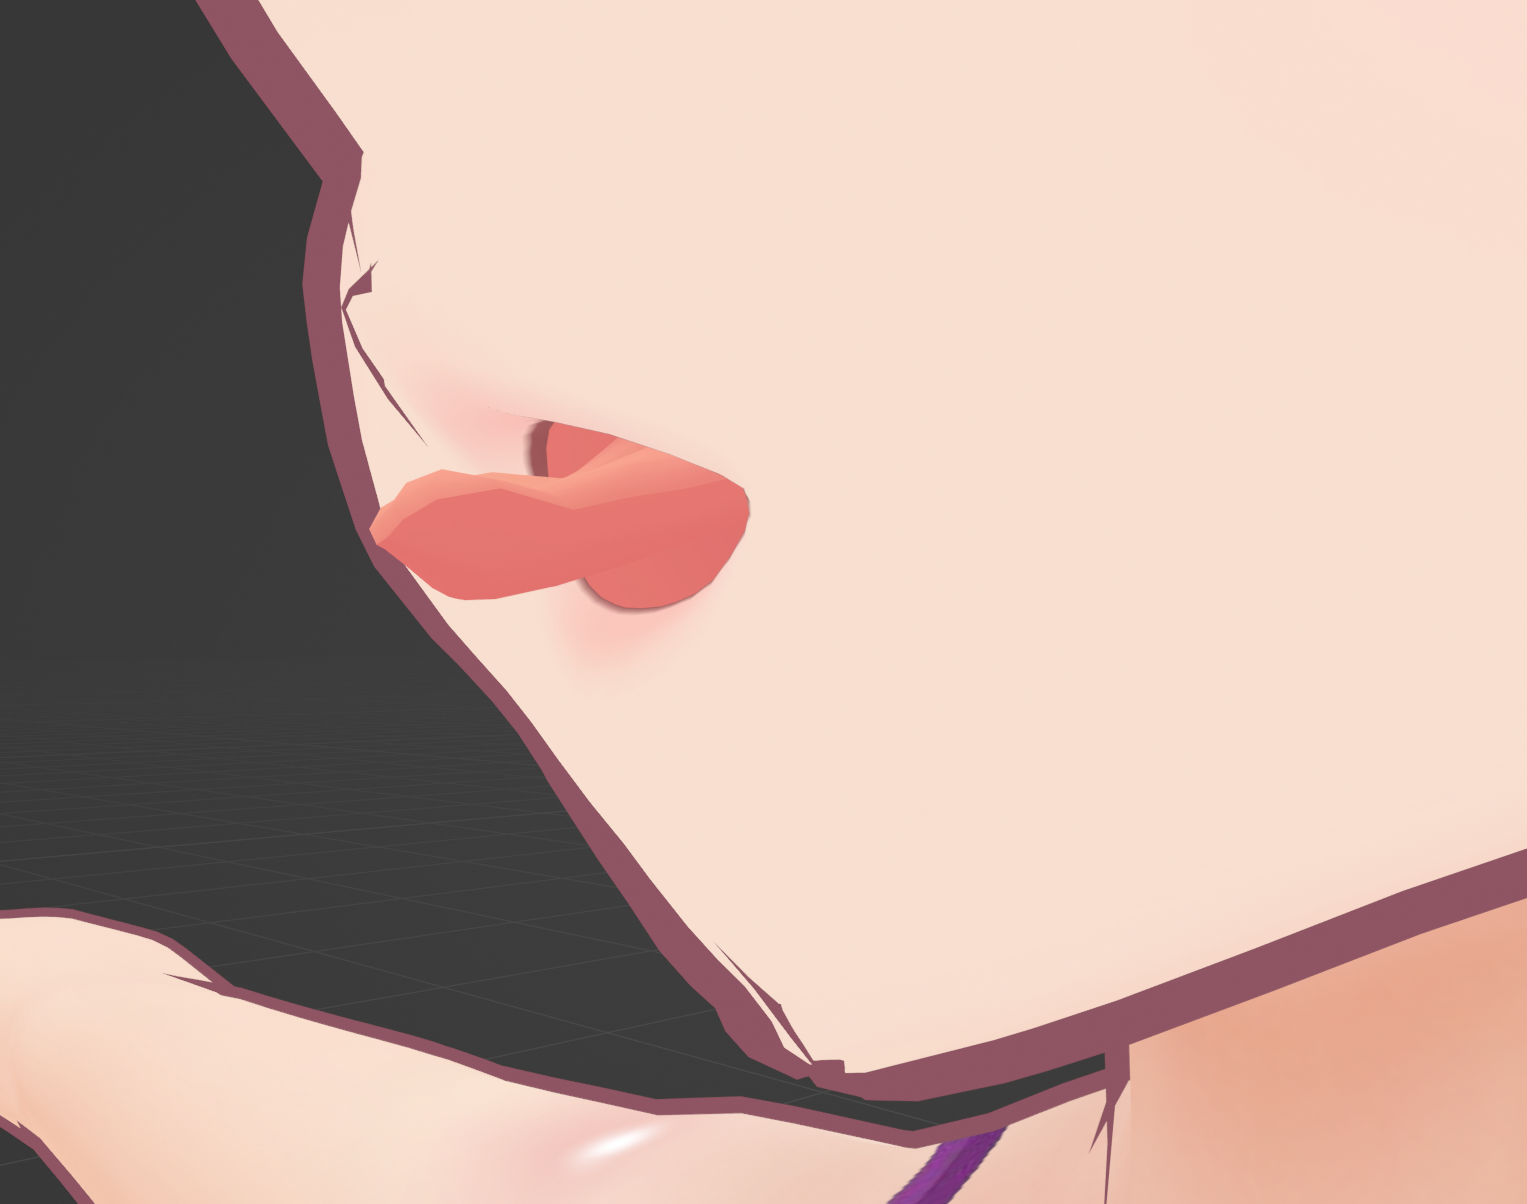
ウェイトペイントが無事進んで、舌を自由に動かせるようになりました。ウェイトマスク忘れてて顔全体が動くこともあったけど、形になってよかった。
が、師匠にできたよーと報告したら
・Faceオブジェクトをマテリアルで分離
・口オブジェクトを構造で分離
・舌の上と下をマージ
・3つ頂点グループ作ってそれぞれにグラデーションでずどーん
で3分でできるとこを実演してくれましたwww
別のアバターで試してみよう。
The weight painting went well and I was able to move her tongue freely. I forgot the weight mask and sometimes the whole face moved, but I'm glad it took shape.
But when I reported to my mentor that I was able to do it...
Separate the Face object by material.
Mouth object separated by structure
Merged the top and bottom of the tongue.
Create three vertex groups.
Gradient weight painting for each.
He demonstrated how it could be done in 3 minutes.
Let's try it with another avatar.
2024-02-03 13:25:16 +0000 UTC
View Post
今月は風邪で半月ぶっ飛ばしてしまいました。
体調管理に気を付けつつ、次作に向けたアバター改造をこつこつと進めてまいります。
今日は2体目の舌ボーン作業が半分ほど進みました。パーツ絵なのでうpはナシで。
また来月もよろしくお願いします。
I skipped half a month this month due to a cold.
While taking care of my health, I will continue to work on my avatar modifications for the next project.
Today, I made halfway through the tongue bone work on the second body. It's a parts picture, so I won't upload it.
I look forward to working with you again next month.
2024-01-31 14:01:53 +0000 UTC
View Post
ようやく治ったのでぼちぼち作業再開していきます。
2024-01-30 12:18:24 +0000 UTC
View Post
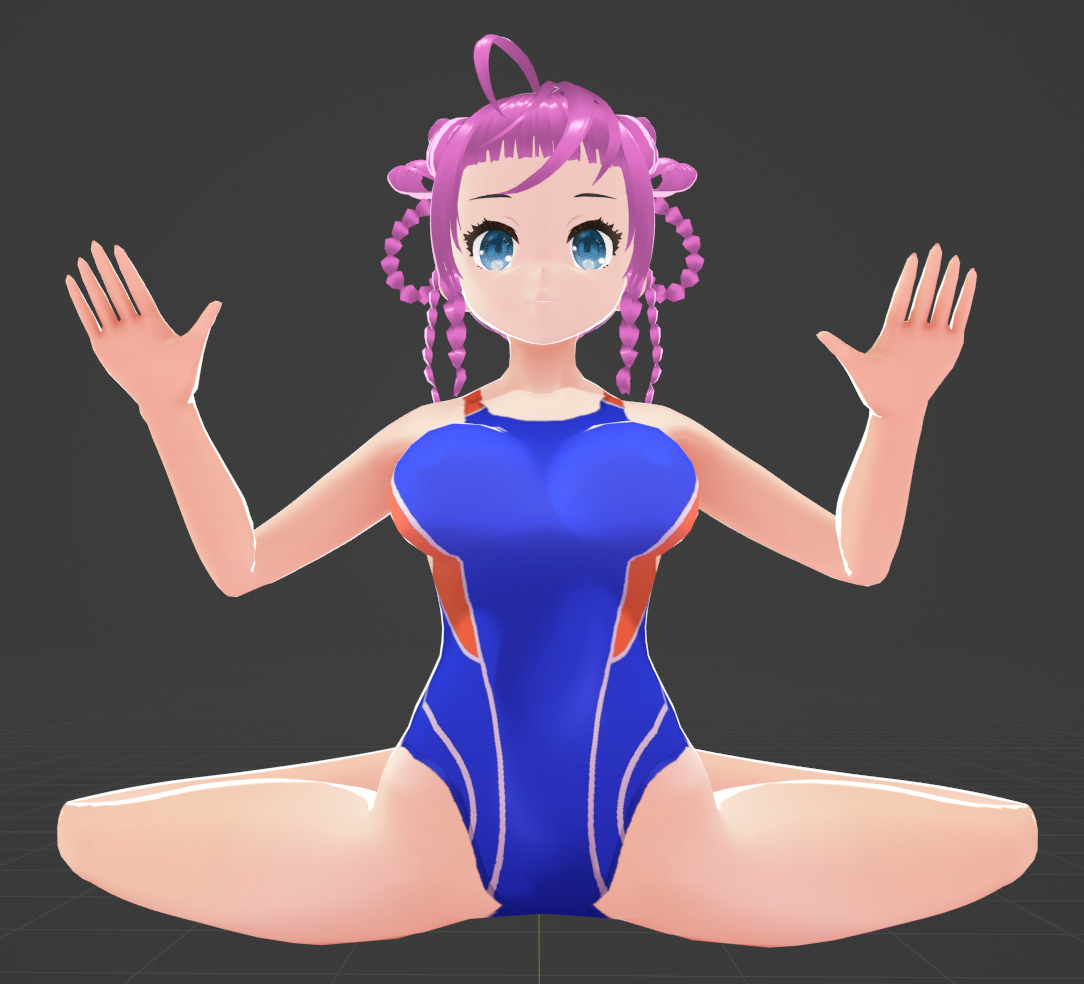
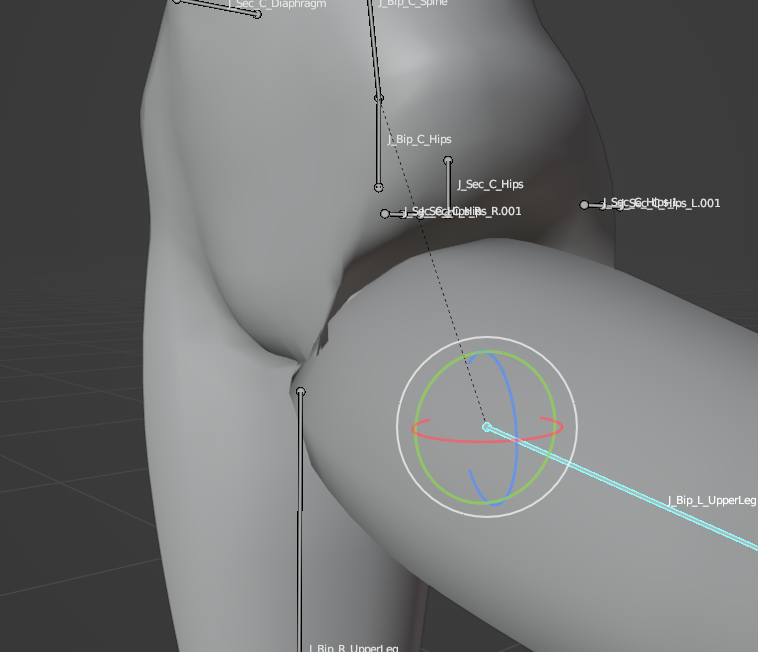
今日は次作でアバターに取らせる予定のポーズをblender上で取らせてみて、メッシュに破綻が出ないことを確認できるまでボーンの調整をしてみました。
結果はこちら
Today I tried to make the avatar take the poses I plan to have her take in the next film on blender, and adjusted the bones until I was sure that the mesh would not break down.
Results.
膝の感じと股関節の感じの妥協点を見いだすことができました。
A compromise could be found between the feeling of the knee and the hip joint.
2024-01-11 14:28:25 +0000 UTC
View Post
今日は鼻つまみシェイプキーにボーンドライバーを設定してみました
Today I set up a bone driver for the nose pinch shape key.
でもこれってunityに移植できるのかしら…
But I wonder if this can be ported to unity...
鼻つまみ.ドライバ2024-01-07 21-26-36
2024-01-07 12:34:08 +0000 UTC
View Post
今日は鼻つまみシェイプキーを作ってみました。
Today I made a pinched nose shape key.
鼻つまみ2024-01-06 20-09-23
2024-01-06 11:17:47 +0000 UTC
View Post
頭の青ざめを追加しました。まだまだ改造点思いつくぜ
Added a pallor to the head. I can come up with more modifications, man.
2024-01-03 12:03:04 +0000 UTC
View Post
というわけで、おめでたい気分もぶっ飛んだお正月。
ちくちくと頬染め・青ざめの色味を見ながら再度描き直しておりました。
水中っぽい青を乗せた結果はこちら
So, the festive mood was blown away during the New Year's holiday.
I was redrawing the color again, looking at the color tones of the cheek dyeing and bluish tint.
Here is the result with underwater blue
2024-01-02 12:22:13 +0000 UTC
View Post
ようやく年末休みに入ったので作業再開です。
これまでの作品でハート目や頬染めなどの赤系の色の漫符が水中表現を前提とした青色を乗算をしたときに、色がそっちに引っ張られるのをなんとかしたかったのです。
なんのことはない、固定観念でピンクにしてた漫符の色を赤255にしたら問題ありませんでしたw
結果がこちら
Finally, I have resumed work now that I am on my year-end vacation.
I wanted to do something about the fact that in my previous works, when I multiplied red-colored manga-like symbols such as heart eyes and cheek dyes with blue, which is assumed to be for underwater expressions, the colors were pulled in that direction.
I changed the color of the comic symbols that I had stereotypically set to pink to red 255, and there was no problem.
Here is the result
2023-12-30 13:32:44 +0000 UTC
View Post
股関節の件がようやく解決したので、顔シェイプキーの作成ふたたび。前回やったのが9ヶ月前なので、手順を必死で思い出しながらやってみた。
Now that the hip joint issue is finally resolved, it's time to create the face shape key again. Since the last time I did this was 9 months ago, I tried desperately to remember the steps.
2023-12-18 12:41:55 +0000 UTC
View Post
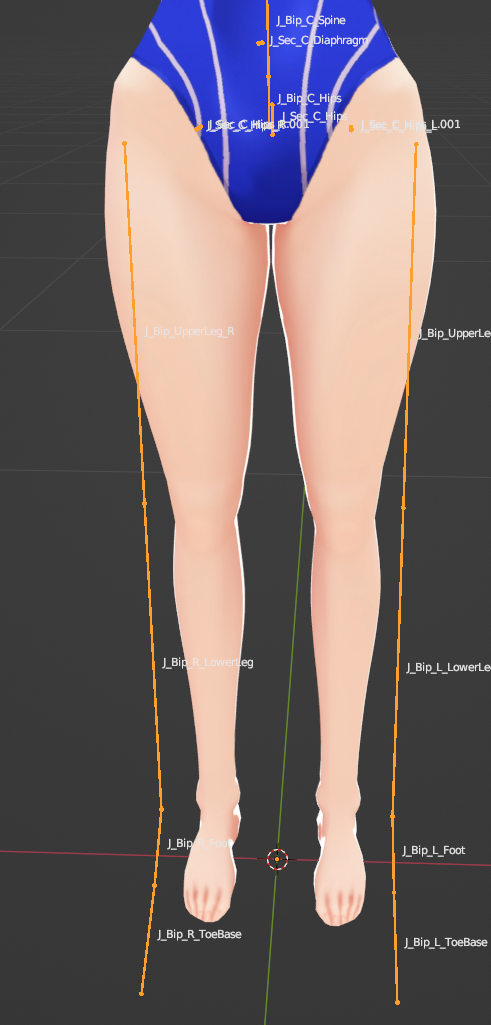
師匠曰く「ウェイト沼にわざわざハマらなくてもボーン位置調整くらいにしときよー。てかVroidだとウェイトで調整しようとしたらメッシュ切り直しになるから、それはもうフルスクラッチよりしんどいよ」ということで、とりまこの状態で打ち止めー。あと2体やるぜw
なお、骨格を外に出してるのは、こーいう流れから
・UpperLegの位置をデフォより外側へ調整。
・UpperLegのヘッドを上の方にずらす
・UpperLeg/LowerLeg/Foot/ToeBaseのヘッド位置のX座標をすべて合わせる
最後の手順をやって、各ボーンのX軸を合わせておかないと、UnityとかUEに持って行った時にHumanoidアバターとしてまともに動作しなくなるそうな。
My master says, "You don't have to go into the depths of weight painting, just adjust the bone positions. In Vroid, if you try to adjust the weights, you have to re-cut the mesh, which is more difficult than full-scratch,
So I'm going to stop with this one for now. I'll do 2 more bodies lol
The reason why the skeleton is outside of the mesh is because of the following reasons.
Adjusted the position of the upper leg outward from the default position.
Shift the head of the UpperLeg to the upper side.
Align the X axis of the head of the UpperLeg/LowerLeg/Foot/ToeBase.
I heard that if the last step is not done and the X axis of each bone is not aligned, the avatar will not work properly as a Humanoid avatar when taken to Unity or UE.
2023-12-16 13:32:45 +0000 UTC
View Post
なんもわからんままに、いただいたアドバイスを素直にやってみてる。
ちょっとはマシになったのかなぁ。でもこれキレイにやろうとしたらなかなかの沼だなぁ
I'm trying to follow the advice given to me by my mentor and misskey's friends without knowing what to do.
I wonder if it's gotten a little better. But it's pretty deep if I try to do it neatly.
2023-12-14 12:45:20 +0000 UTC
View Post
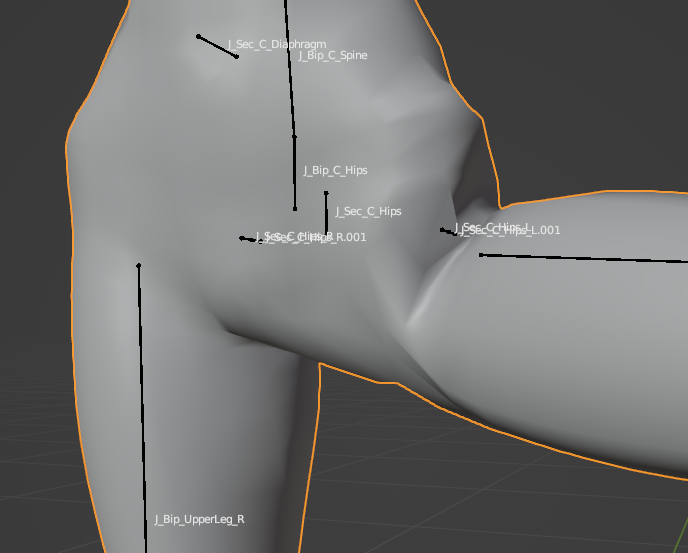
現状の問題点:Vroid製アバターで180度開脚させようとすると、UpperLegの肉が骨盤にめり込んだように見えること
解決策:ウェイトペイントとUpperLegボーンの位置調整で少しずつ詰める
注意点:一つのポーズだけで整合性を取ろうと極端な調整をしないこと、他のポーズを取らせた時との整合性が取れなくなるため
師匠からは「できれば解剖学わかってるといいよ」と言われたけど、まるで知識ありませんwww
Current problem: When trying to make a 180 degree leg spread with a Vroid avatar, the flesh of the UpperLeg looks as if it is stuck in the pelvis.
Solution: Weight painting and adjusting the position of the UpperLeg bone to make it look more consistent.
Note: Do not make extreme adjustments to achieve consistency in only one pose, or you will lose consistency in other poses.
My mentor told me that it would be good if I knew the anatomy, but I don't know a thing about it lol
画像は現状の問題を示したもの。
2023-12-13 12:45:57 +0000 UTC
View Post
先日皆様のご支援金で入手したIntelCPUを無事にPCに組み込むことができました。前マシンの諸問題も解決しましたので更新再開です。
I was able to successfully install the Intel CPU that I recently acquired with your support money into my PC. The various problems with the previous machine have been resolved, so I am resuming the update.
2023-12-11 12:37:01 +0000 UTC
View Post


